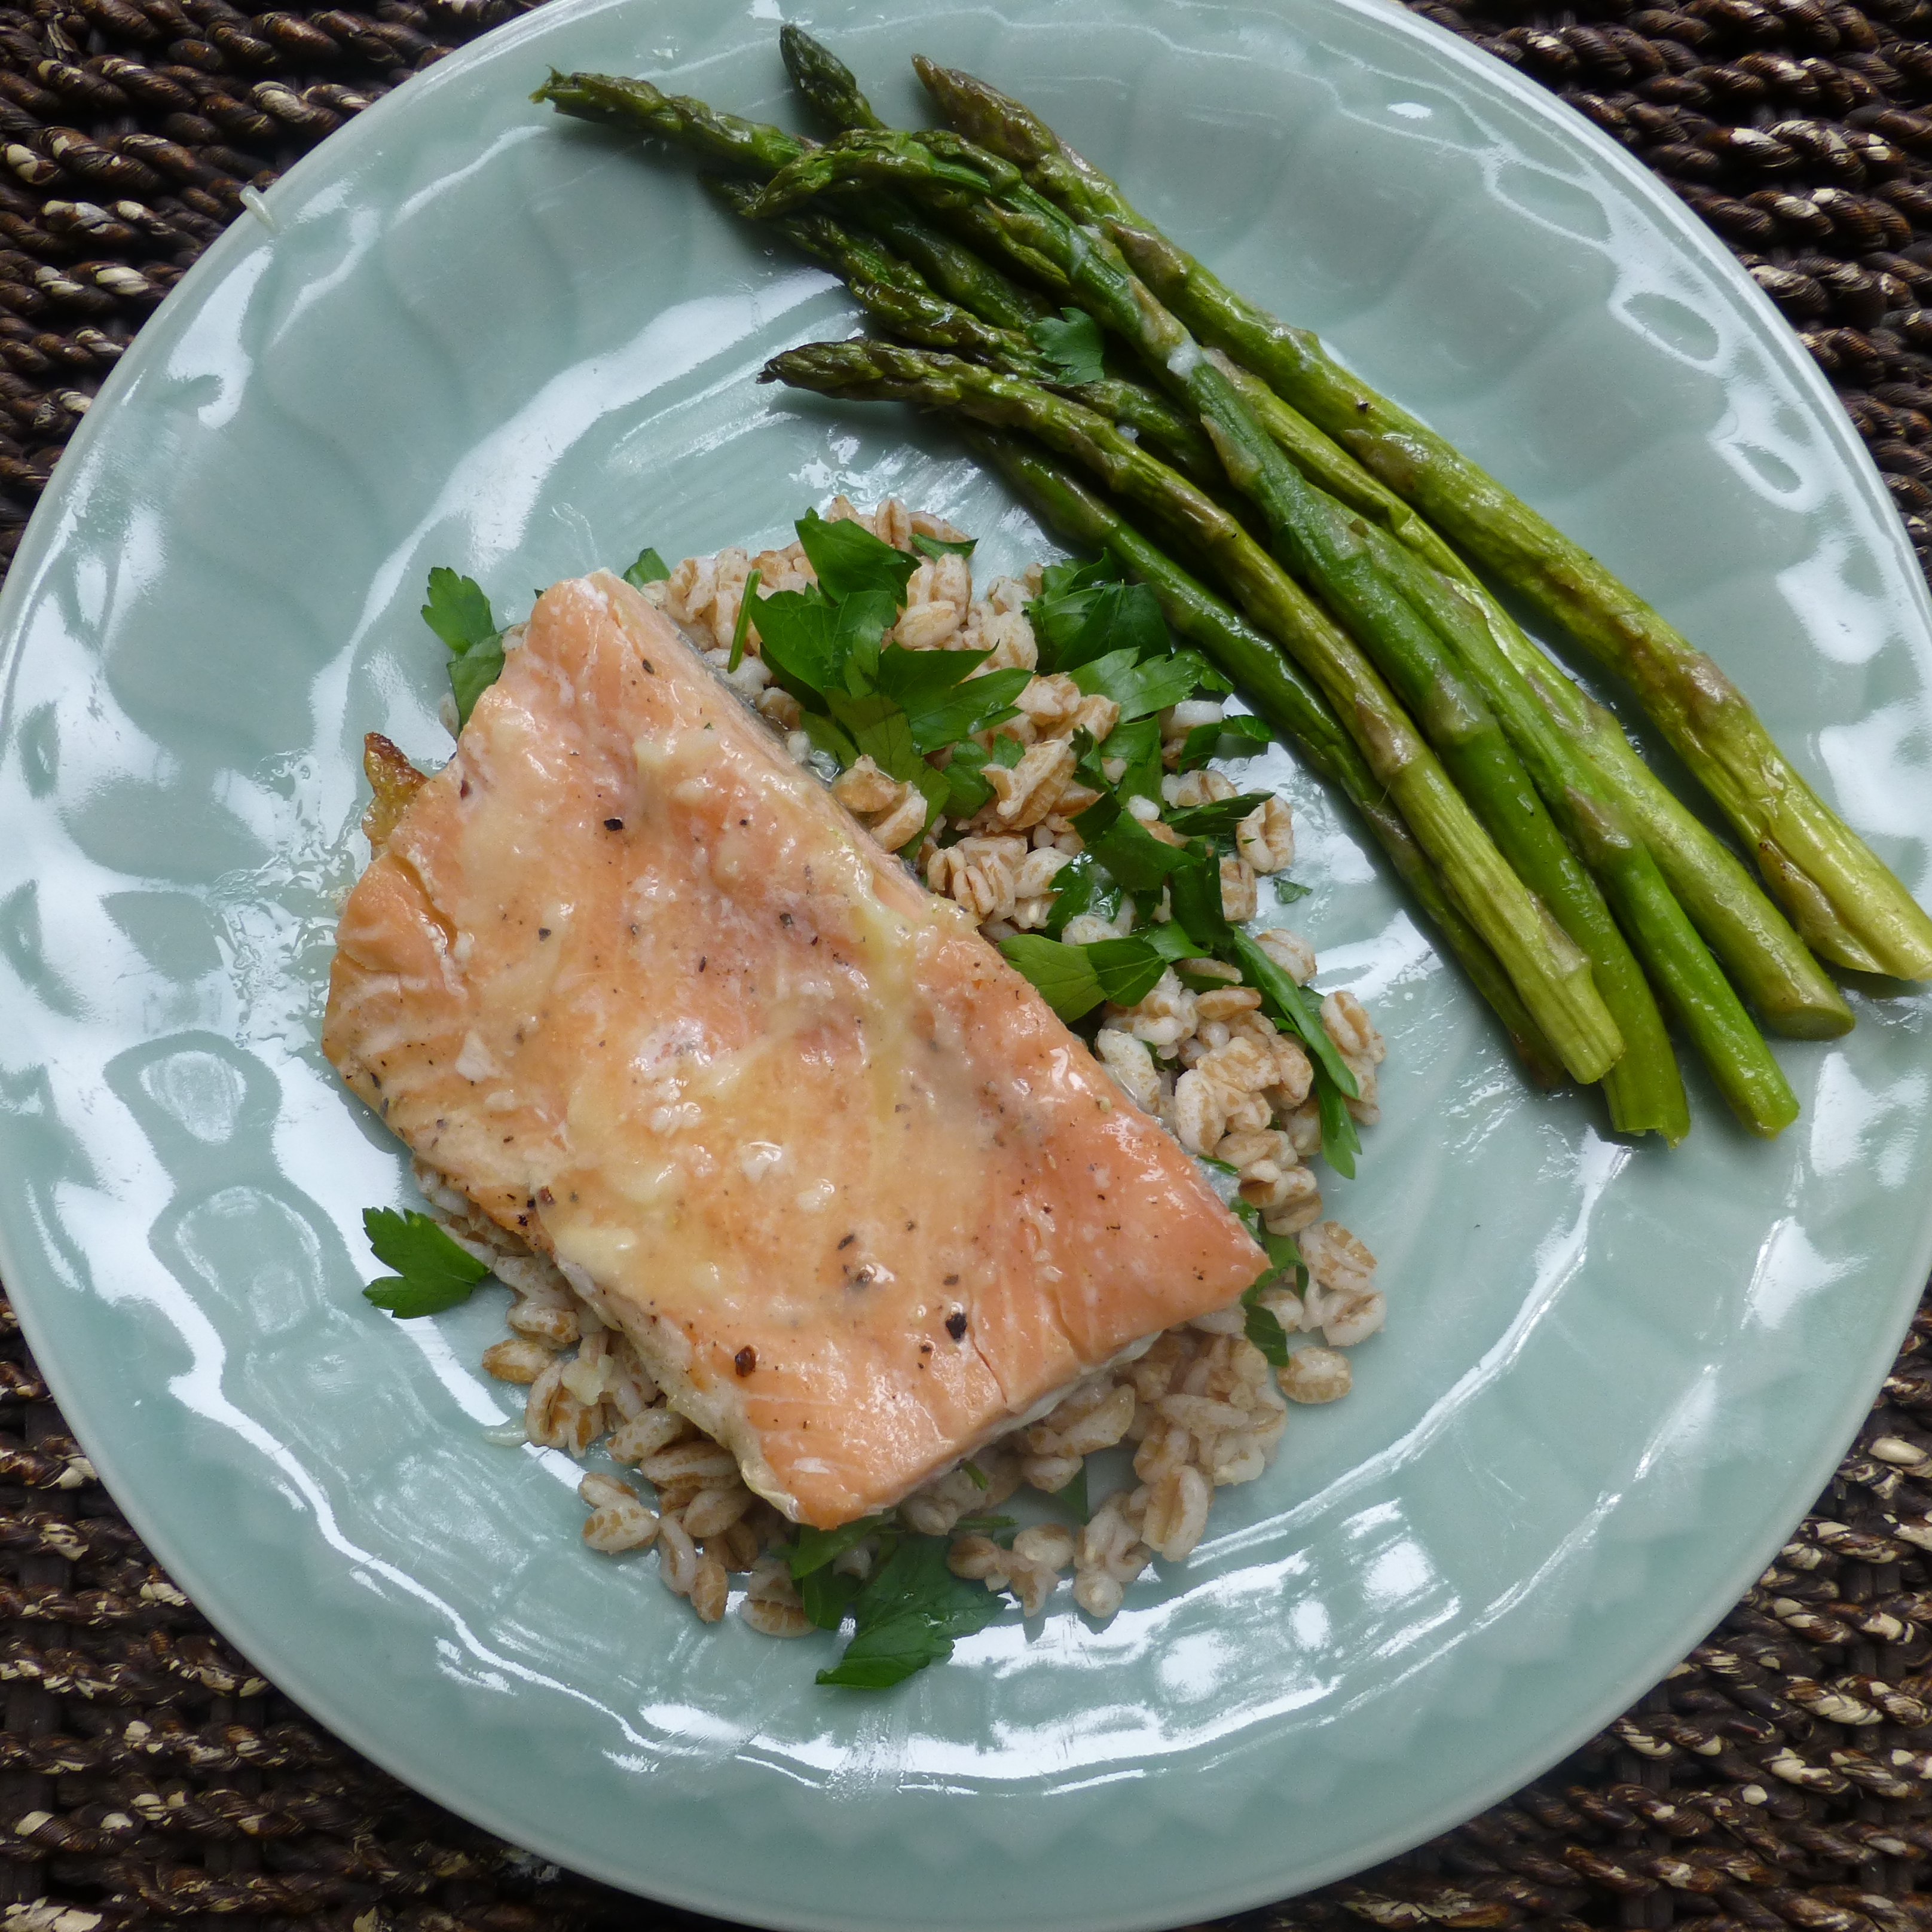
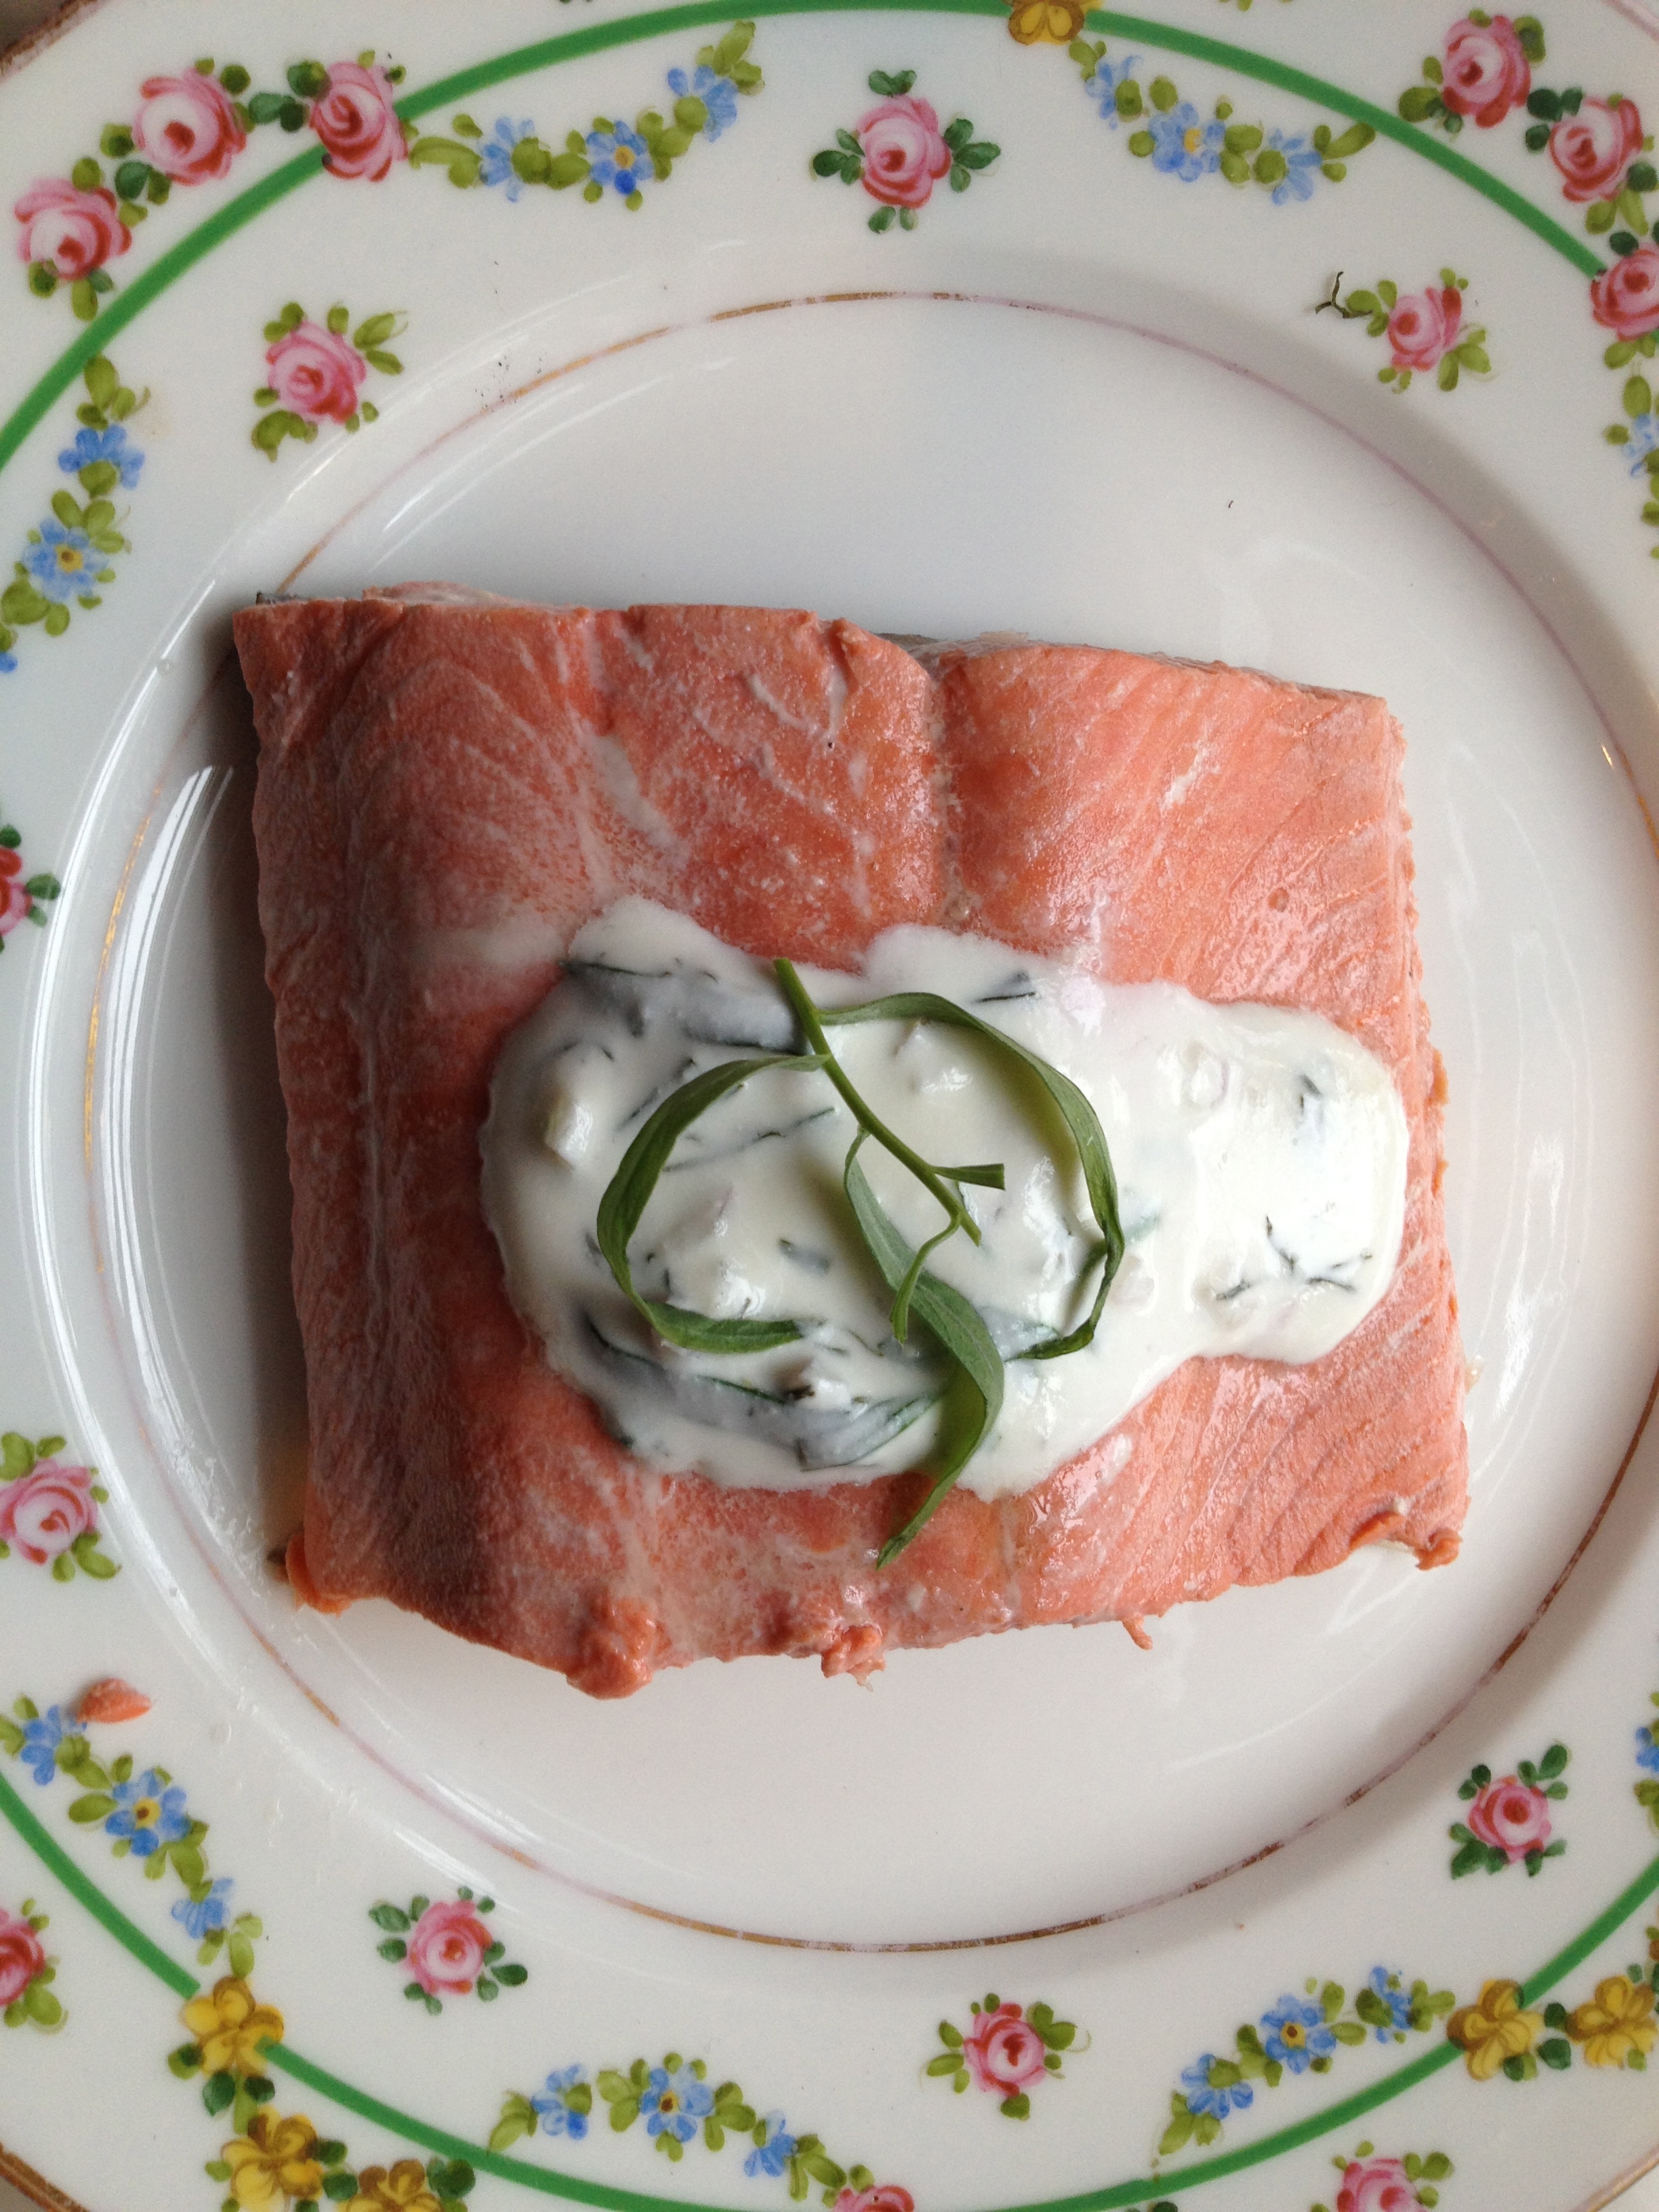
Poached salmon is lovely and light for lunch or dinner.
Photo credit: Rebecca Penovich
I was inspired to make salmon with a dill sauce in tribute to the Sochi Olympics 2014 kicking off on Friday. As I researched online about traditional Russian foods and in a book I own called A Year of Russian Feasts by Catherine Cheremeteff Jones, I realized I know very little about Russian cuisine.
Not one salmon recipe in “A Year of Russian Feasts.” No salmon in this well-researched article from the Vancouver Sun, “Russian Food, Beyond Pierogies and Cabbage Rolls.”

“Meat, Fowl and Brussels Sprouts Against the Window” by Pyotr Konchalovsky (1937)
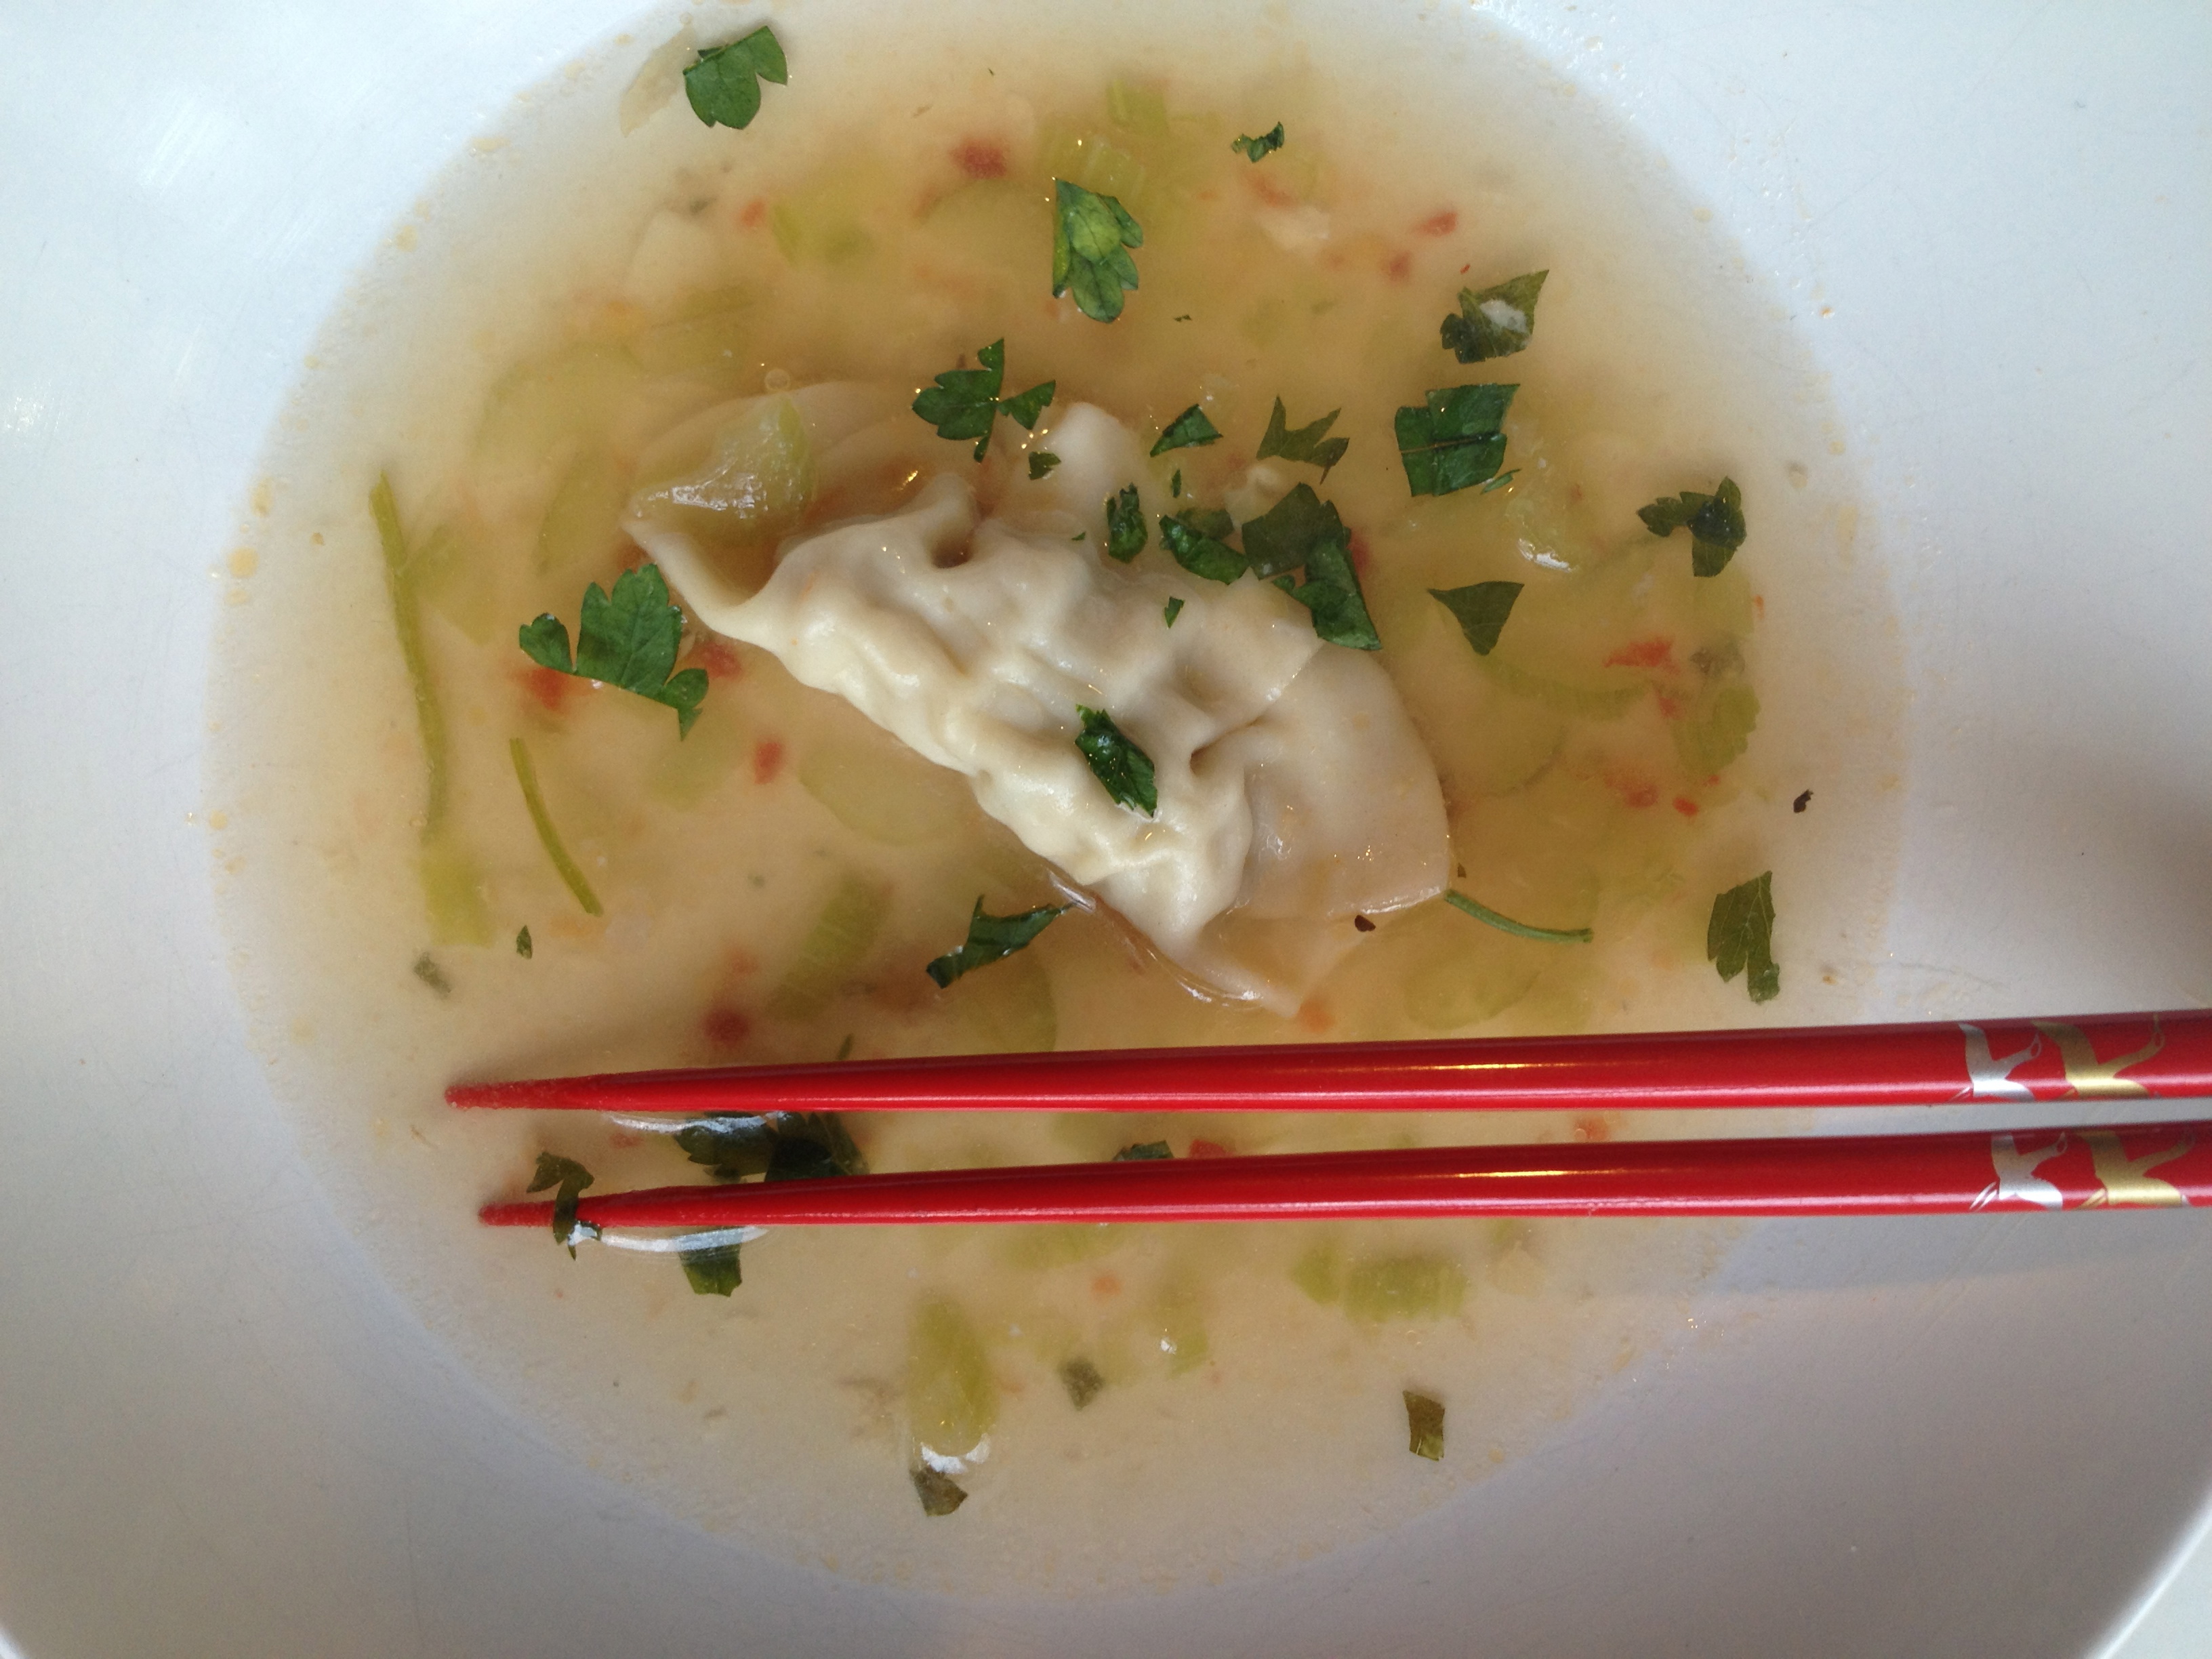
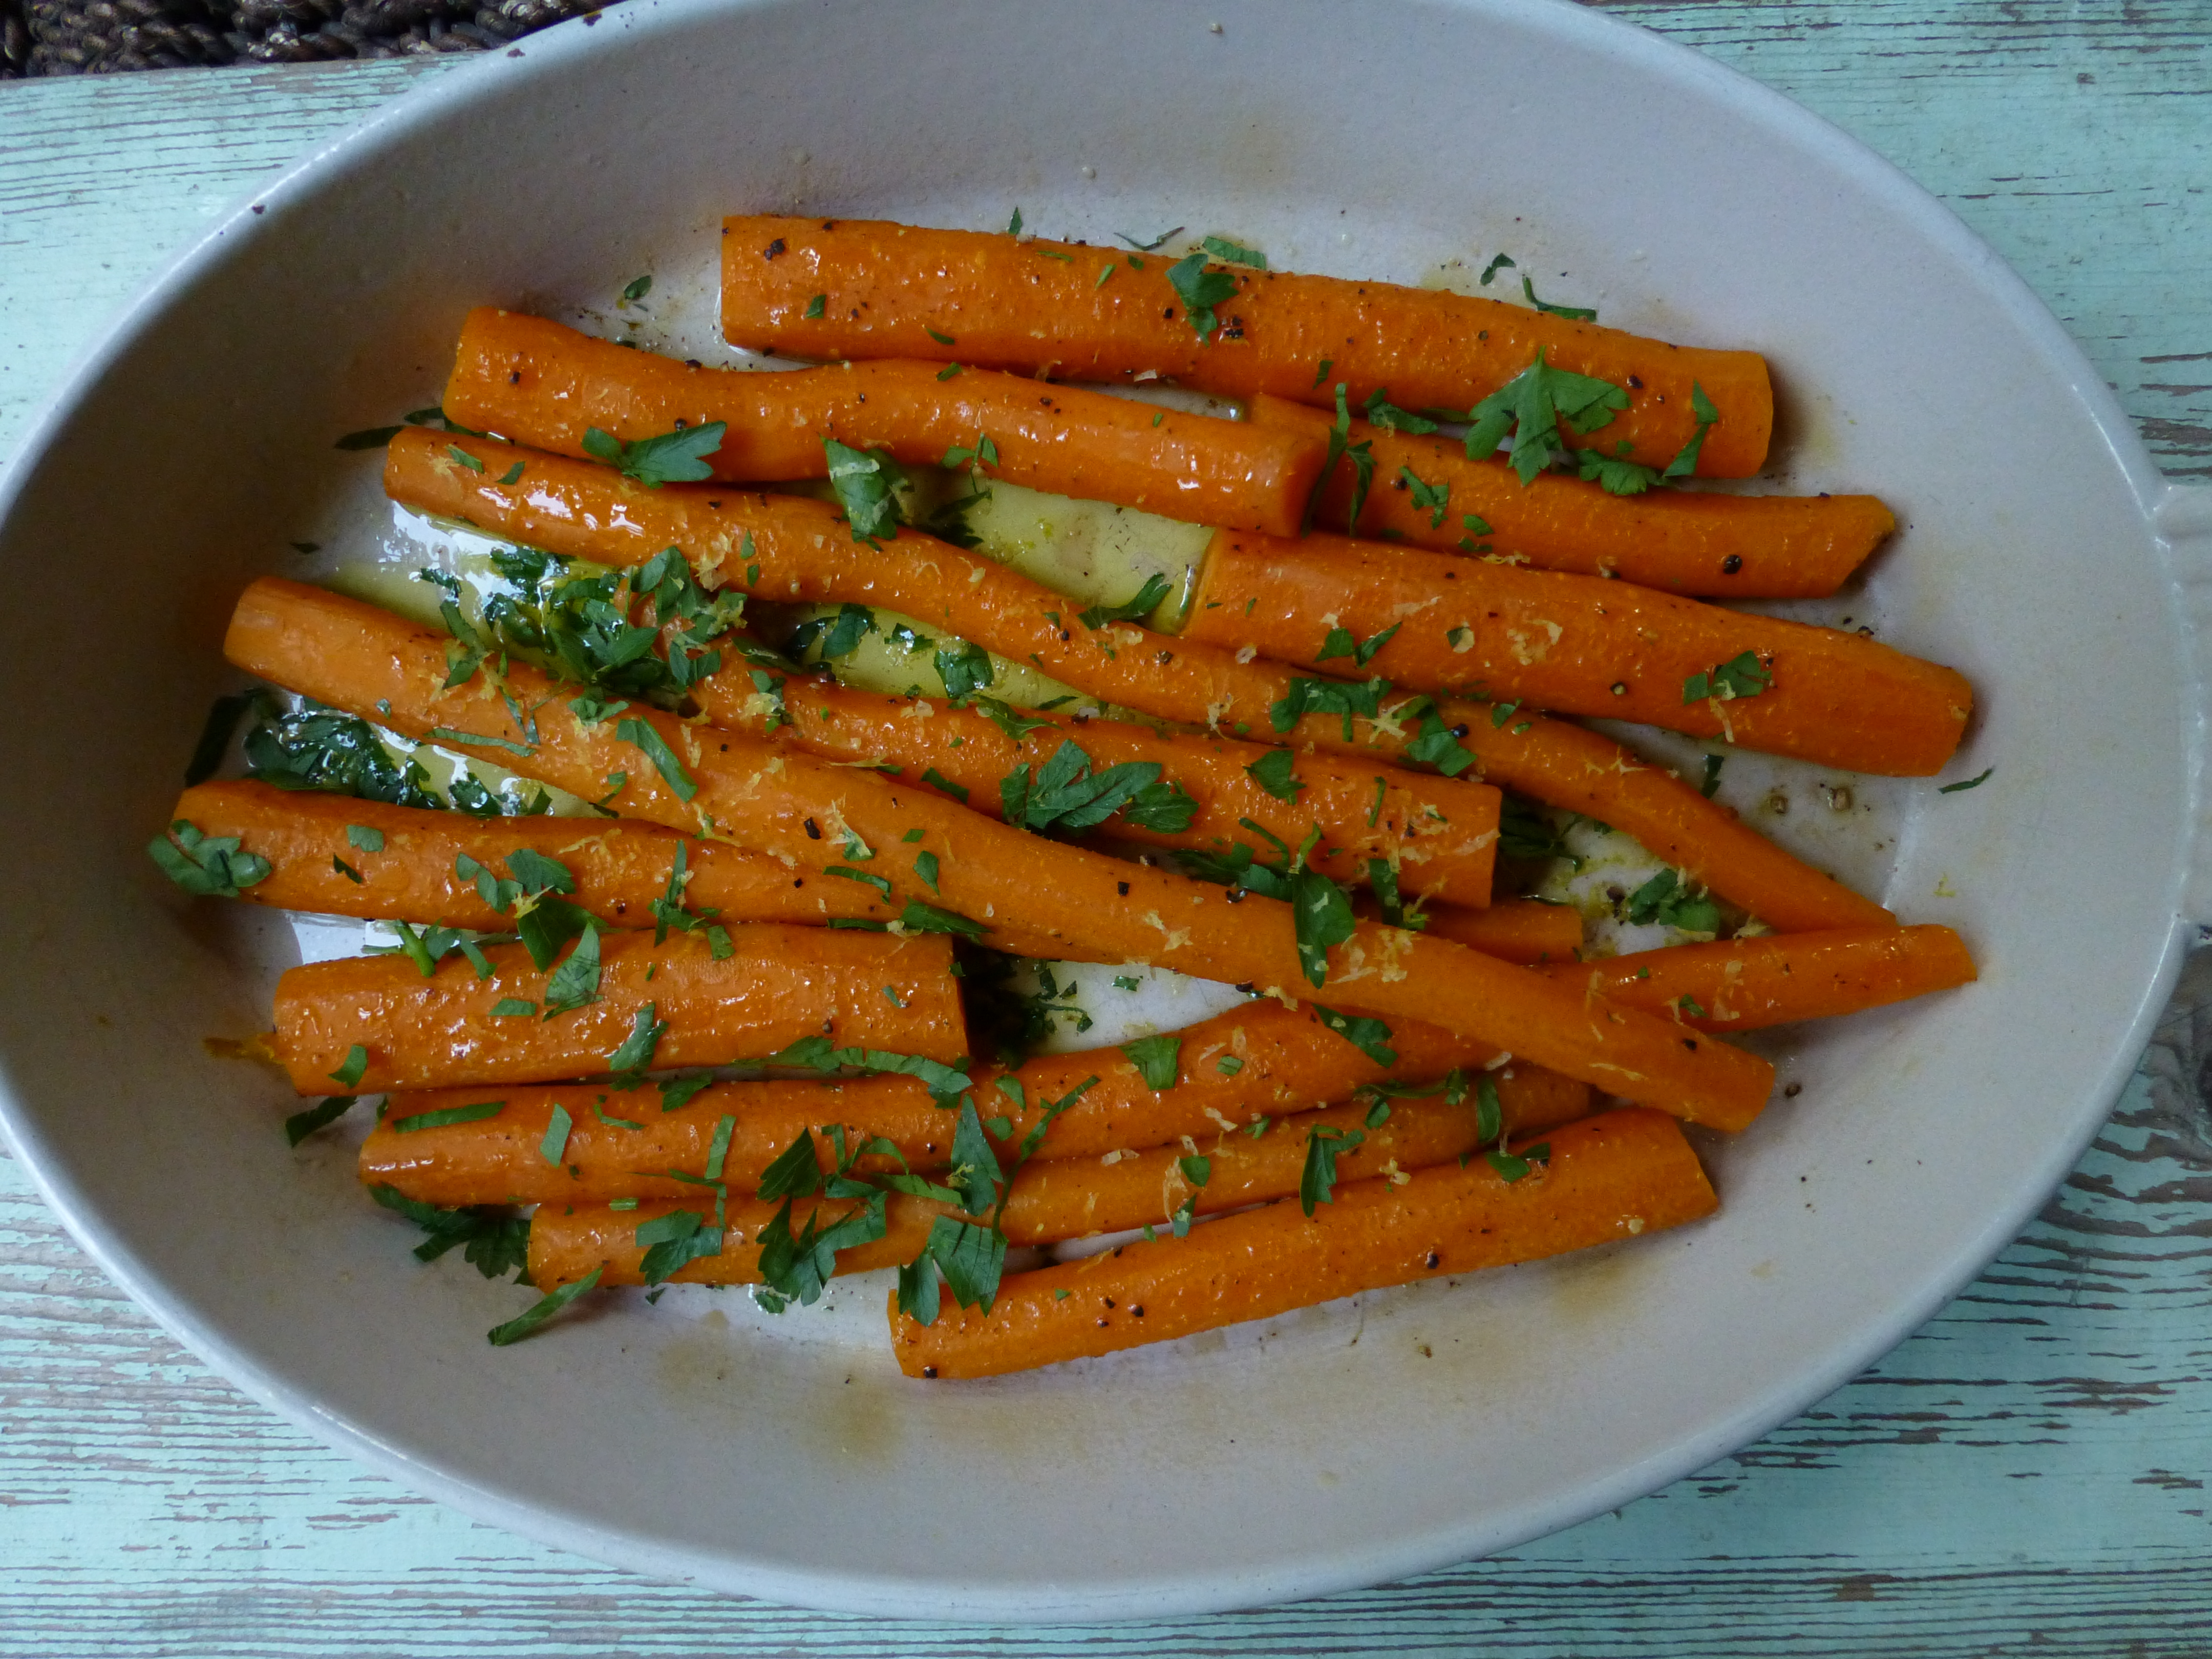
What I discovered were lots of recipes with walnuts (chicken with walnuts, salads with walnuts, walnut sauces, walnut cakes), dumplings, cheese blini, kasha, beets, cabbage, and a popular potato salad called Olivier which incorporates peas, carrots, and salted cucumbers with mayonnaise dressing.
There is much to explore and the cuisine is as vast and varied as the country itself. Mia Stainsby enlightens us in her article “Russian Food, Beyond Pierogies and Cabbage Rolls”:
“Russian food is closely connected to the food of neighbouring countries like Ukraine, the Baltic Republics, Georgia, Uzbekistan, Kazakhstan, Armenia and Azerbaijan; they were formerly part of the former Soviet Union.”
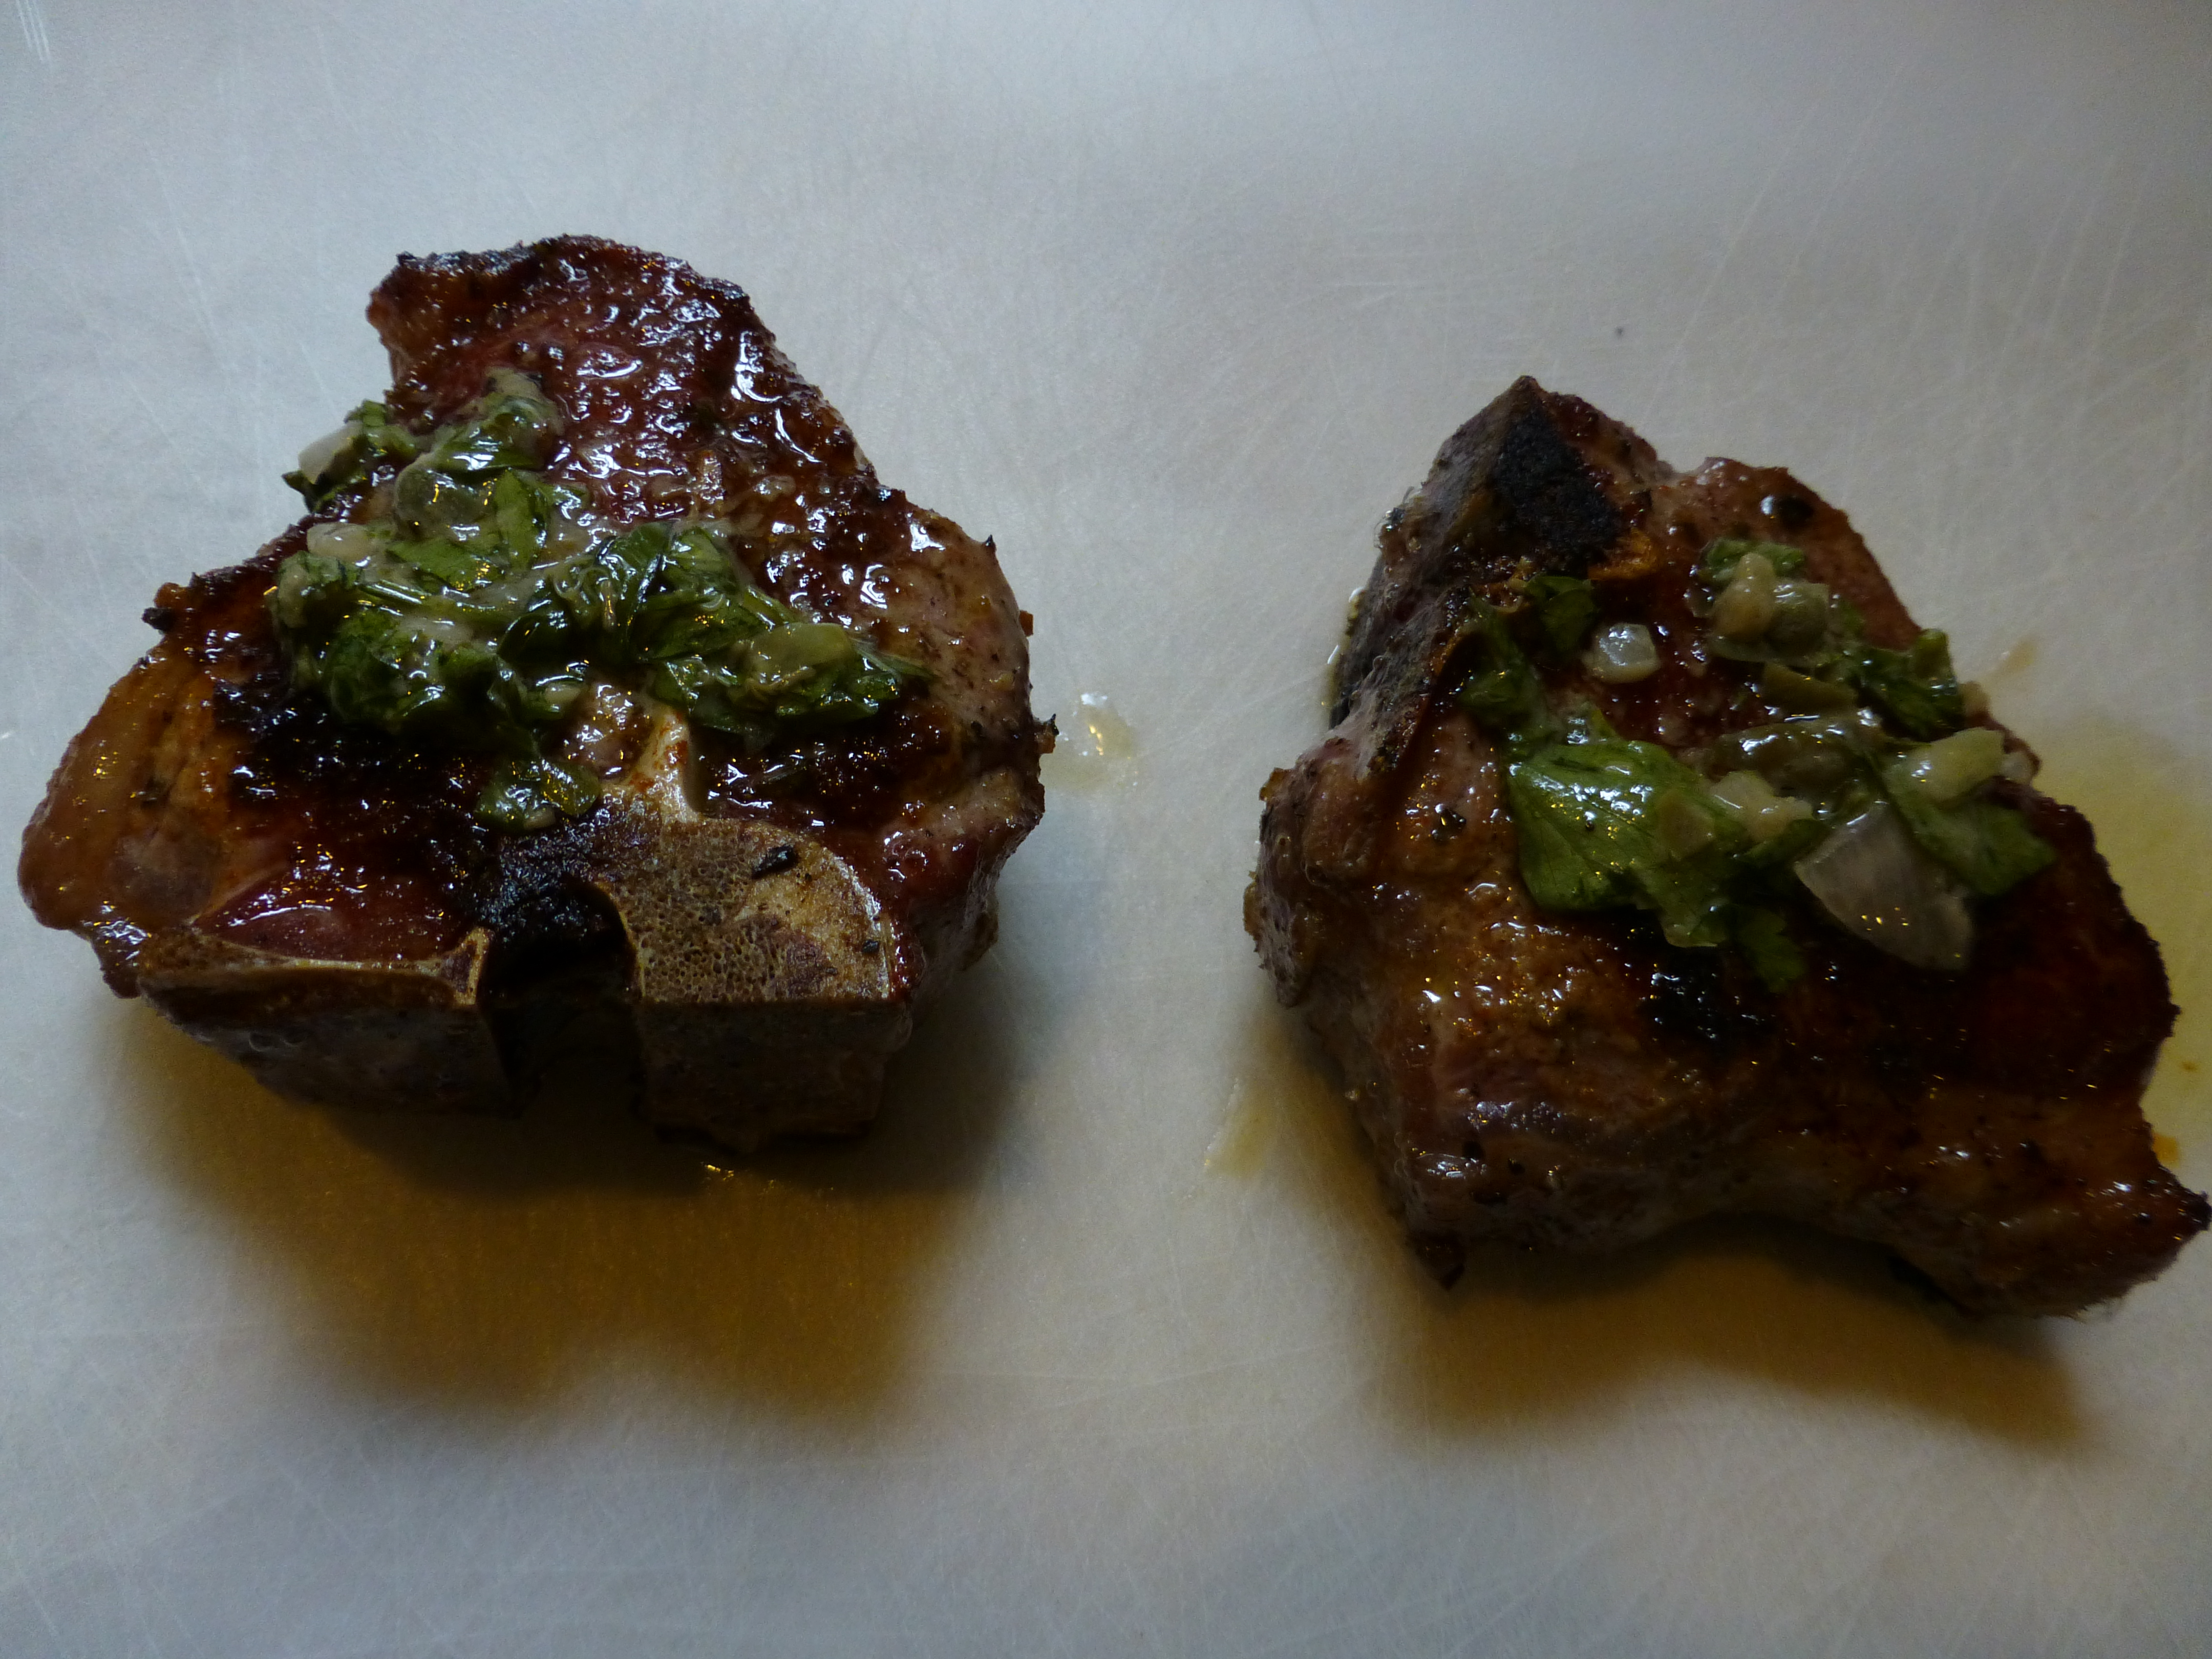
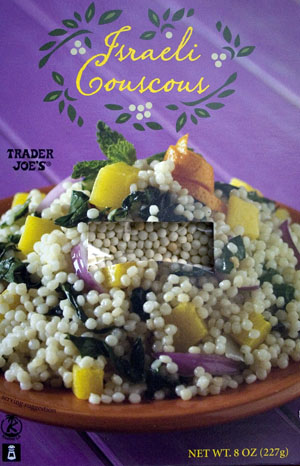
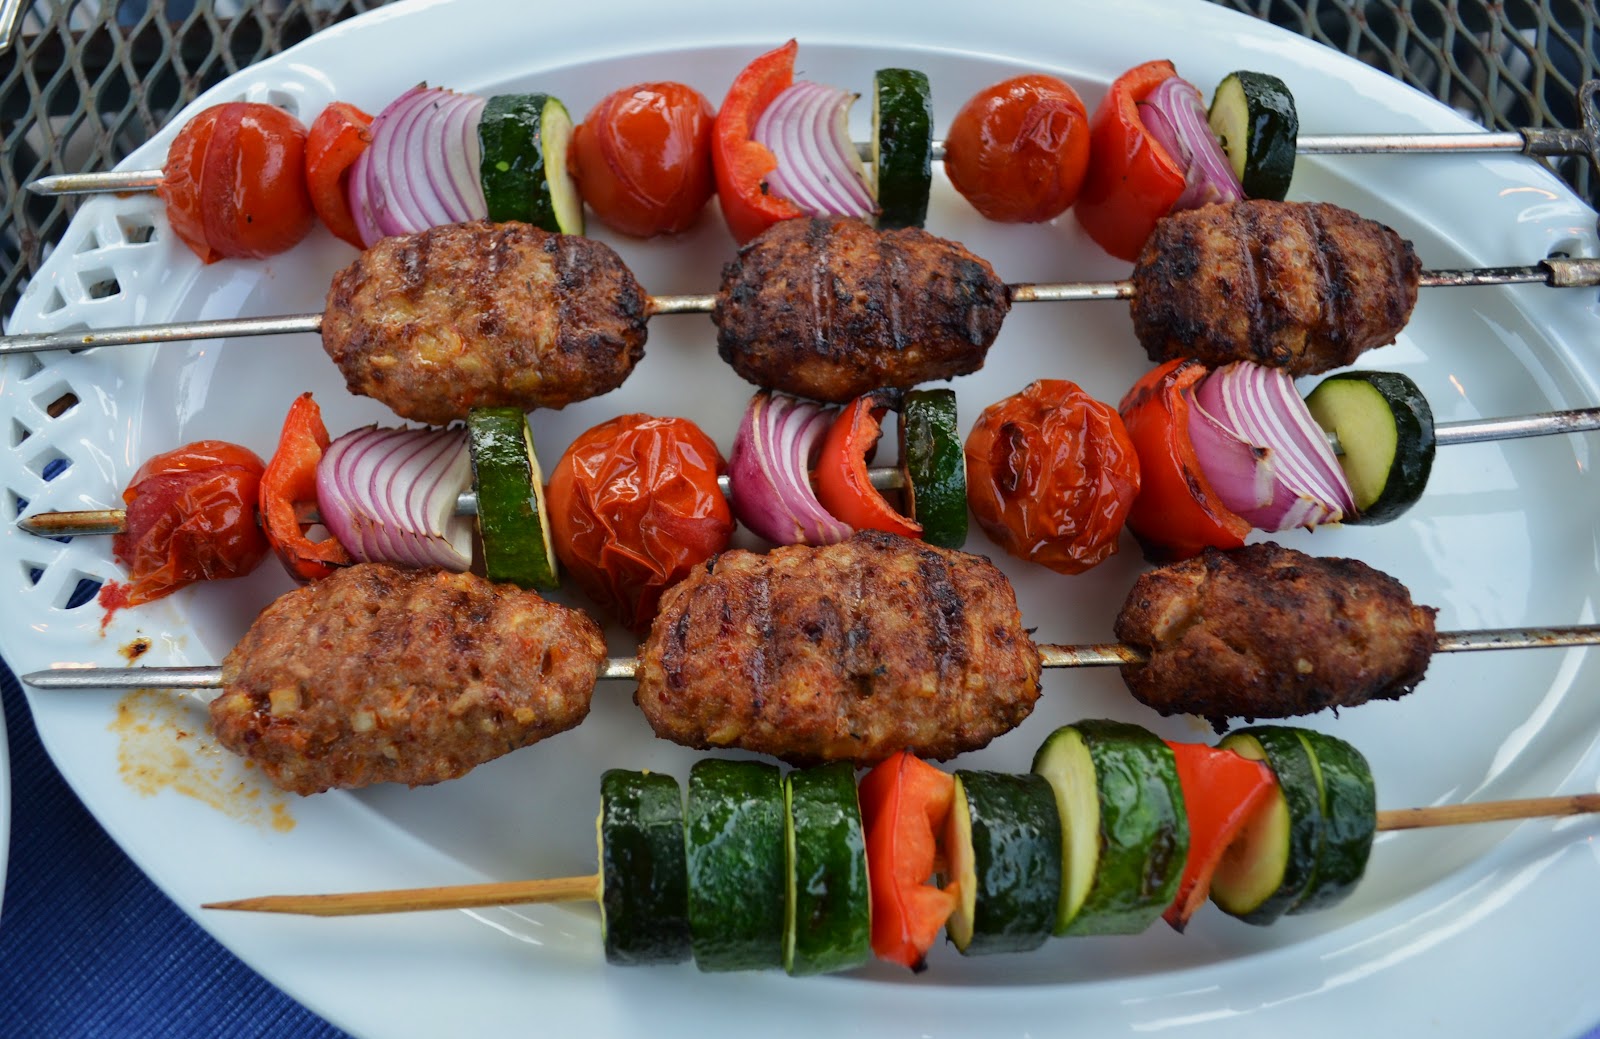
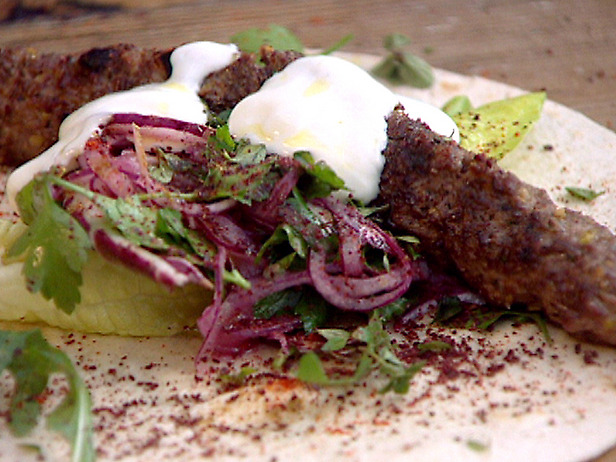
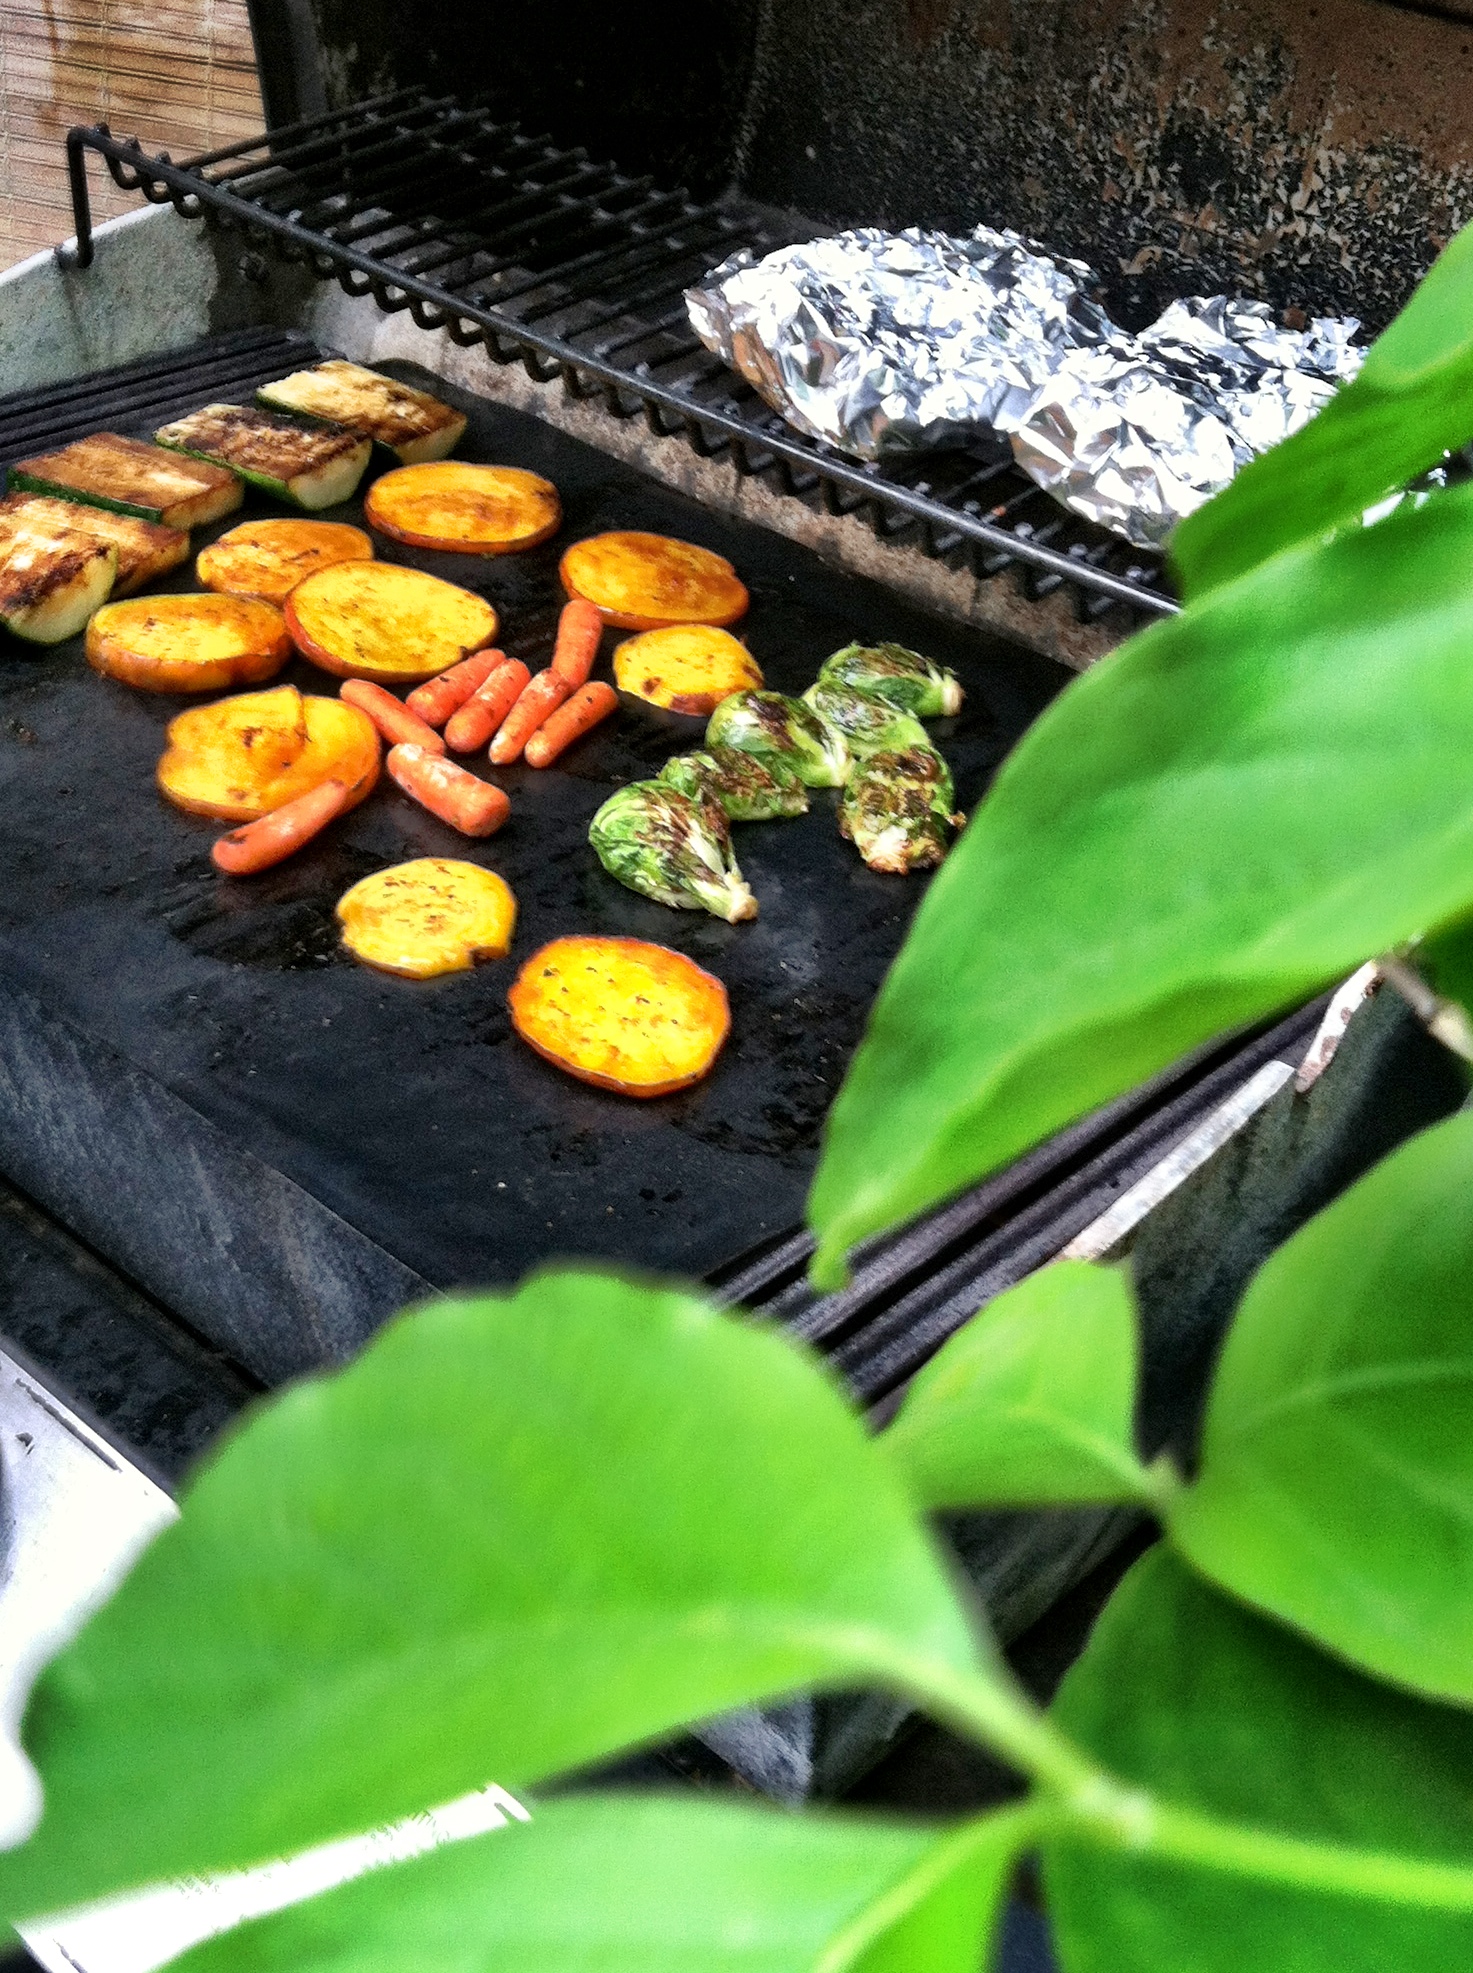
While the skiers, snowboarders, and figure skaters in Sochi will be tucking into shish kebab with lamb and vegetables, smoked fish and pickled vegetables, you can make this poached salmon with an easy side of pirozhki from the refrigerator case.

Photo credit: Rebecca Penovich
Poached Salmon with Shallot, Tarragon, & Dill Sauce
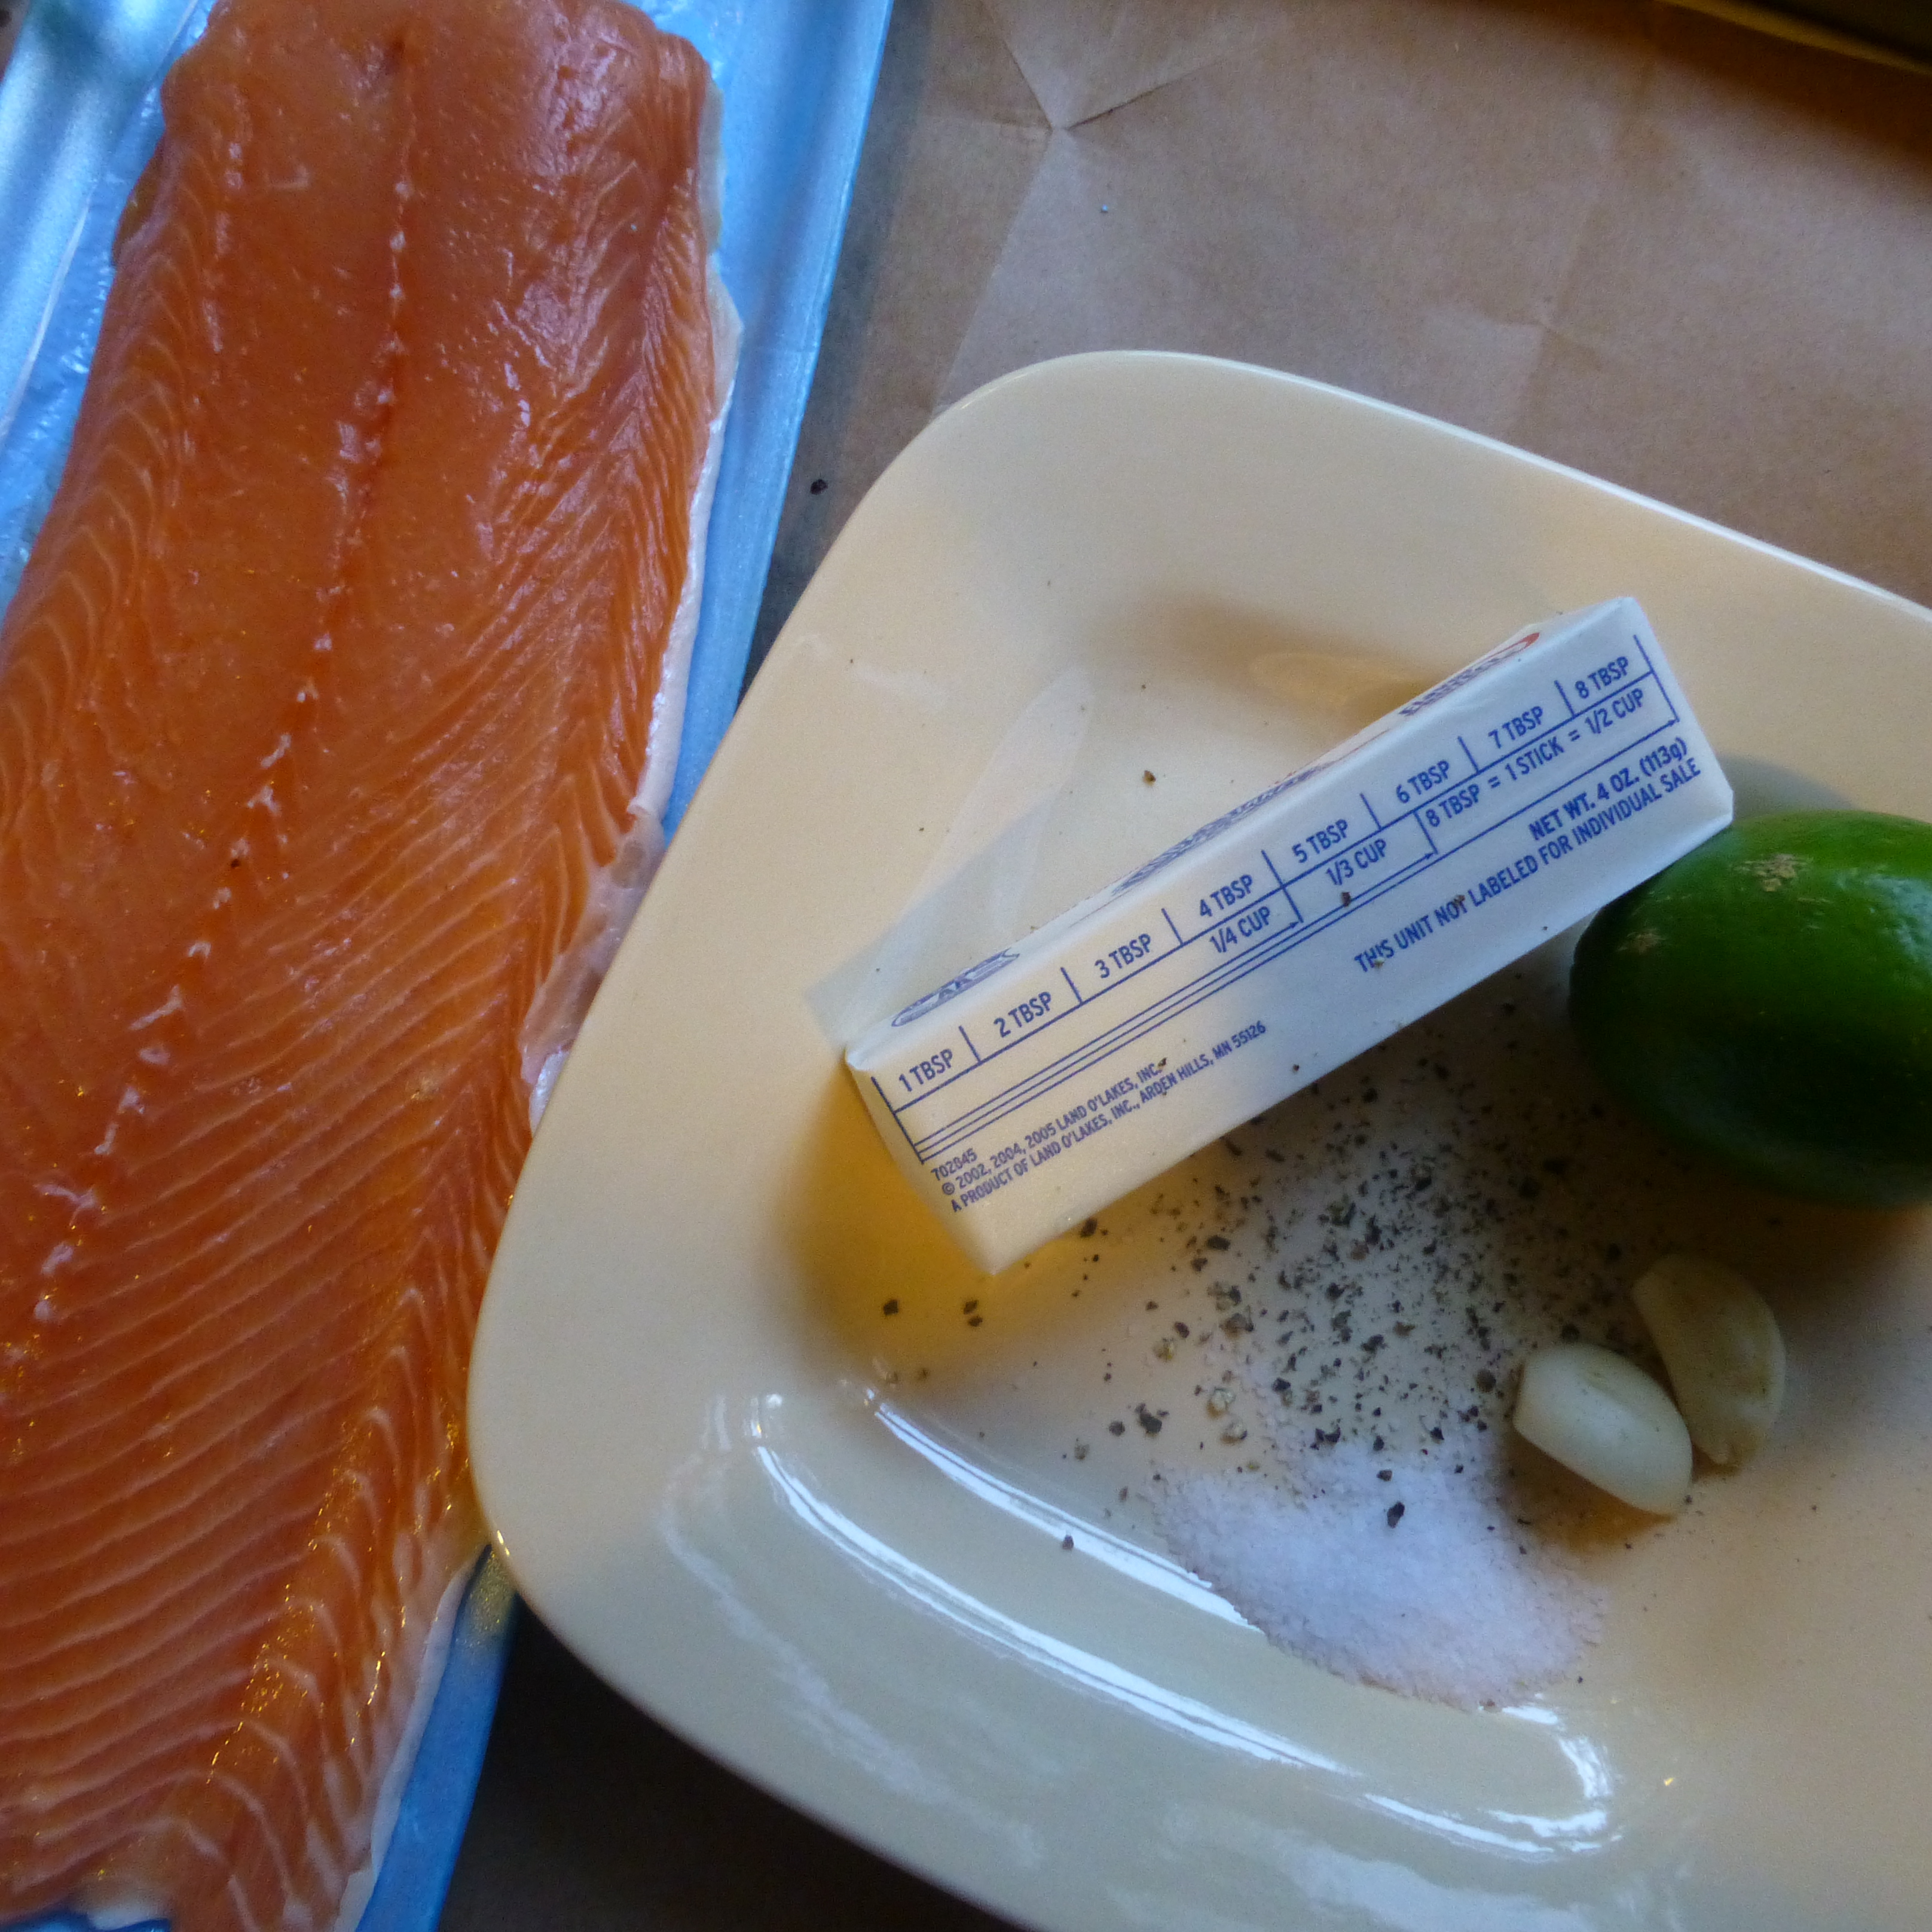
Ingredients
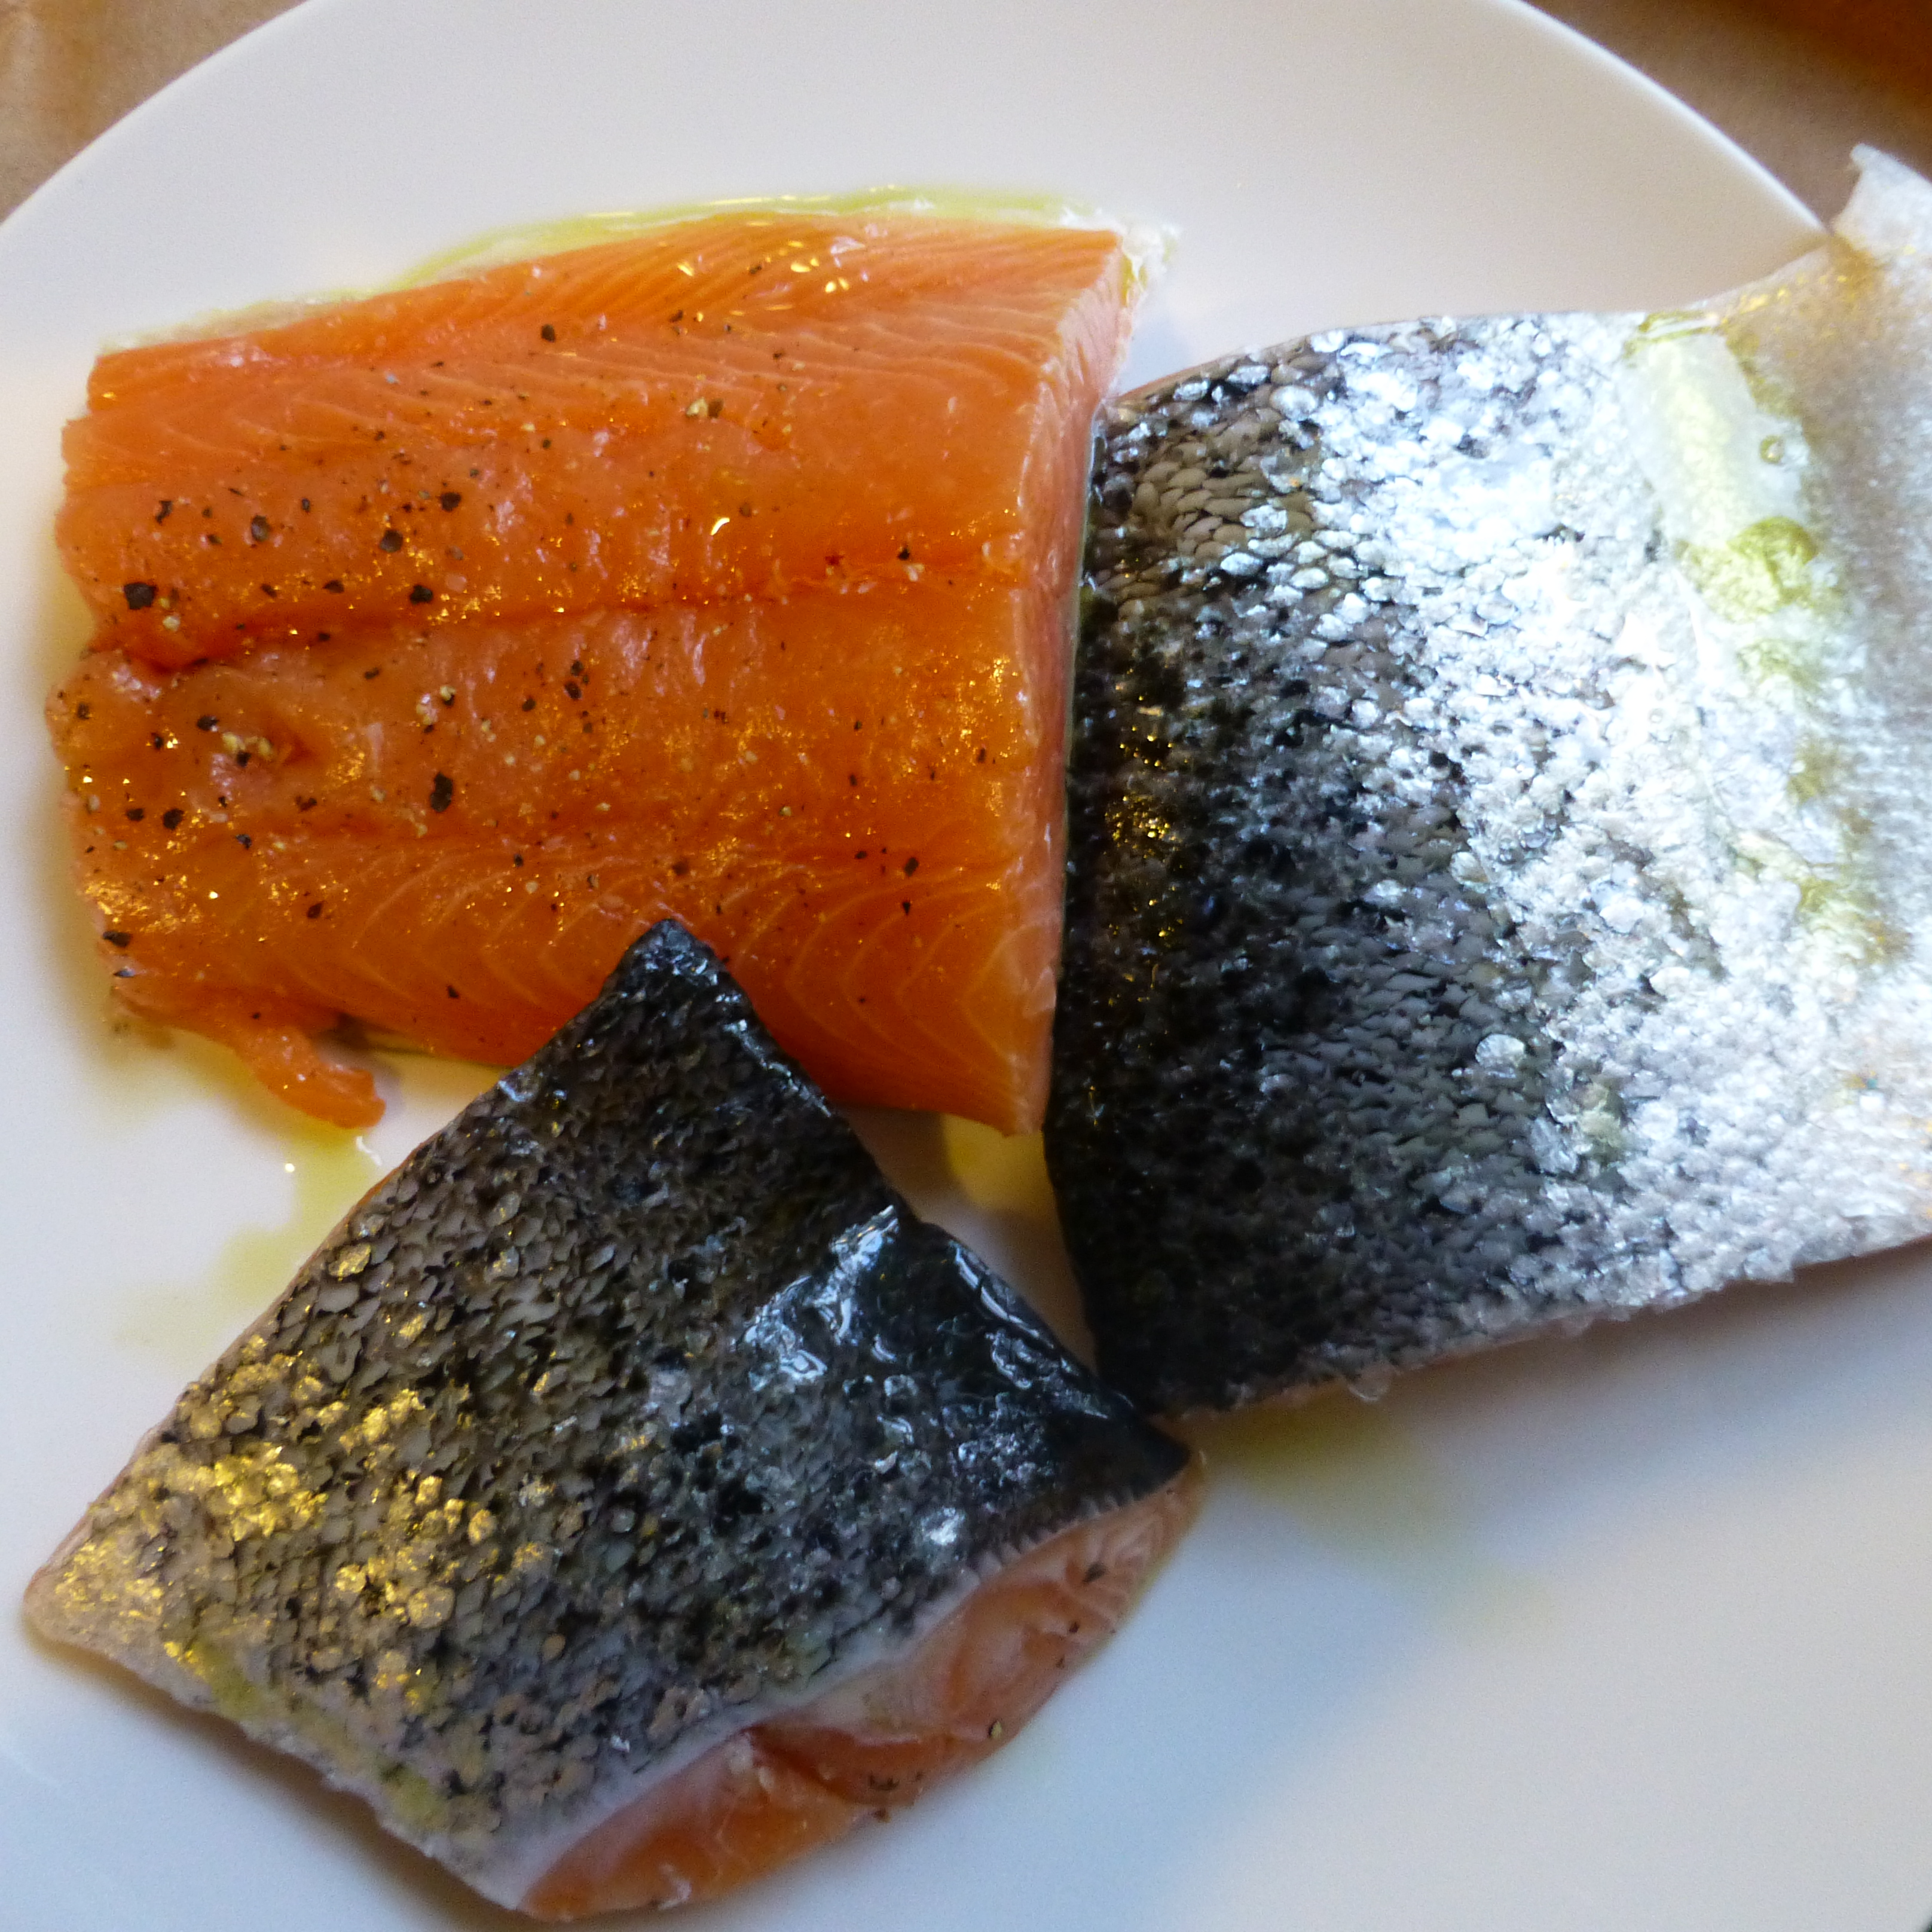
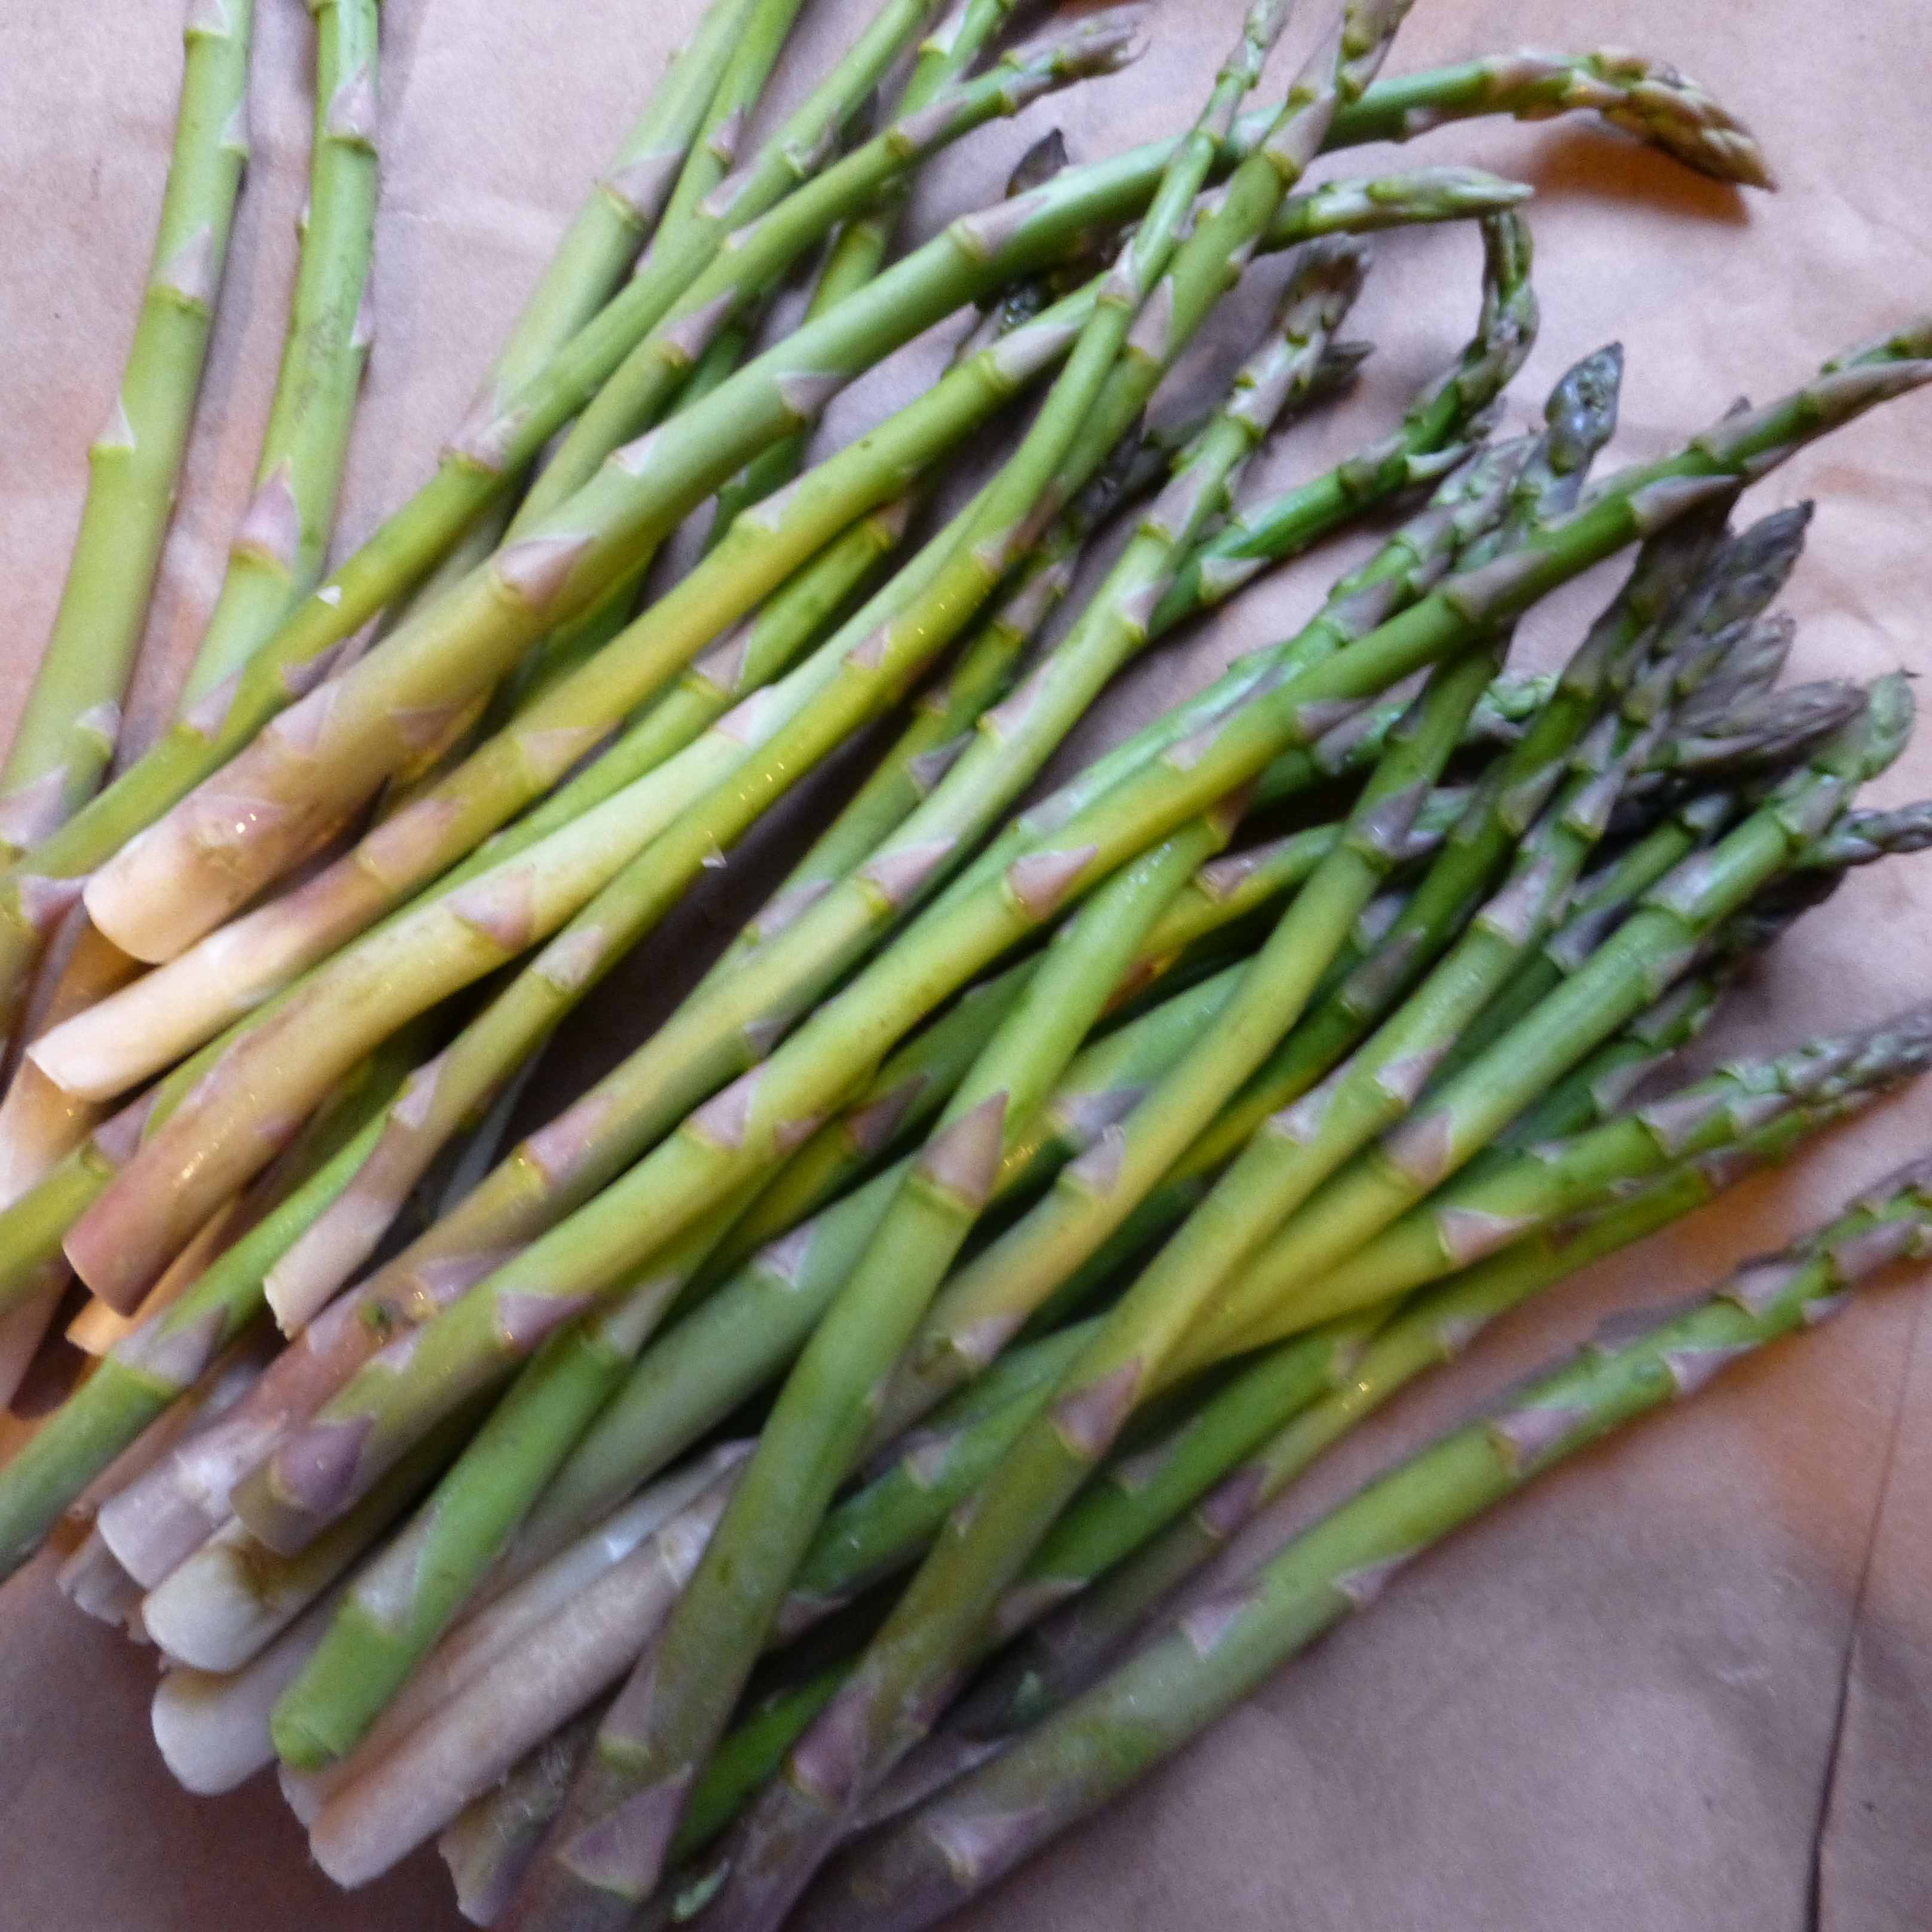
- 4 salmon filets (about 6 oz each, 1-inch thick) (I leave the skin on to protect it from drying out while simmering)
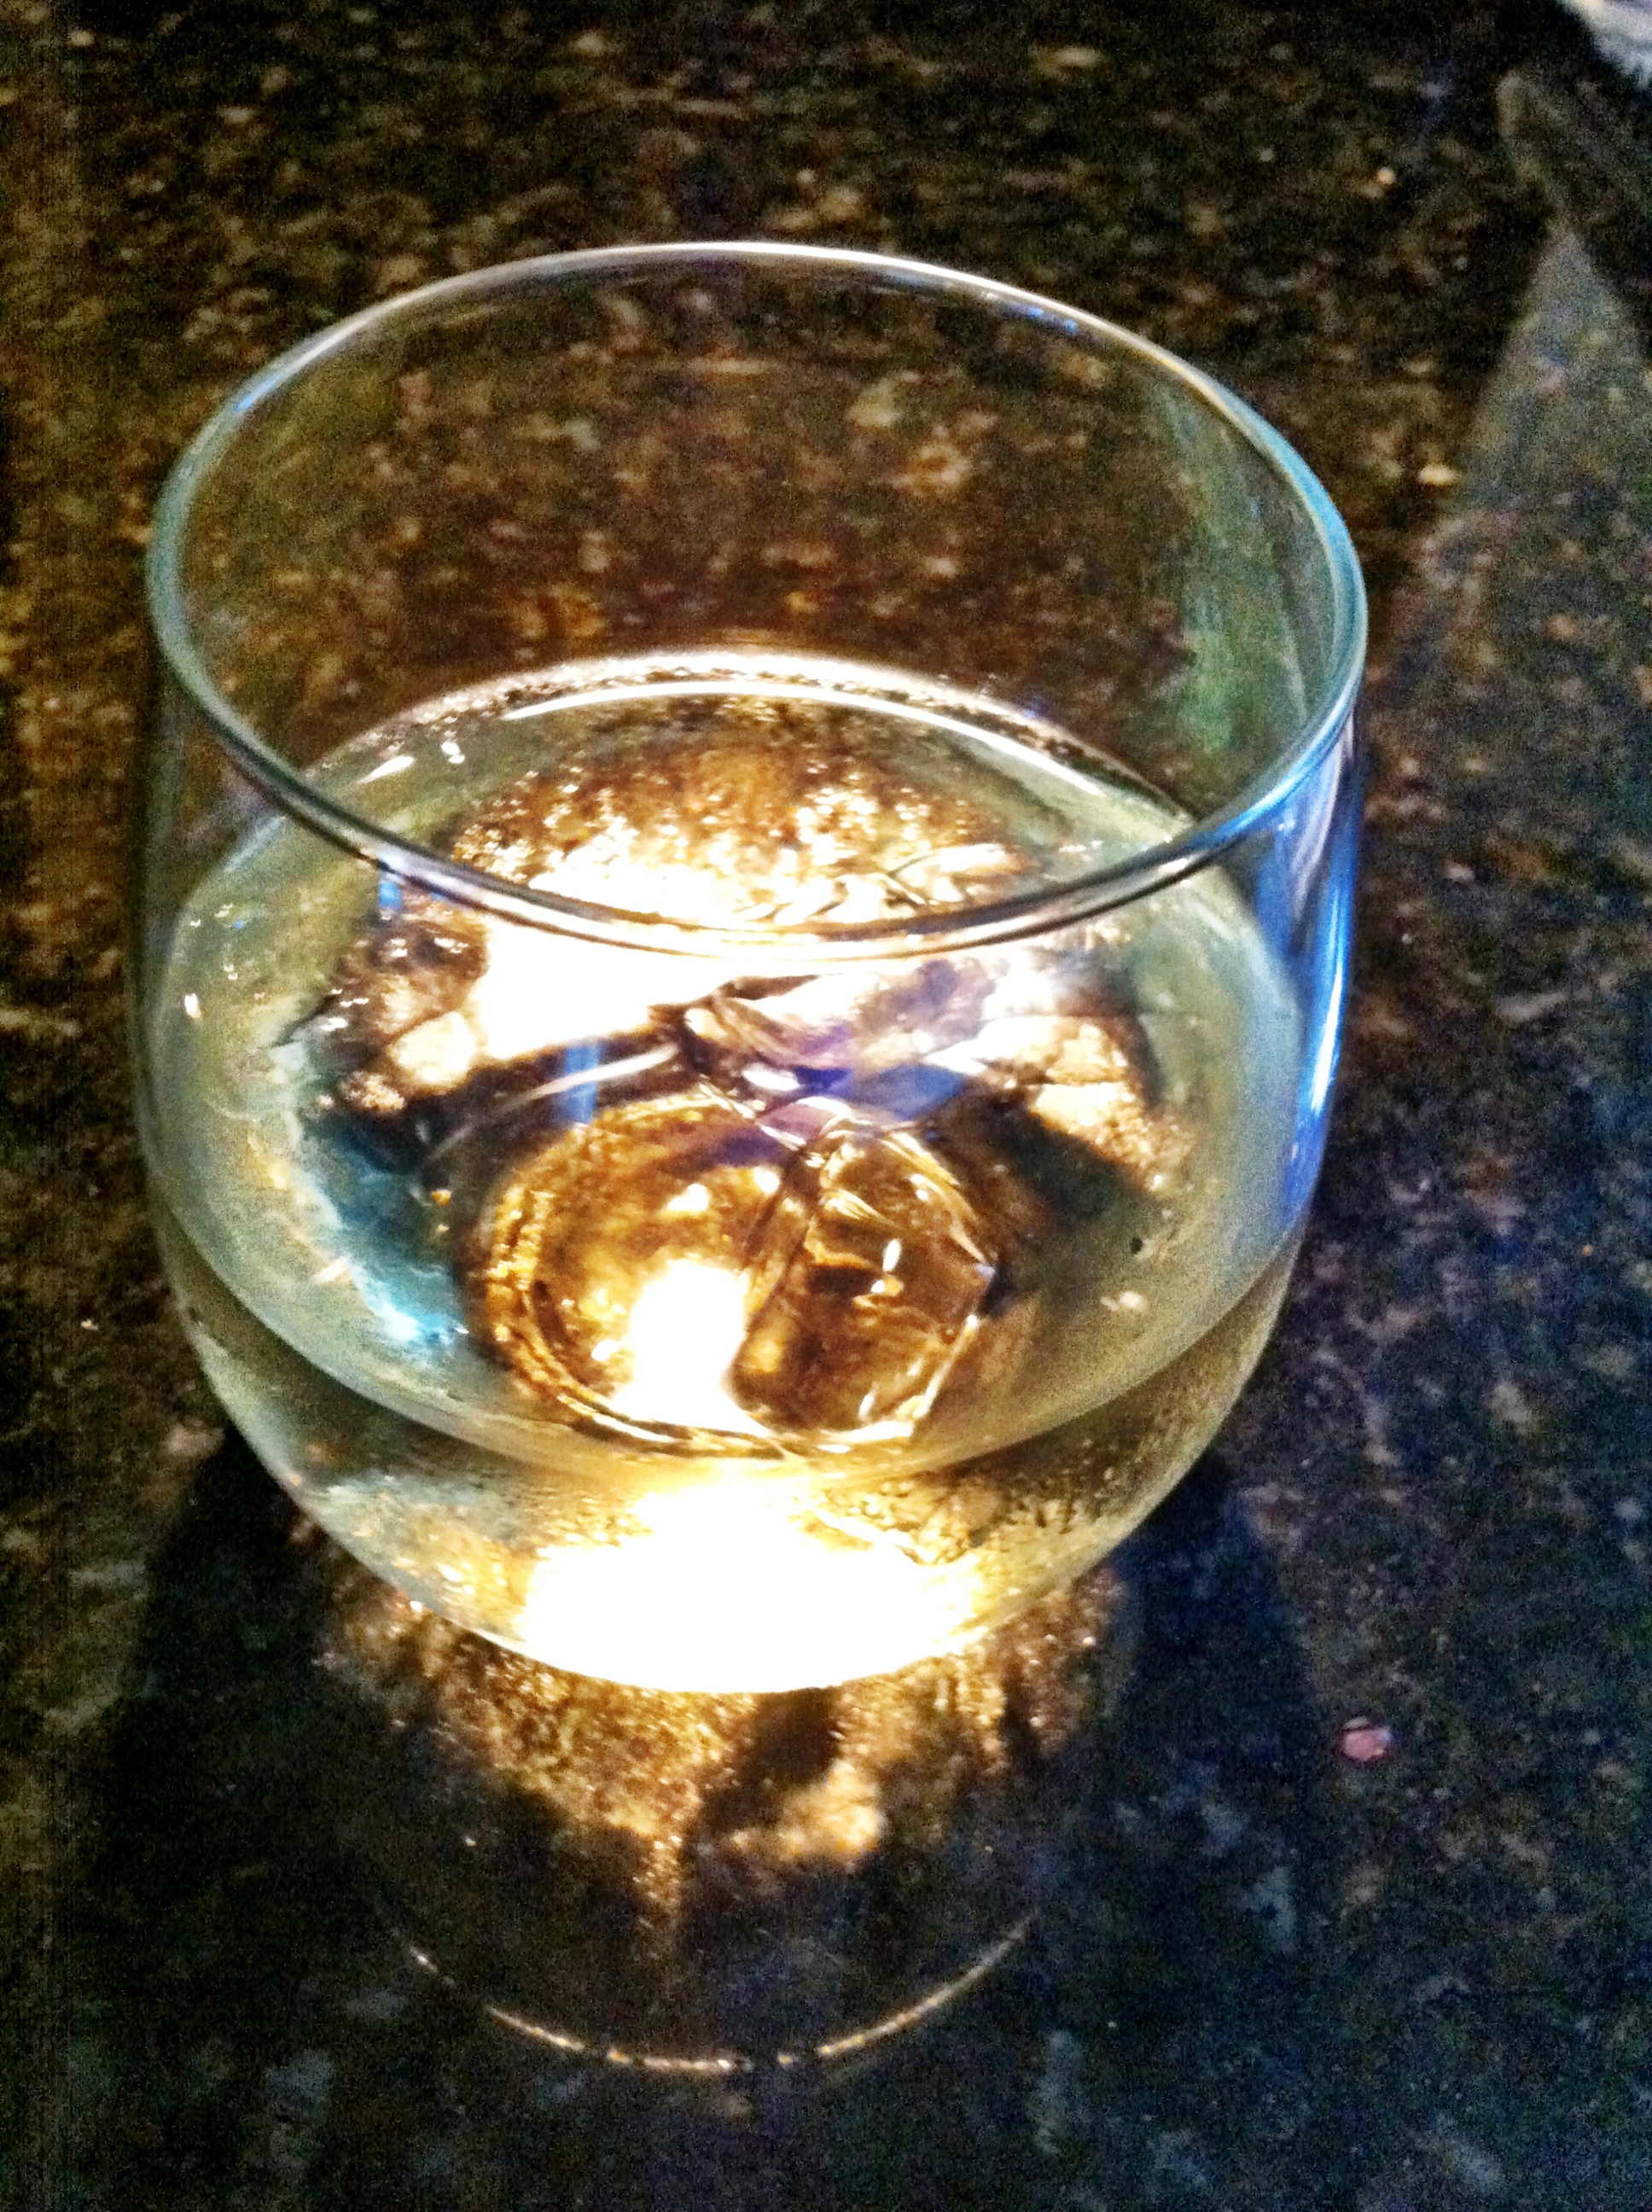
- 4 cups chicken stock (I used homemade but you could also use a white wine and water/stock combination)
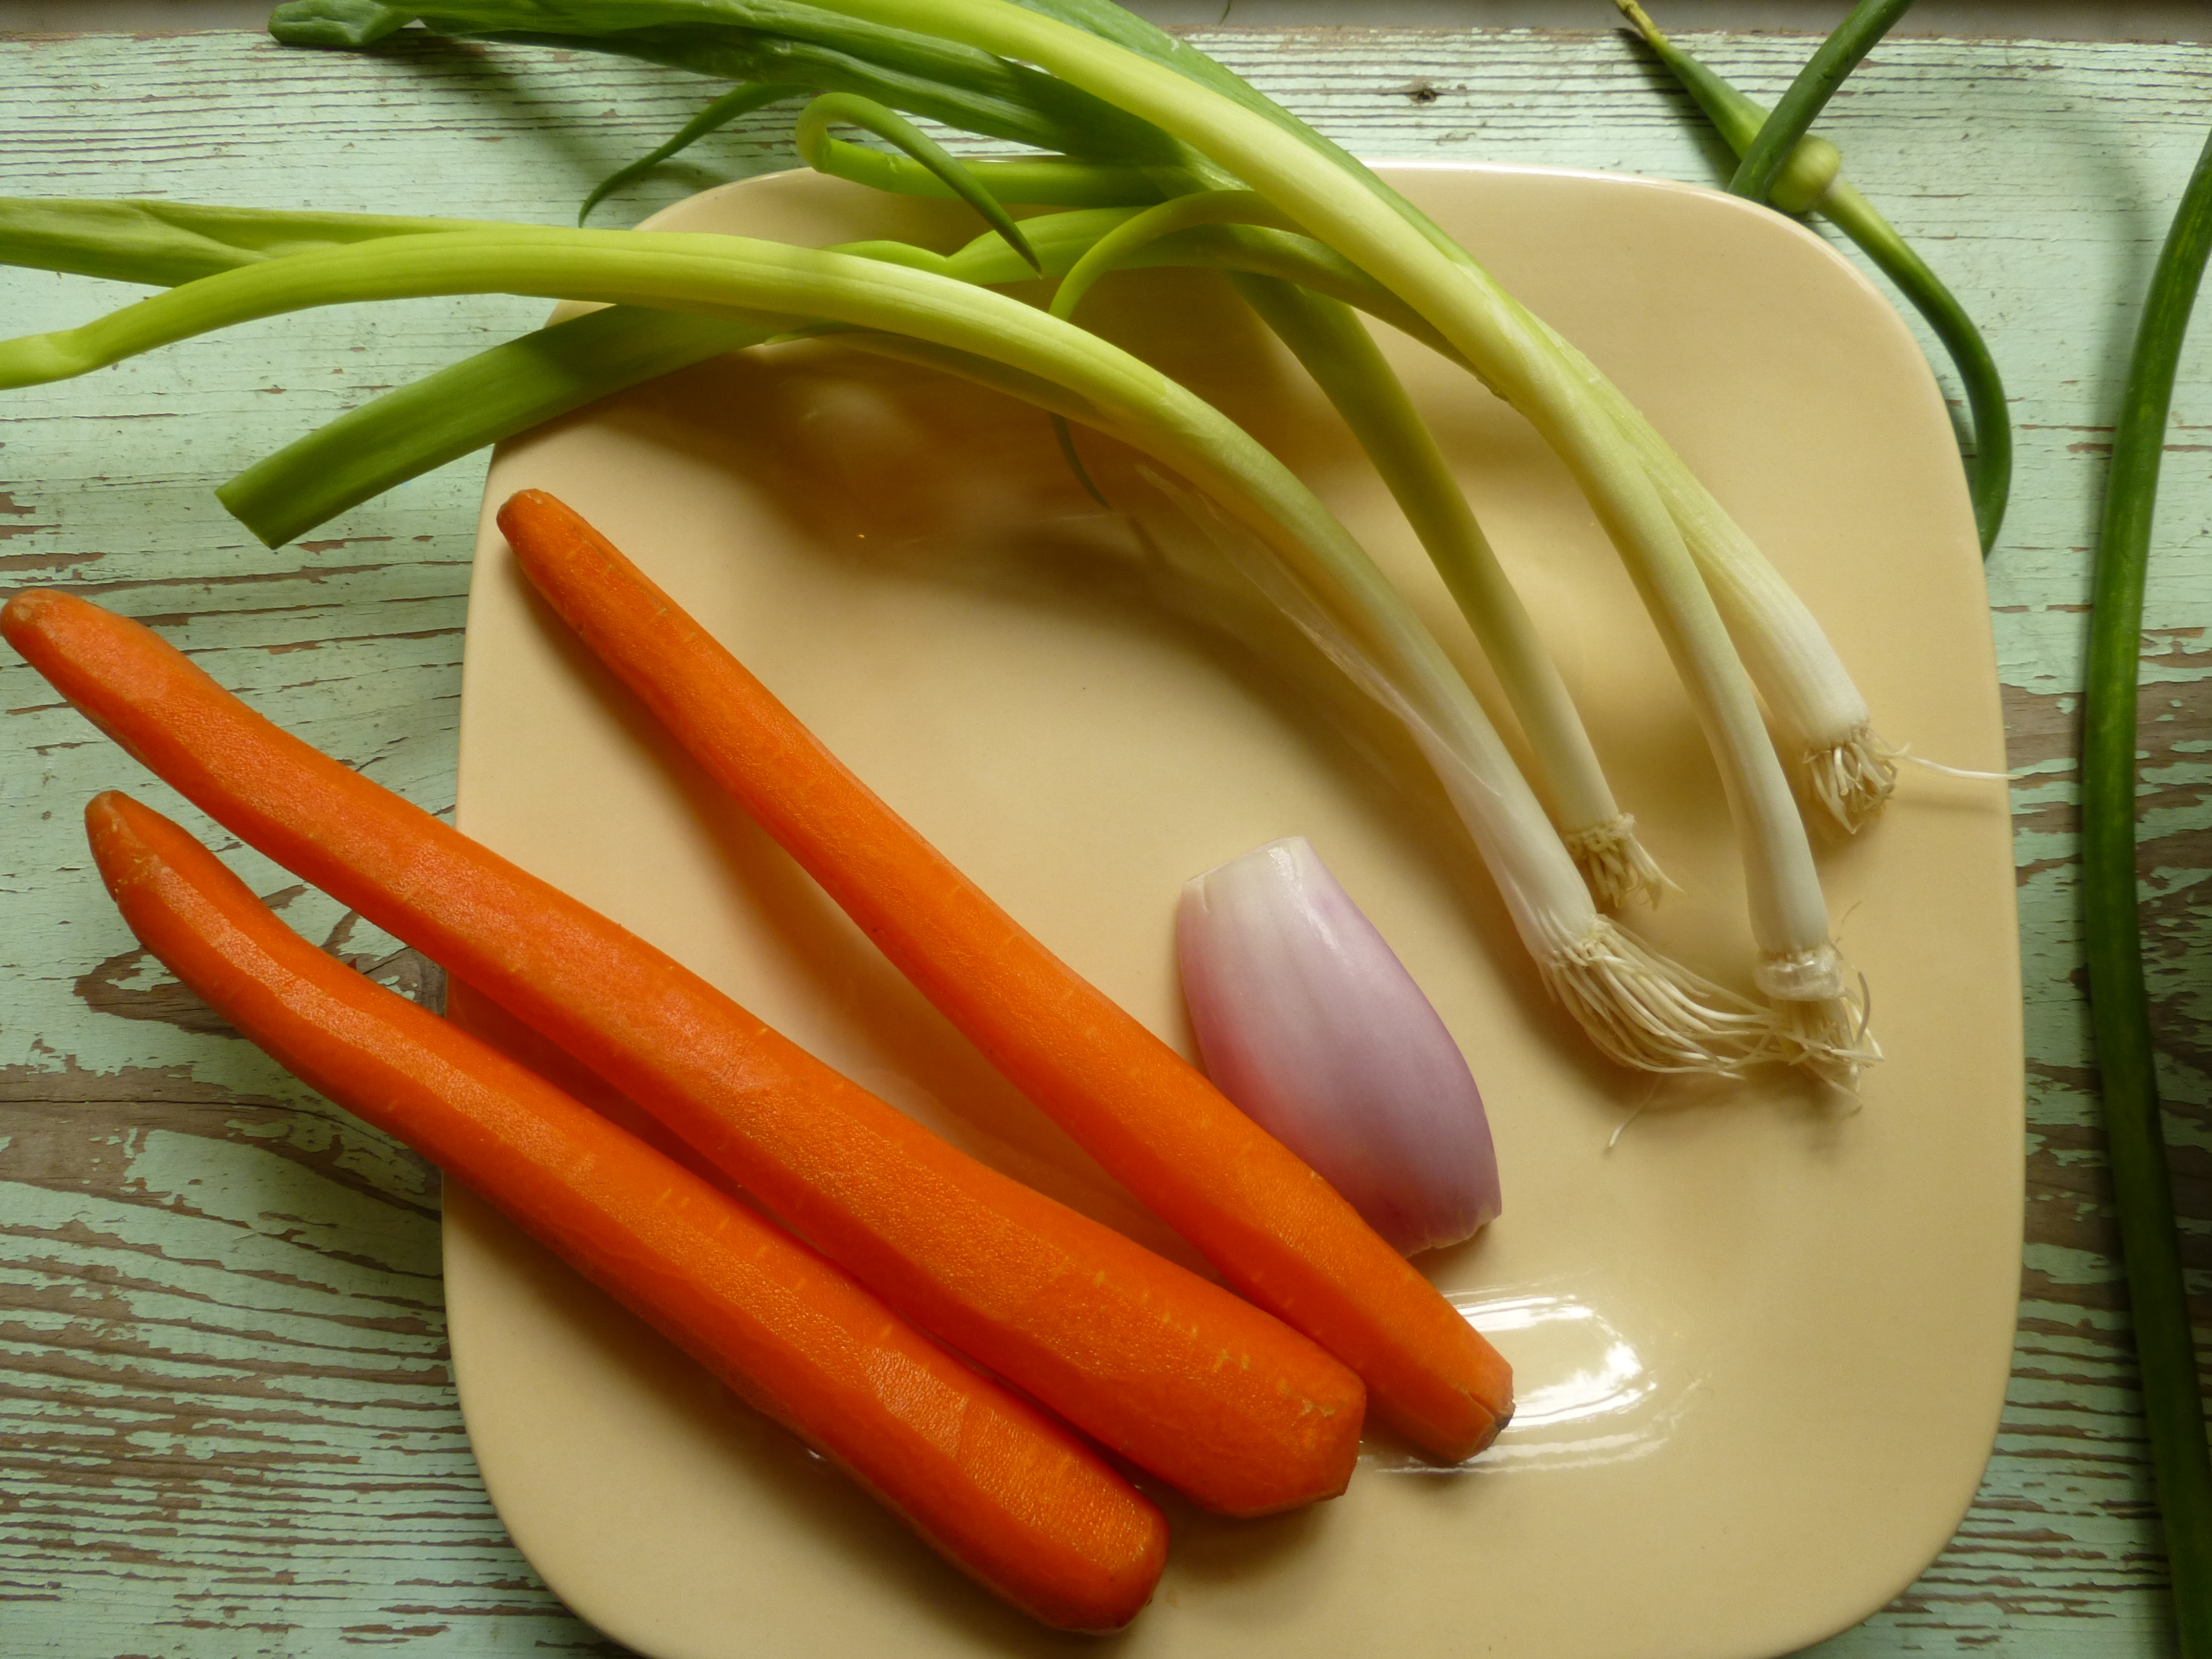
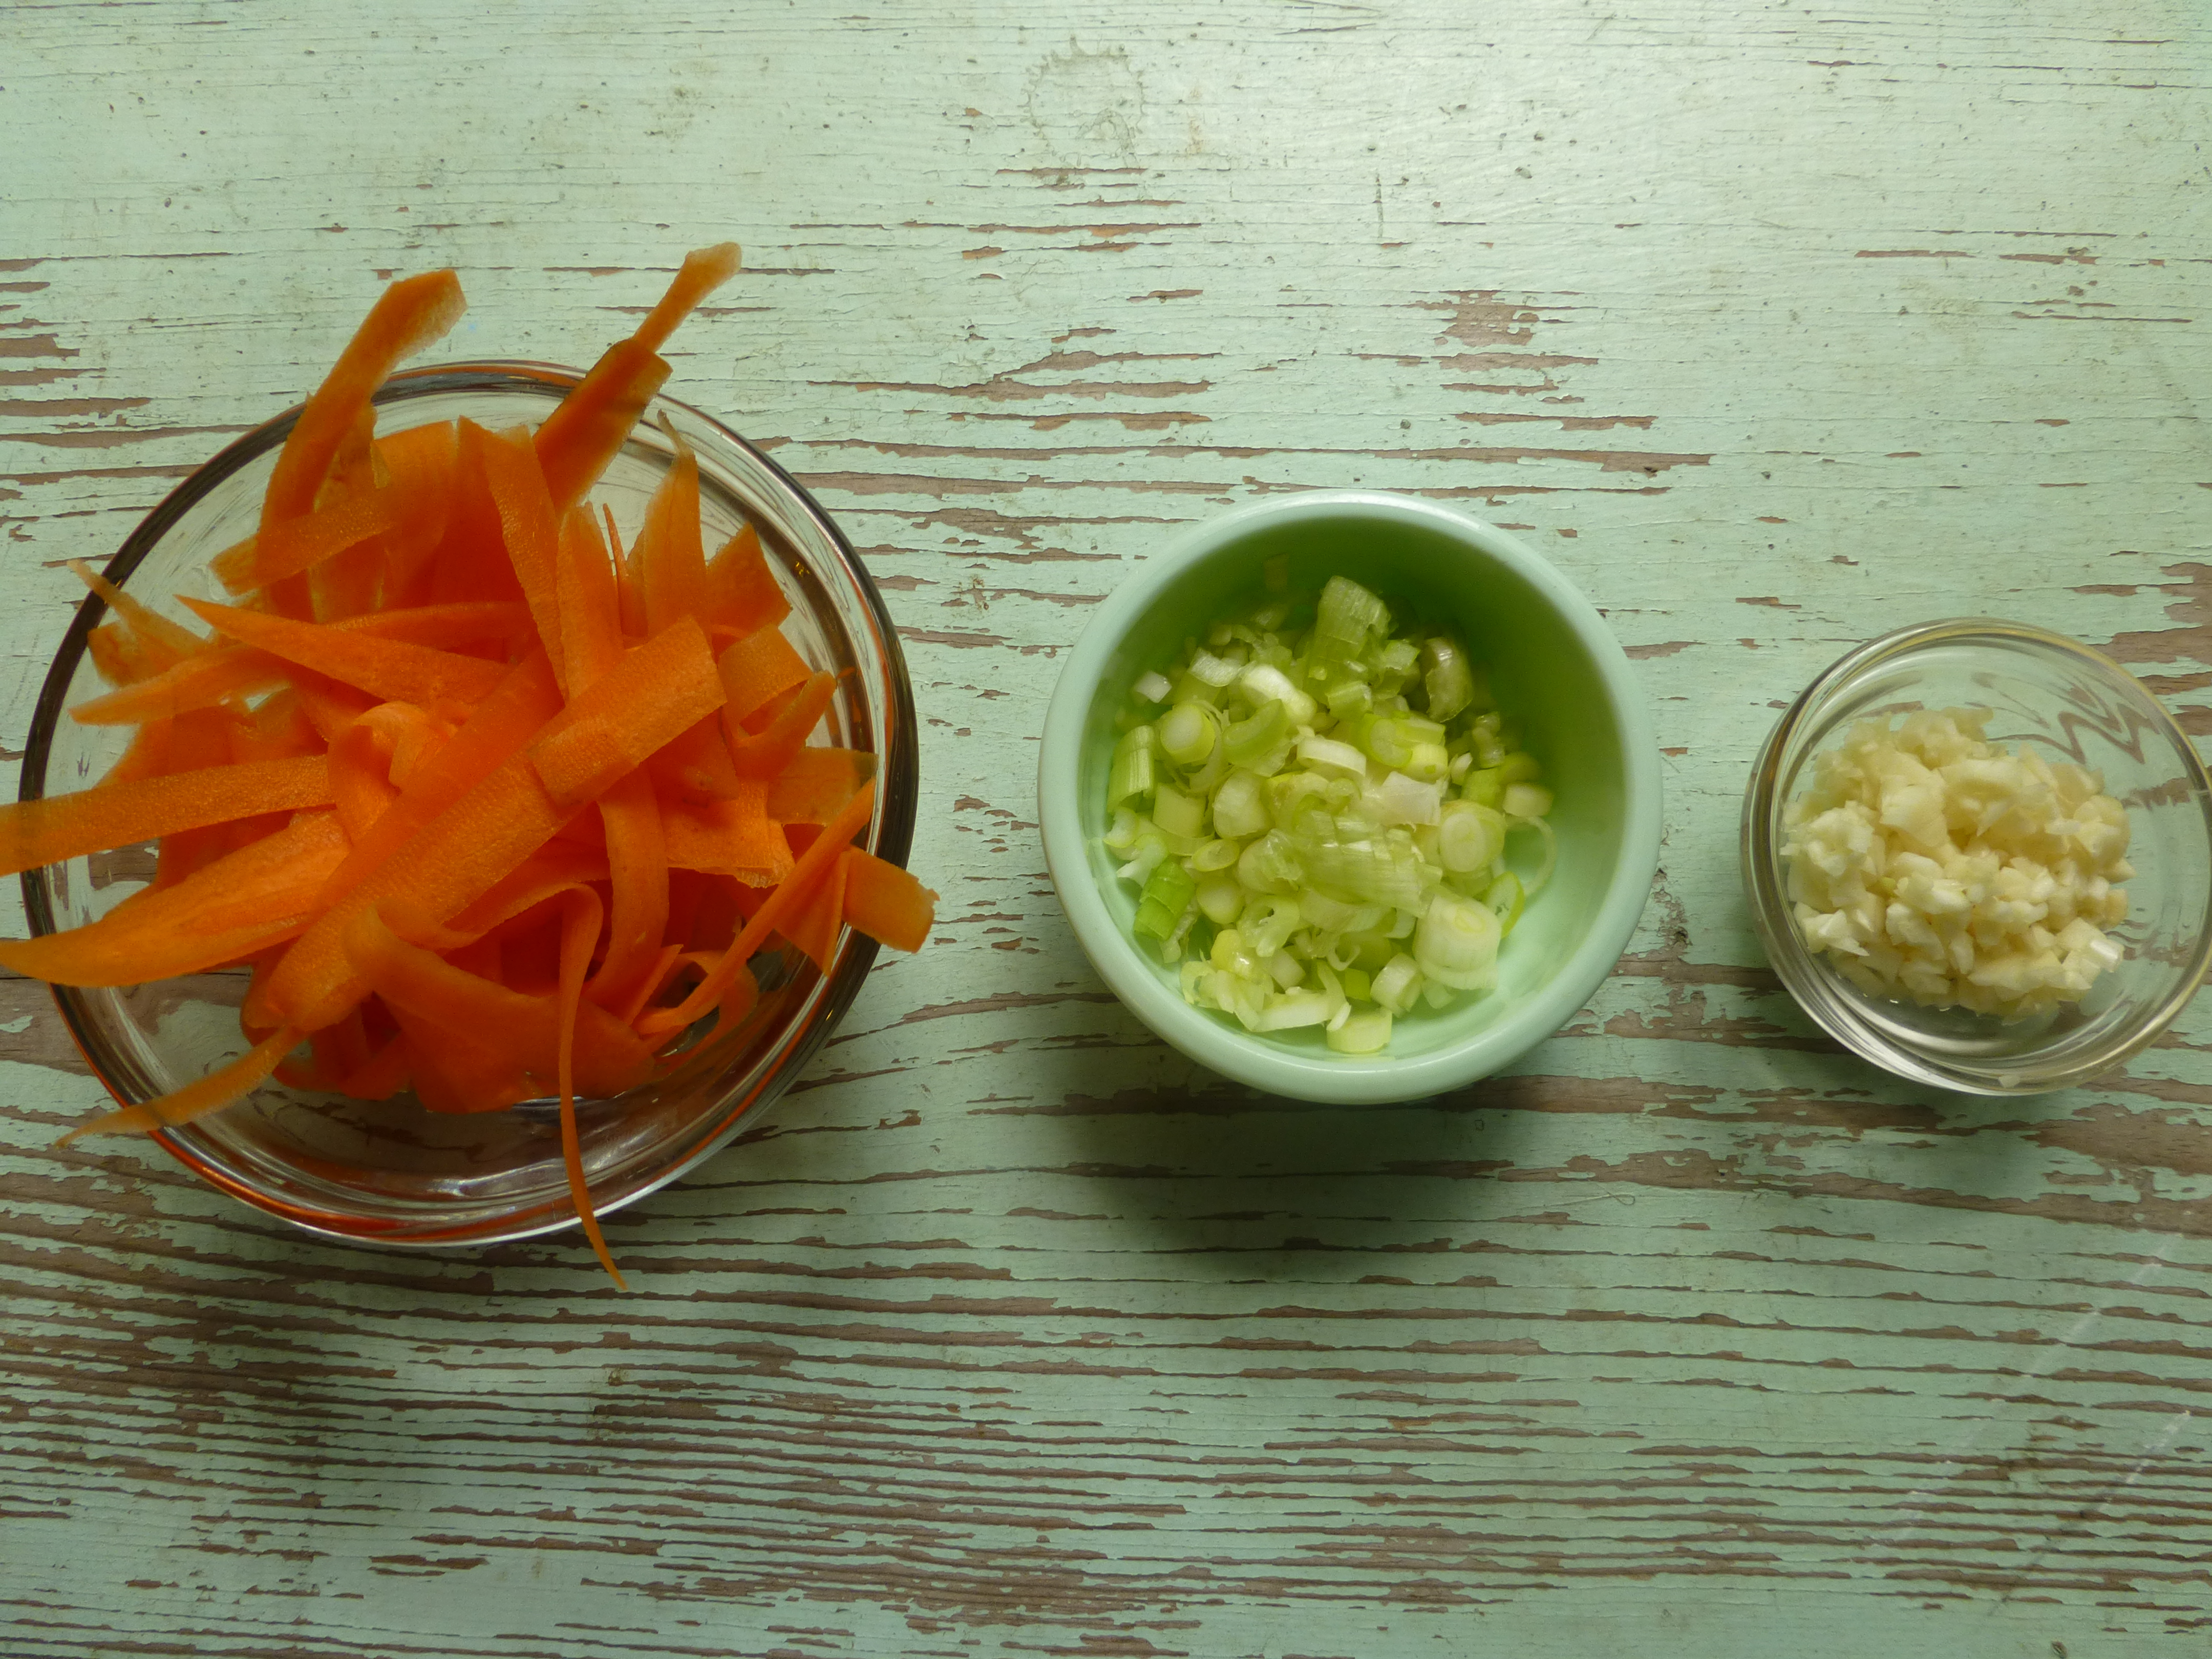
- 1 T. chopped shallot
- Kosher salt and pepper, to taste
For the sauce:
- 1/2 cup sour cream
- 1 T. poaching liquid from the salmon
- 1 T. chopped shallot
- 2 teaspoons chopped fresh tarragon
- 1 teaspoon chopped fresh dill
- pinch of kosher salt
Directions
- In a deep 10-inch skillet with straight sides, bring stock to a simmer.
- Add the chopped shallot and simmer 2 minutes.
- Season salmon filets on both sides with a pinch of salt and pepper.
- Submerge 4 salmon filets, skin sides down, in one layer in the simmering liquid. Cover and poach at a bare simmer, about 8 minutes, or until just cooked through and light pink.
- Transfer cooked salmon with a slotted spatula to a platter.
- When salmon is cool enough to handle, peel off skin if desired. Salmon may be cooked 1 day ahead and chilled, covered.
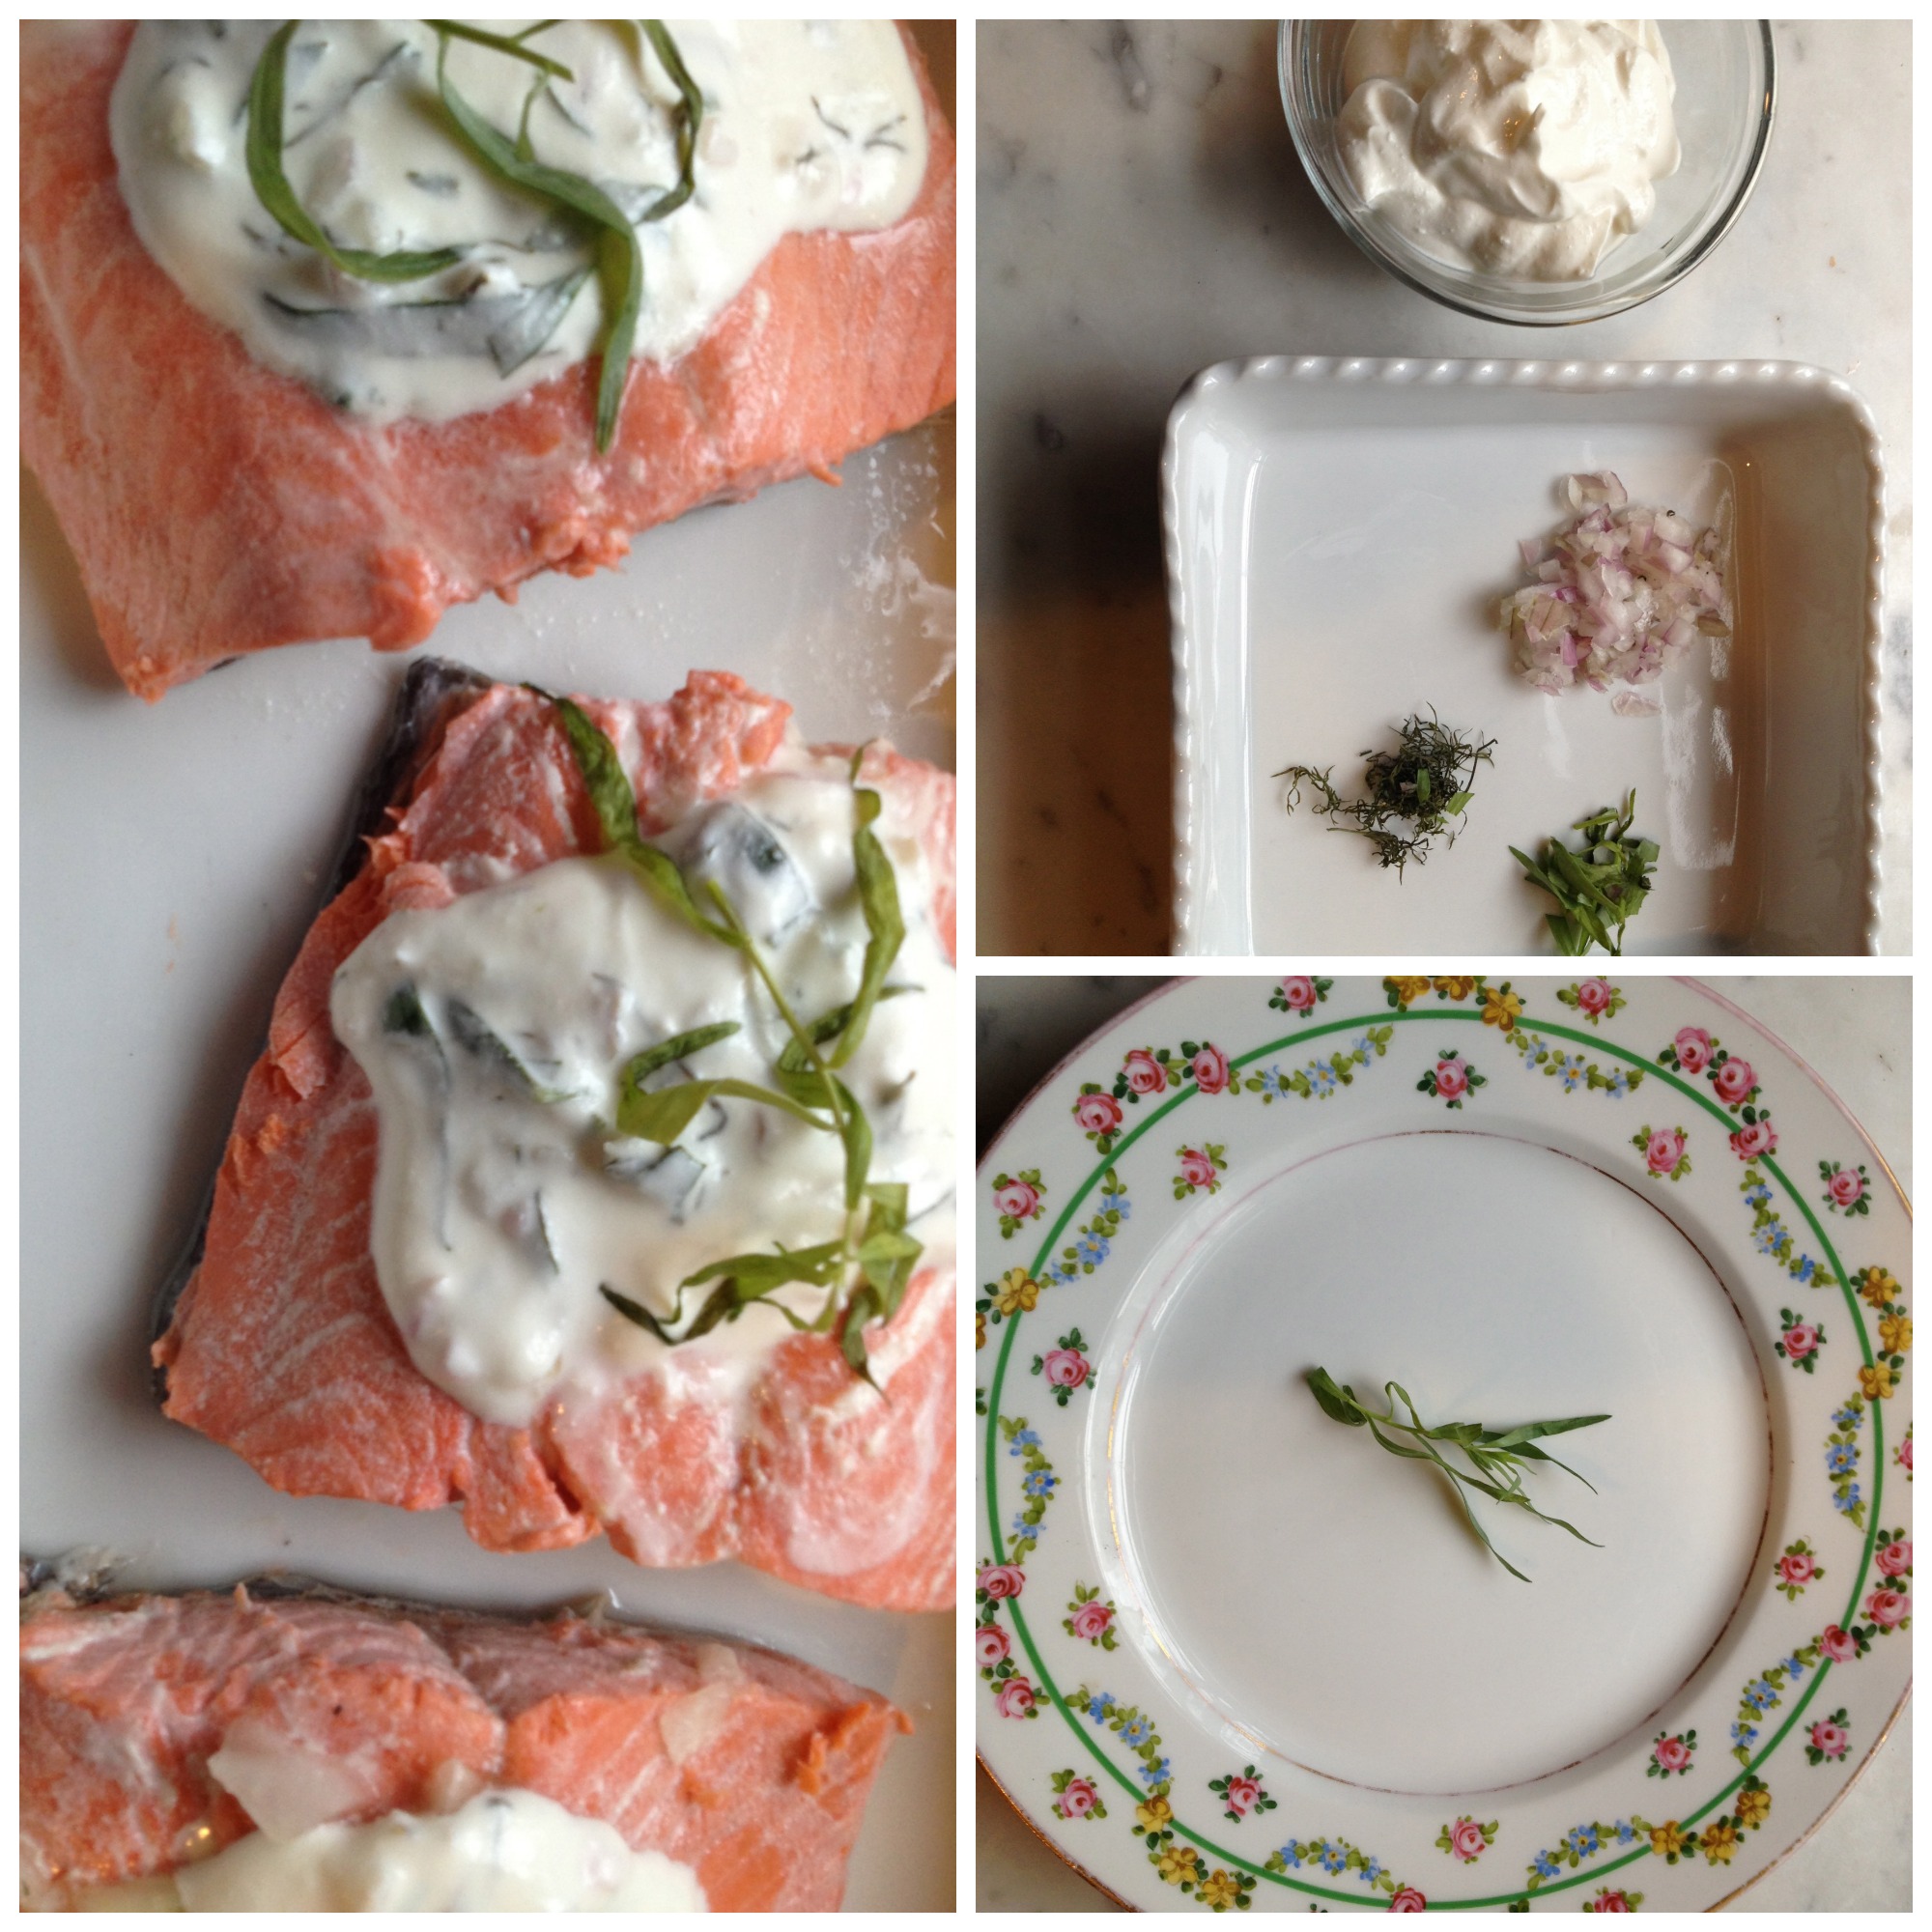
Photo credit: Rebecca Penovich
To make the sauce:
- Gently heat the sour cream in a small, heavy-bottomed sauce pan over very low heat. (You don’t want it to curdle.)
- Add 1 T. of the poaching liquid and the chopped shallots
- Warm the sour cream (don’t simmer it) and stir with wooden spoon for 3 minutes to let shallots release their juice.
- Take off the heat and add tarragon, dill, and pinch of salt.
- Taste and adjust seasonings to your taste. (If you like more dill, add it. I like lots of tarragon flavor.)
Go team USA!

U.S. skier Joss Christensen gets in a practice run for Ski Slopestyle ahead of the Sochi 2014 Winter Olympics at the Extreme Park at Rosa Khutor Mountain. (Lars Baron / Getty Images / February 4, 2014)