
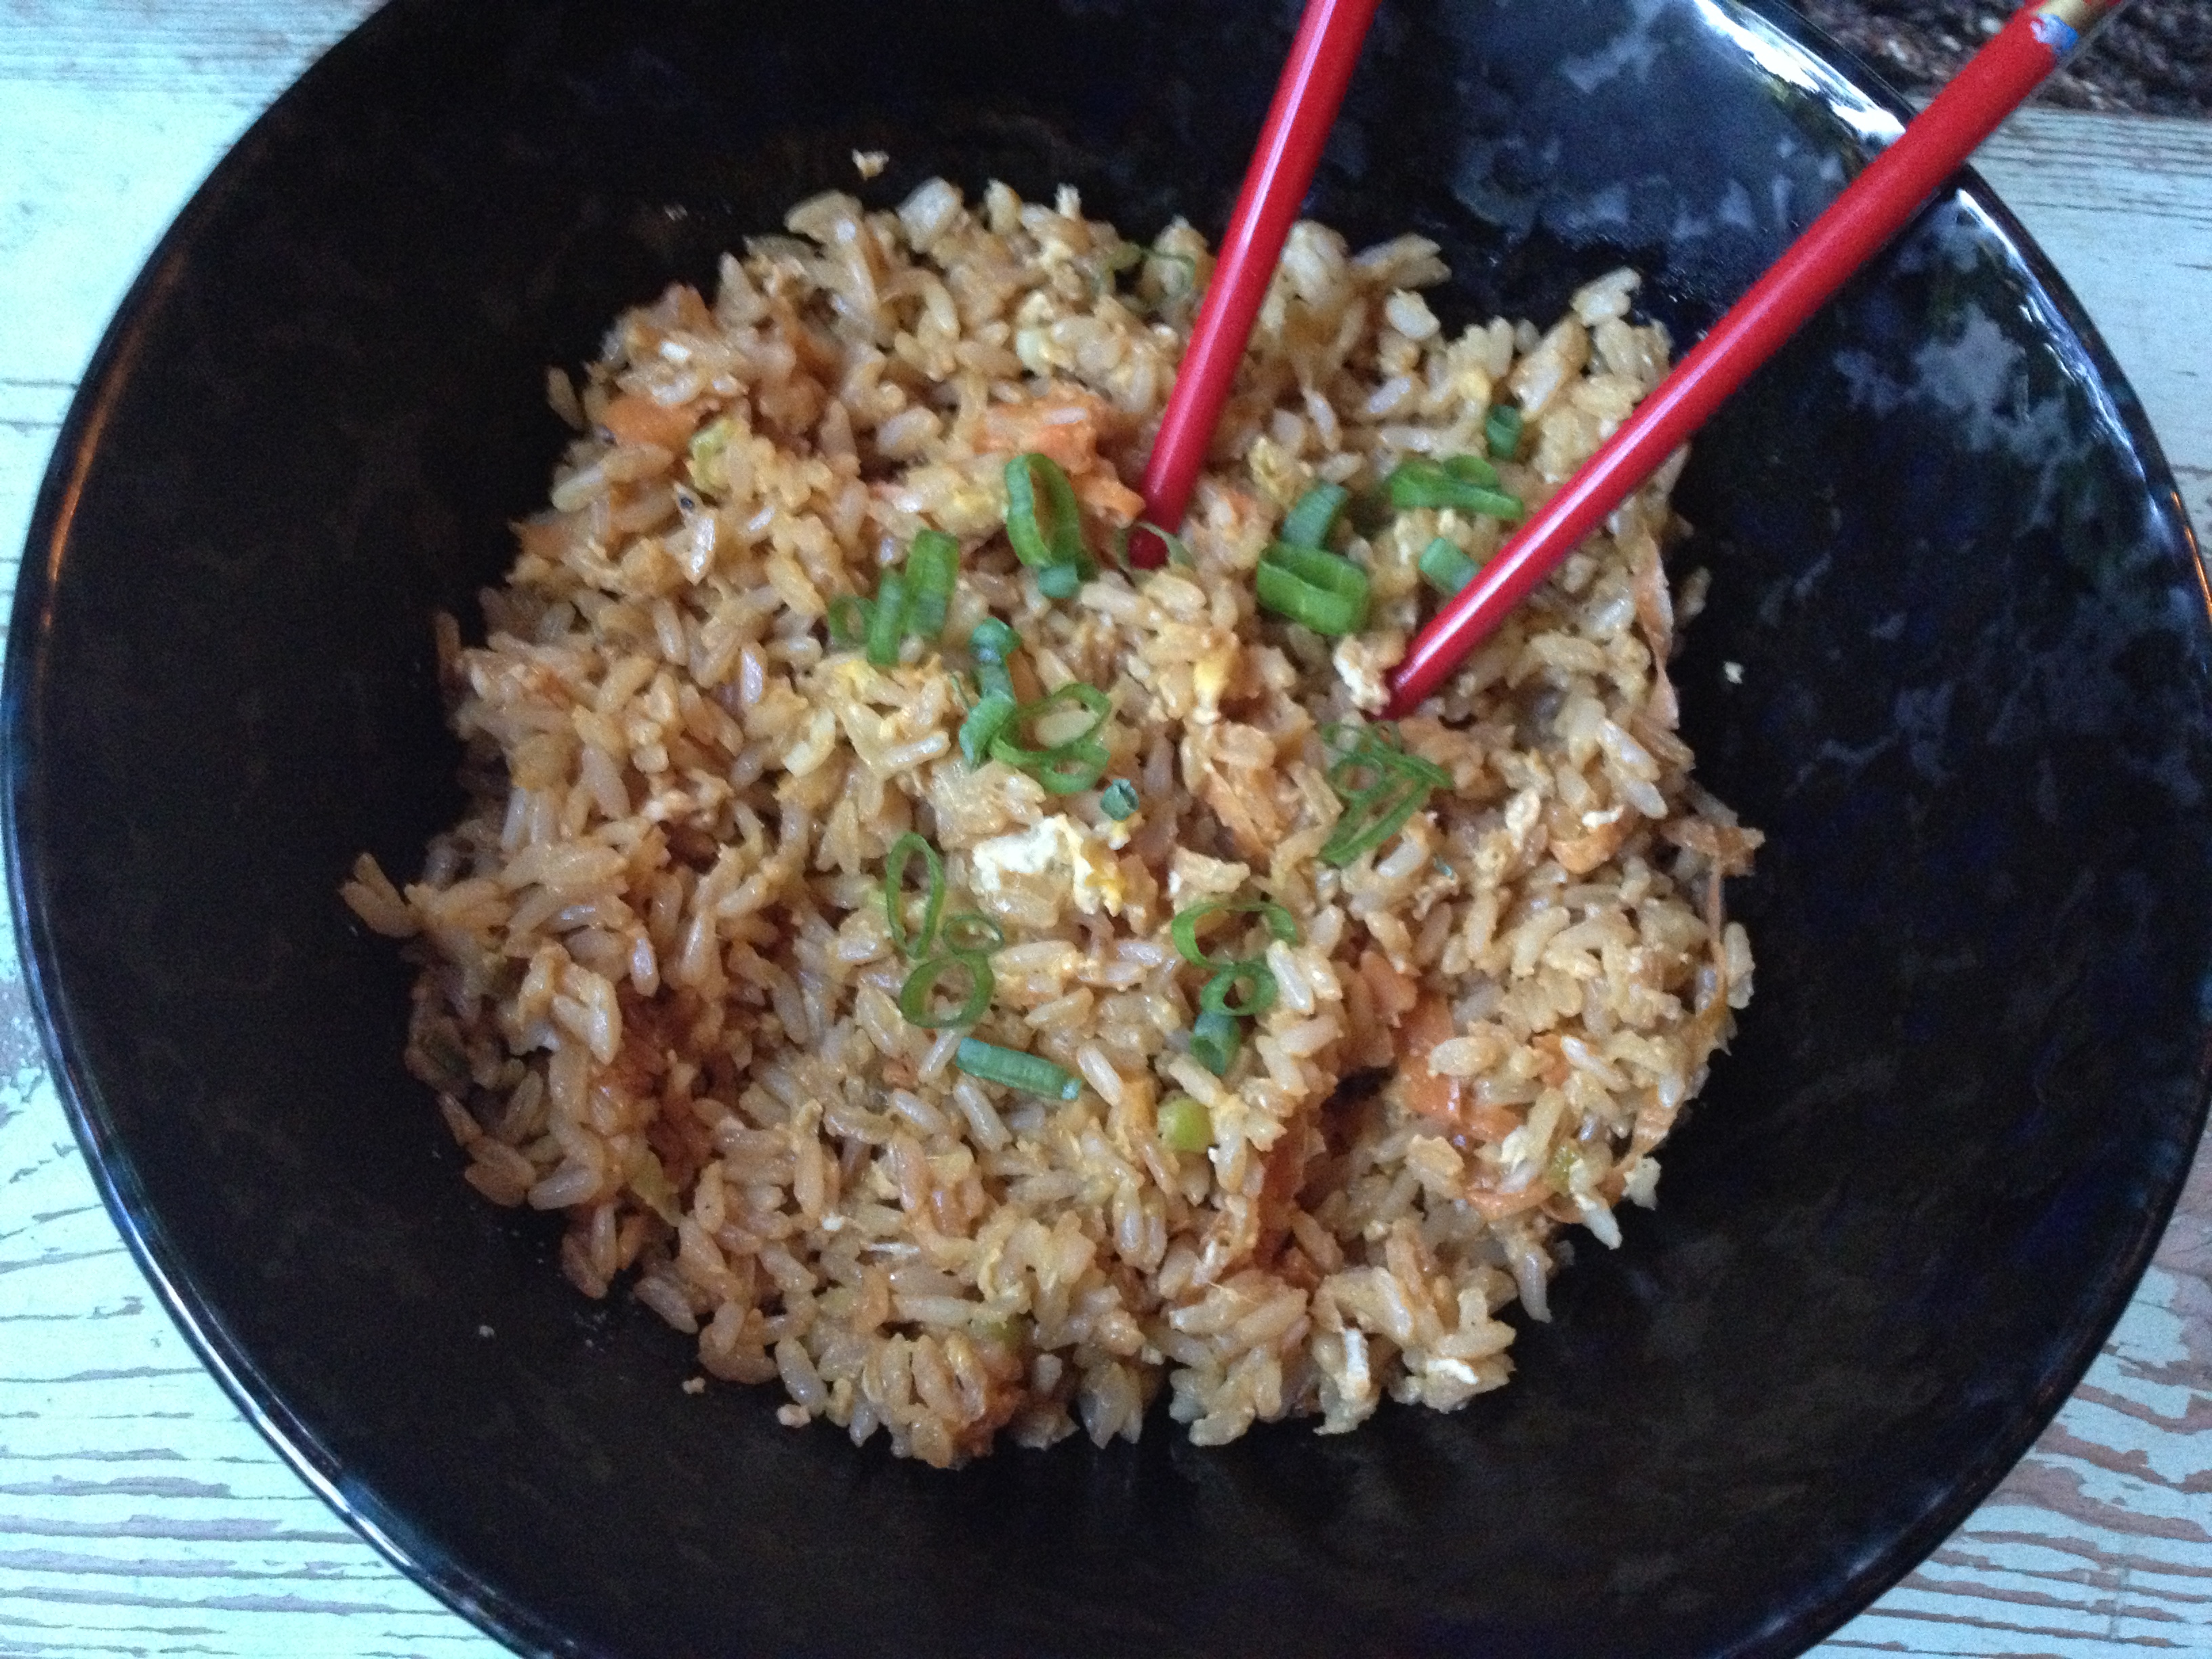
Veggie fried brown rice with green onion and scrambled egg.
Joe came home from his 5th-grade nutrition class saying that he’d like to eat less meat and more vegetables and grains. I said, that’s great! Let’s try some new recipes. I’d like to eat less meat, too!
So I’ve been making of lot of rice (brown and basmati), beans (pinto and black), and several permutations of this vegetable fried rice. Fried rice is a good way to use up leftover steamed rice and whatever else might be languishing in your vegetable bin (green onions, shallots, carrots, celery, mushrooms, broccoli, frozen peas, corn).

Rice cookers come in a vast array of price ranges. I bought mine (same make and model as pictured) at a thrift store for $6 but you can pay up to $199 for a fancy one with digital display.
I bought a rice cooker at the thrift store and we’ve been putting it to use, making rice at least once a week. Normally I’m not a fan of gadgets that are devoted to one single purpose. I already have too many gadgets. My good friend (whose husband comes from a large Filipino family and eats rice at every meal, including breakfast) swore she could not live without hers and now I am a convert.
It is so easy to cook rice this way if you are going to be cooking it once a week or more. The rice steams perfectly and the cooker turns itself off (into ‘warm’ mode) when it’s ready so it is very forgiving of your timeline. The rice comes out just right, every single time. (No more peeking under the lid to check if rice is done.)
Here’s the scenario: rush home from work or whatever your activity was pre-dinner, walk in the door, get out the rice cooker, pour a cup of rice in and at least a cup and half of water, push the button, then live your life, write your blog, check your email, feed the cat and/or dog, throw a load of laundry in, get the mail, pay a bill online, pick that random sock off the floor, and in 20 minutes or so, rice is done. Check.
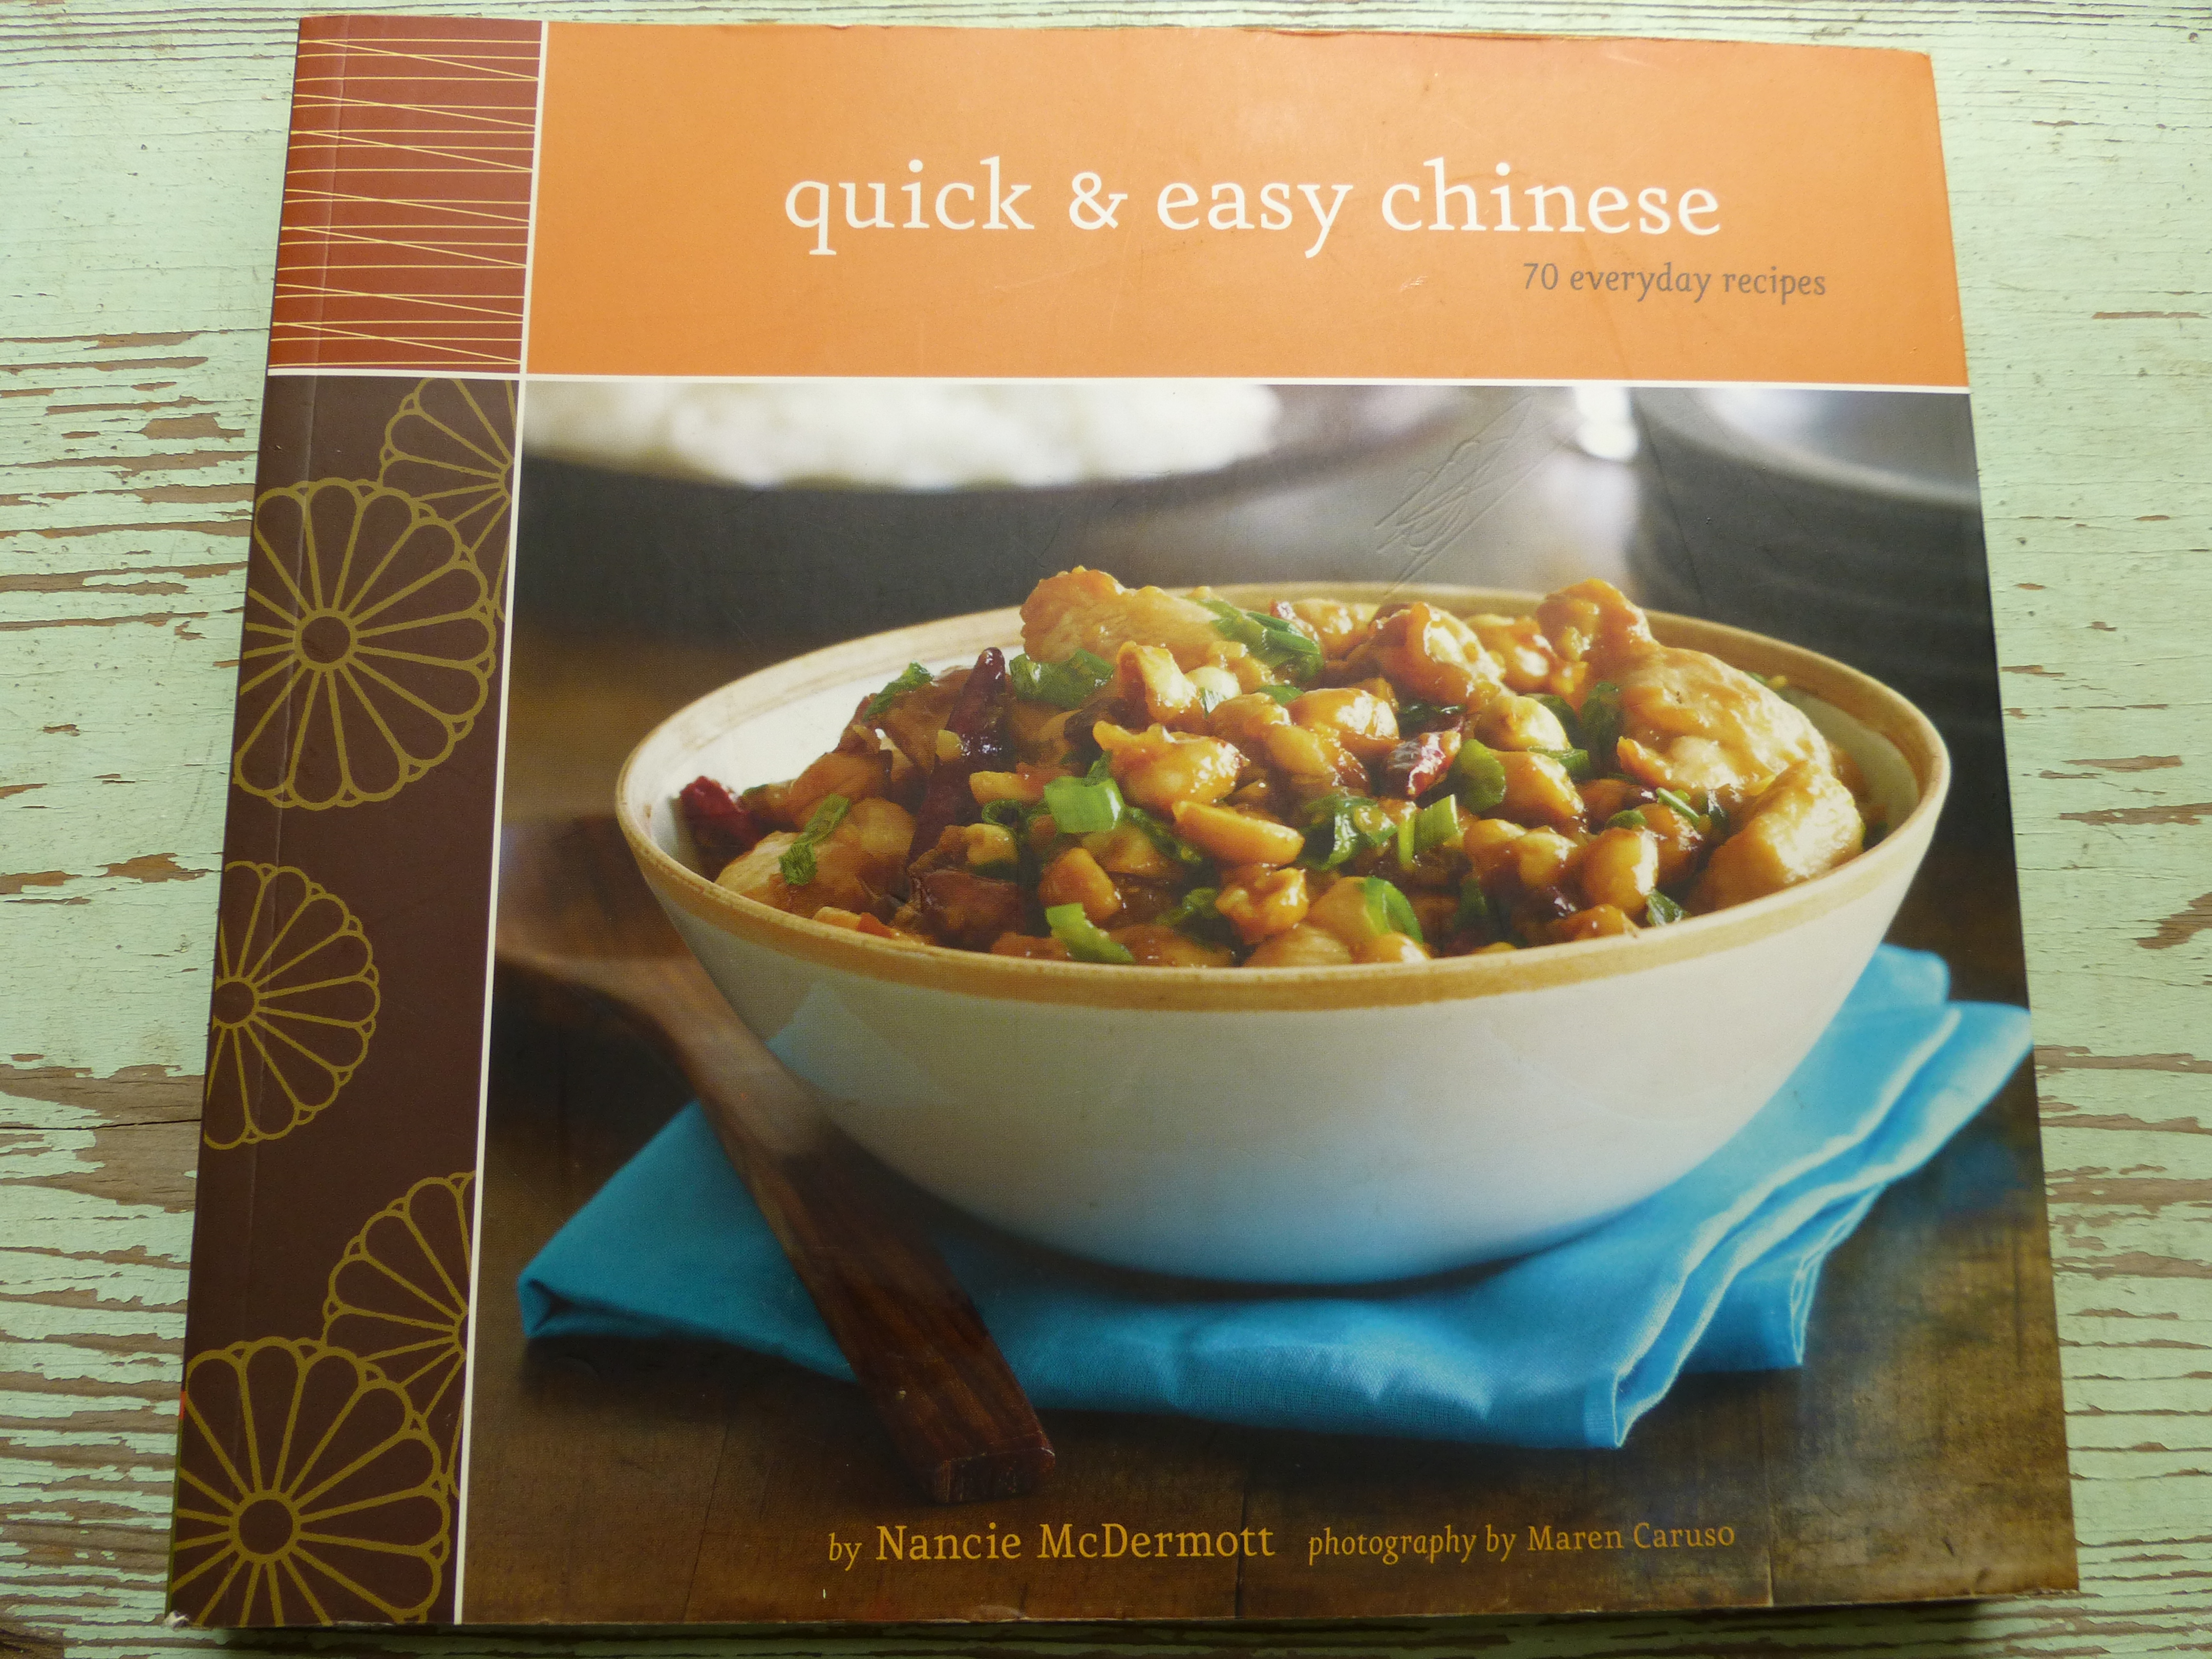
Excellent Chinese cookbook by Nancie McDermott.
Nancie McDermott, author of Quick and Easy Chinese: 70 Everyday Recipes (Chronicle Books, San Francisco, 2008) includes four recipes for fried rice. Once you have her method, you can adapt the recipes to include what you have on hand (or exclude what you don’t.) You’ll need some basic Asian pantry items (soy sauce, sesame oil) and if you’d like you can jazz it up with other Asian sauces, condiments, or chile pastes you might have.
I love going to our big Asian grocery store, so my exotic condiment shelves overflow, Asian food is love of my favorites, you’ll see me at the asian buffet singapore every month
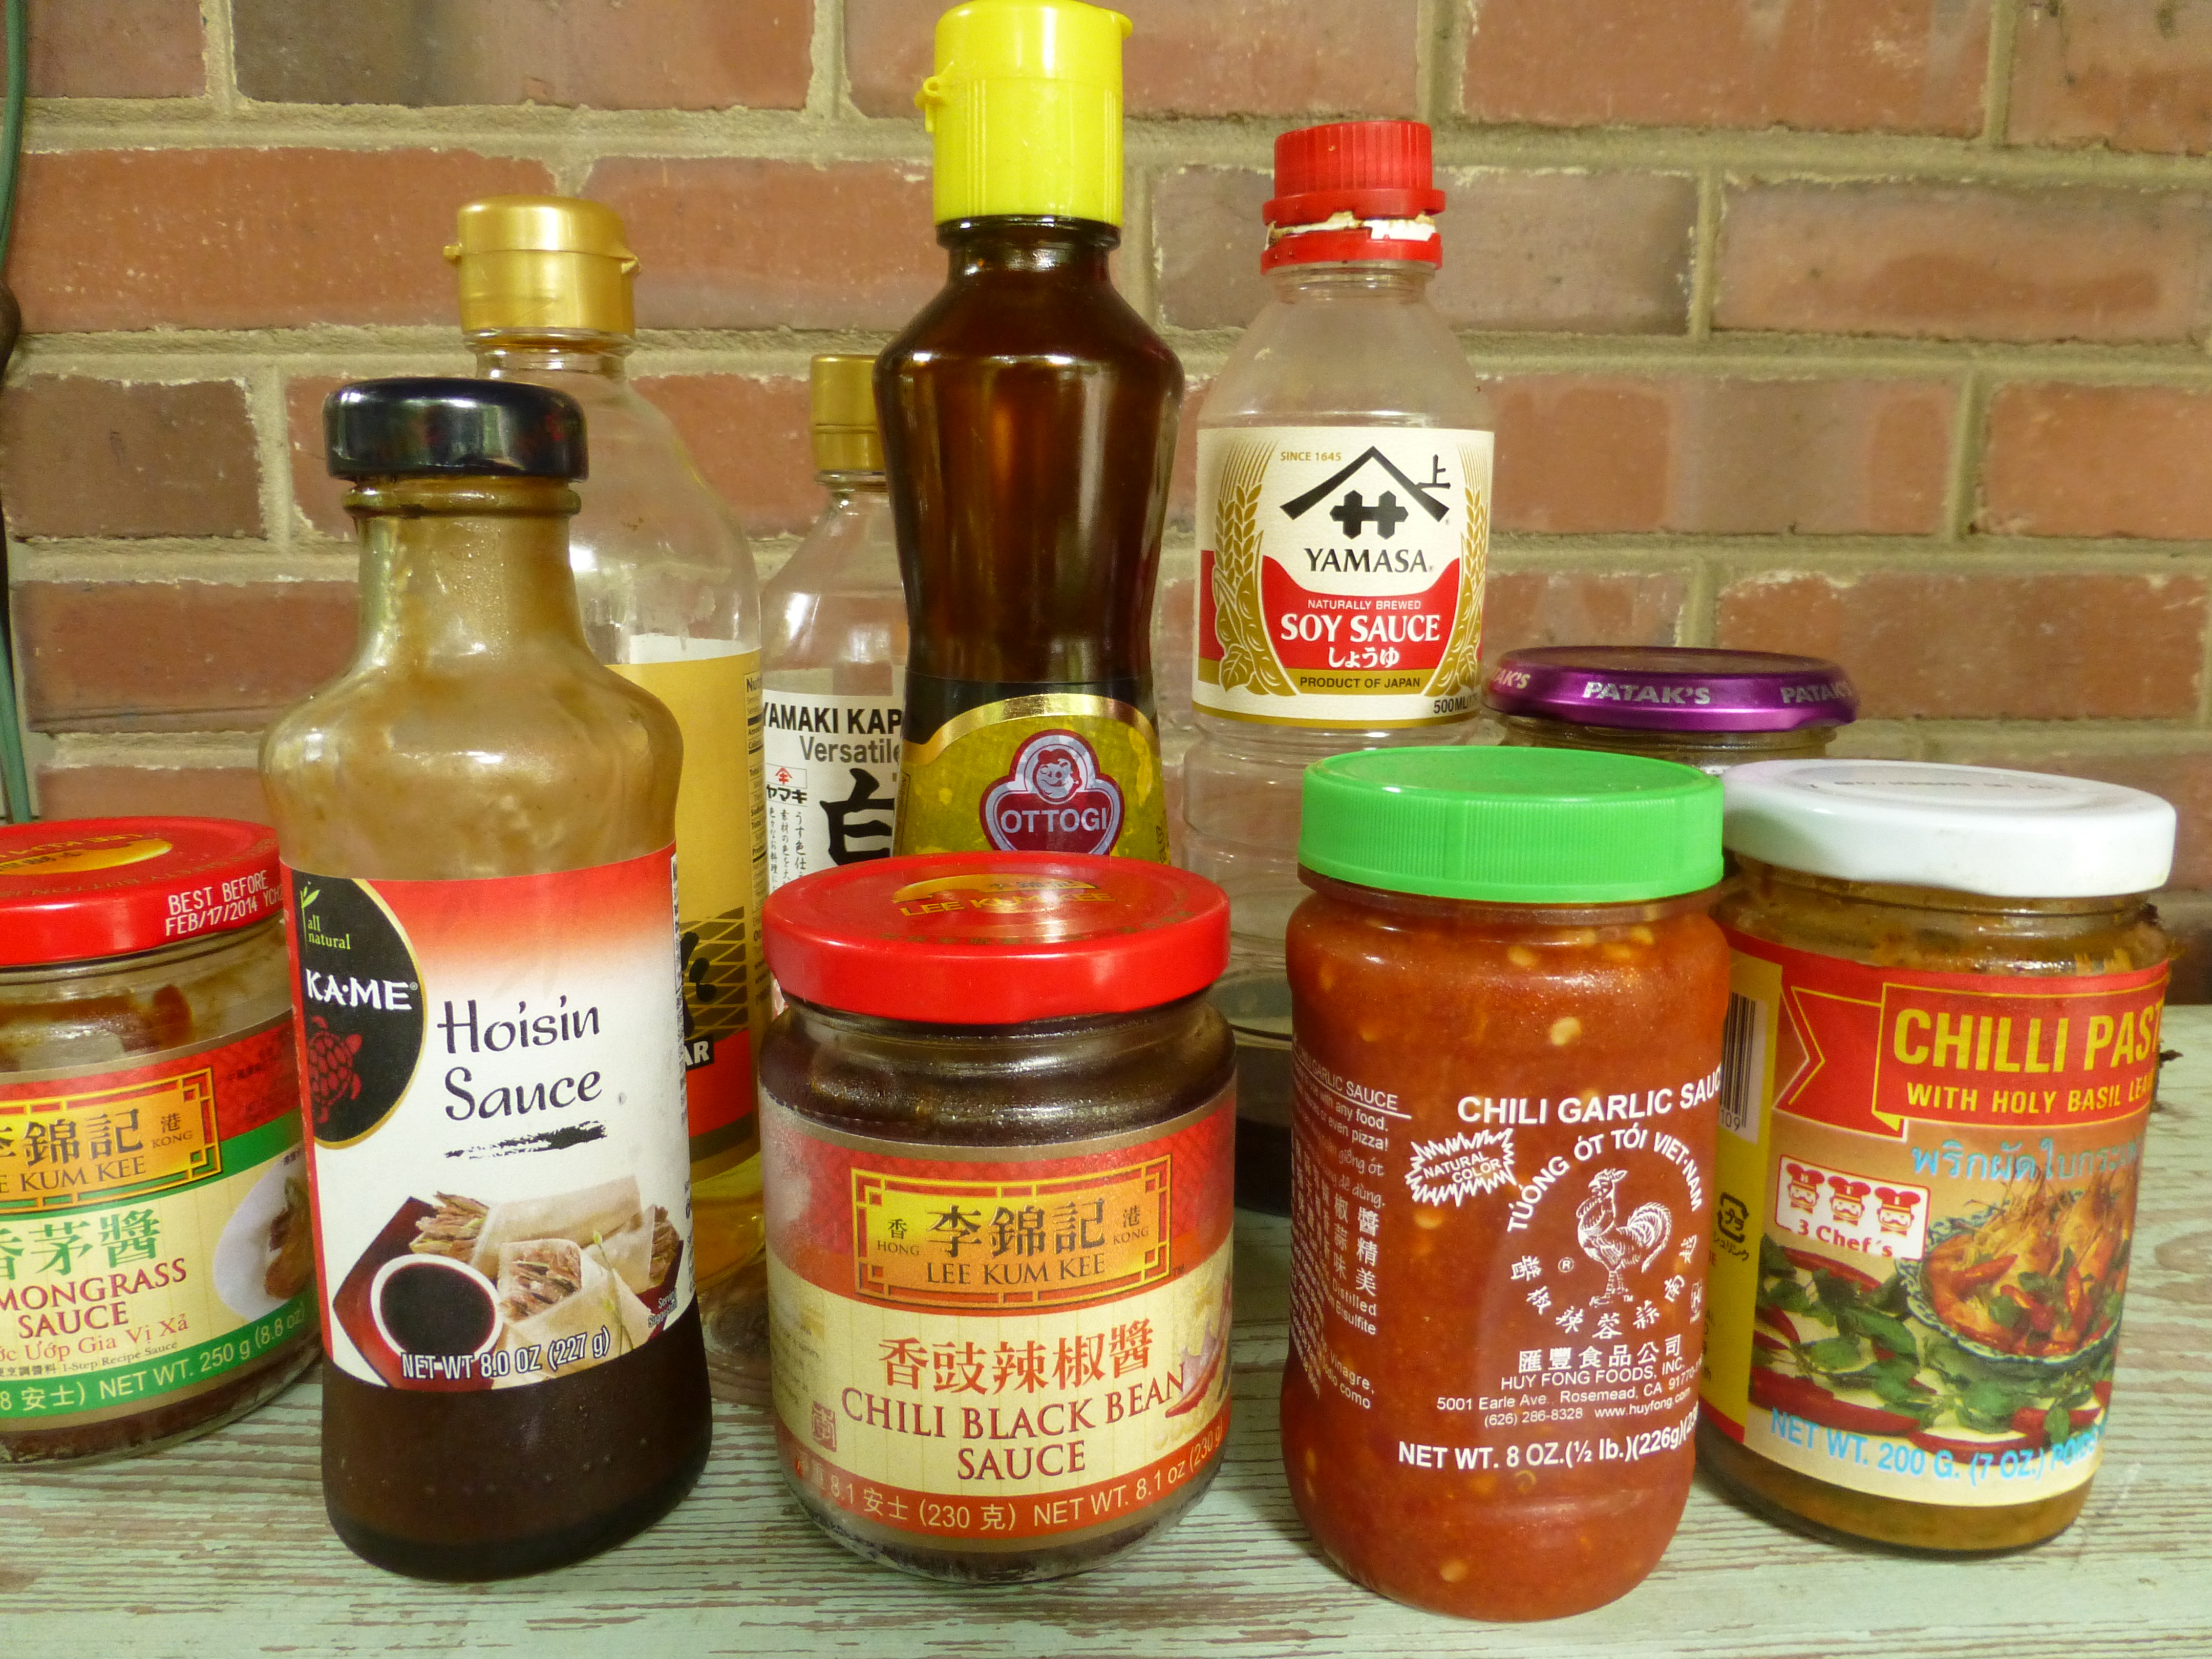
Love spicy, garlicky Asian condiments.
Seriously though. You only need soy sauce and sesame oil (plus aromatics like garlic, ginger, onion) to make an outstanding fried rice.

Here is Nancie’s recipe for Ham-and-Egg Fried Rice which I have adapted by taking out the ham and adding more vegetables and aromatics. The excellent cooking instructions are hers with some adaptations from me.
Basic Veggie Fried Rice
Serves 4.
Ingredients
- 4 cups cooked rice, cold or at room temperature (Note from Rebecca: use up that leftover rice from your Chinese takeout order)
- 1 T. vegetable oil
- 1 T. sesame oil
- 1 T. chopped garlic
- 1 T. dark soy sauce
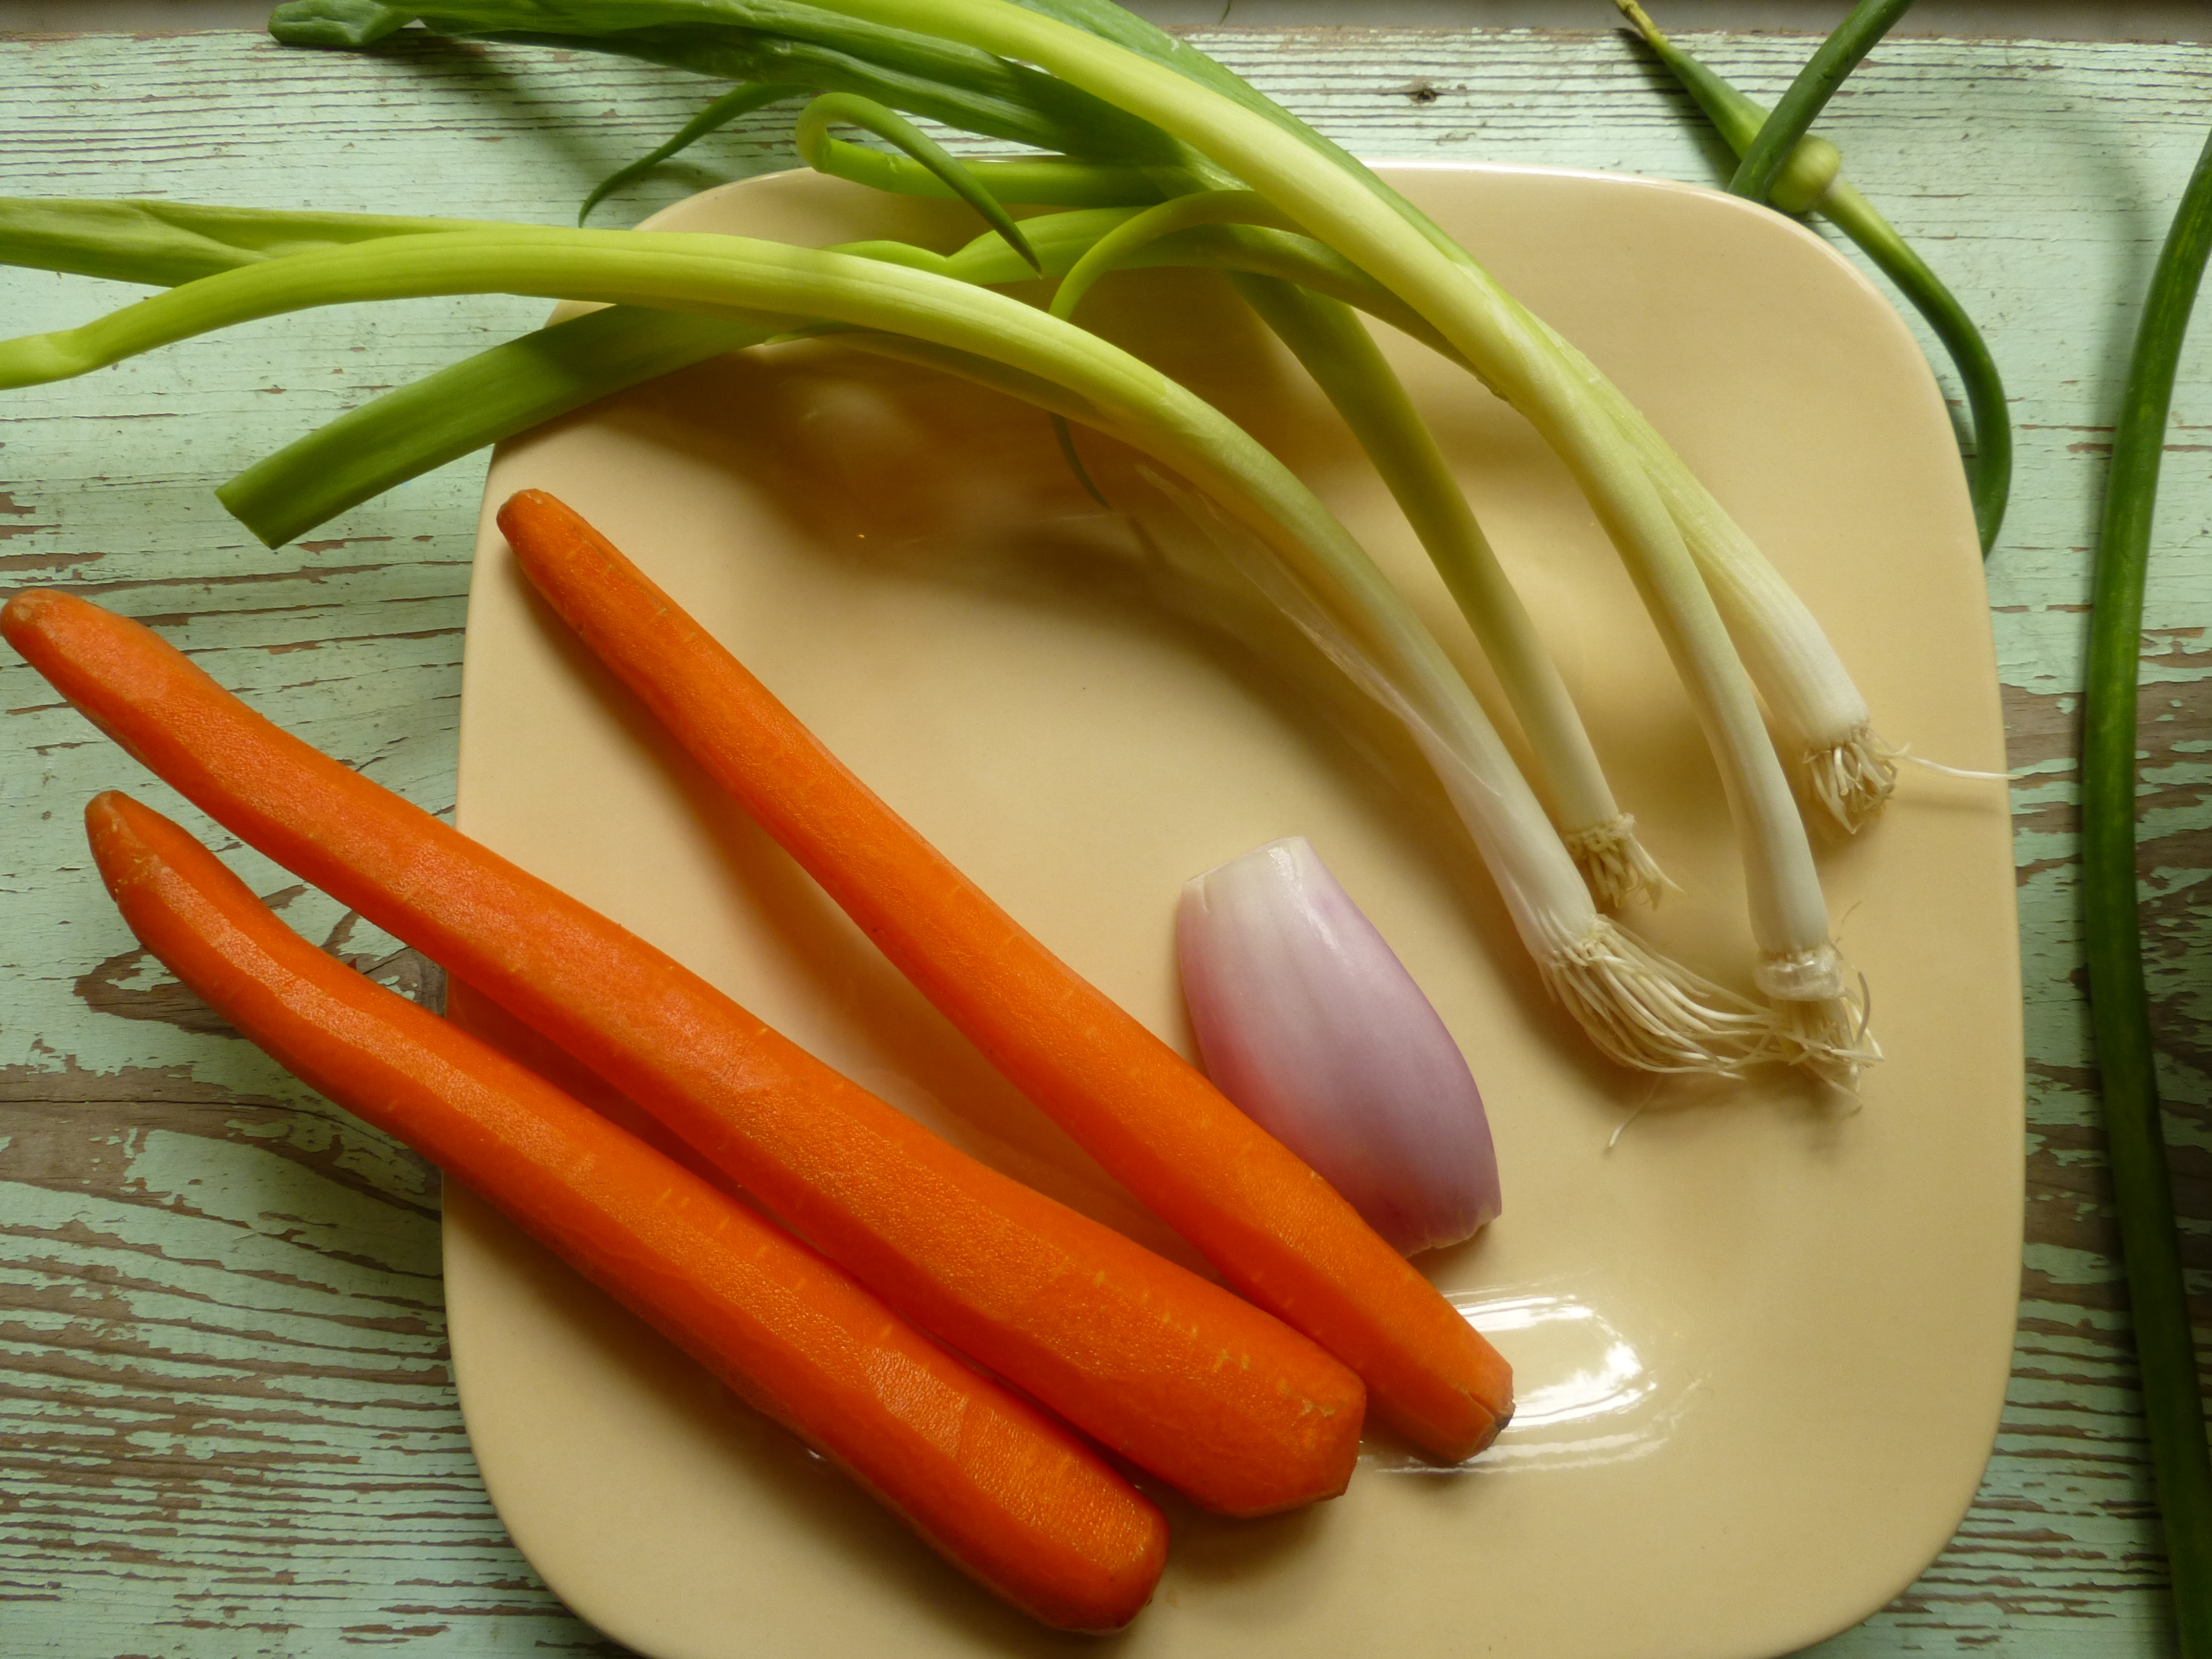
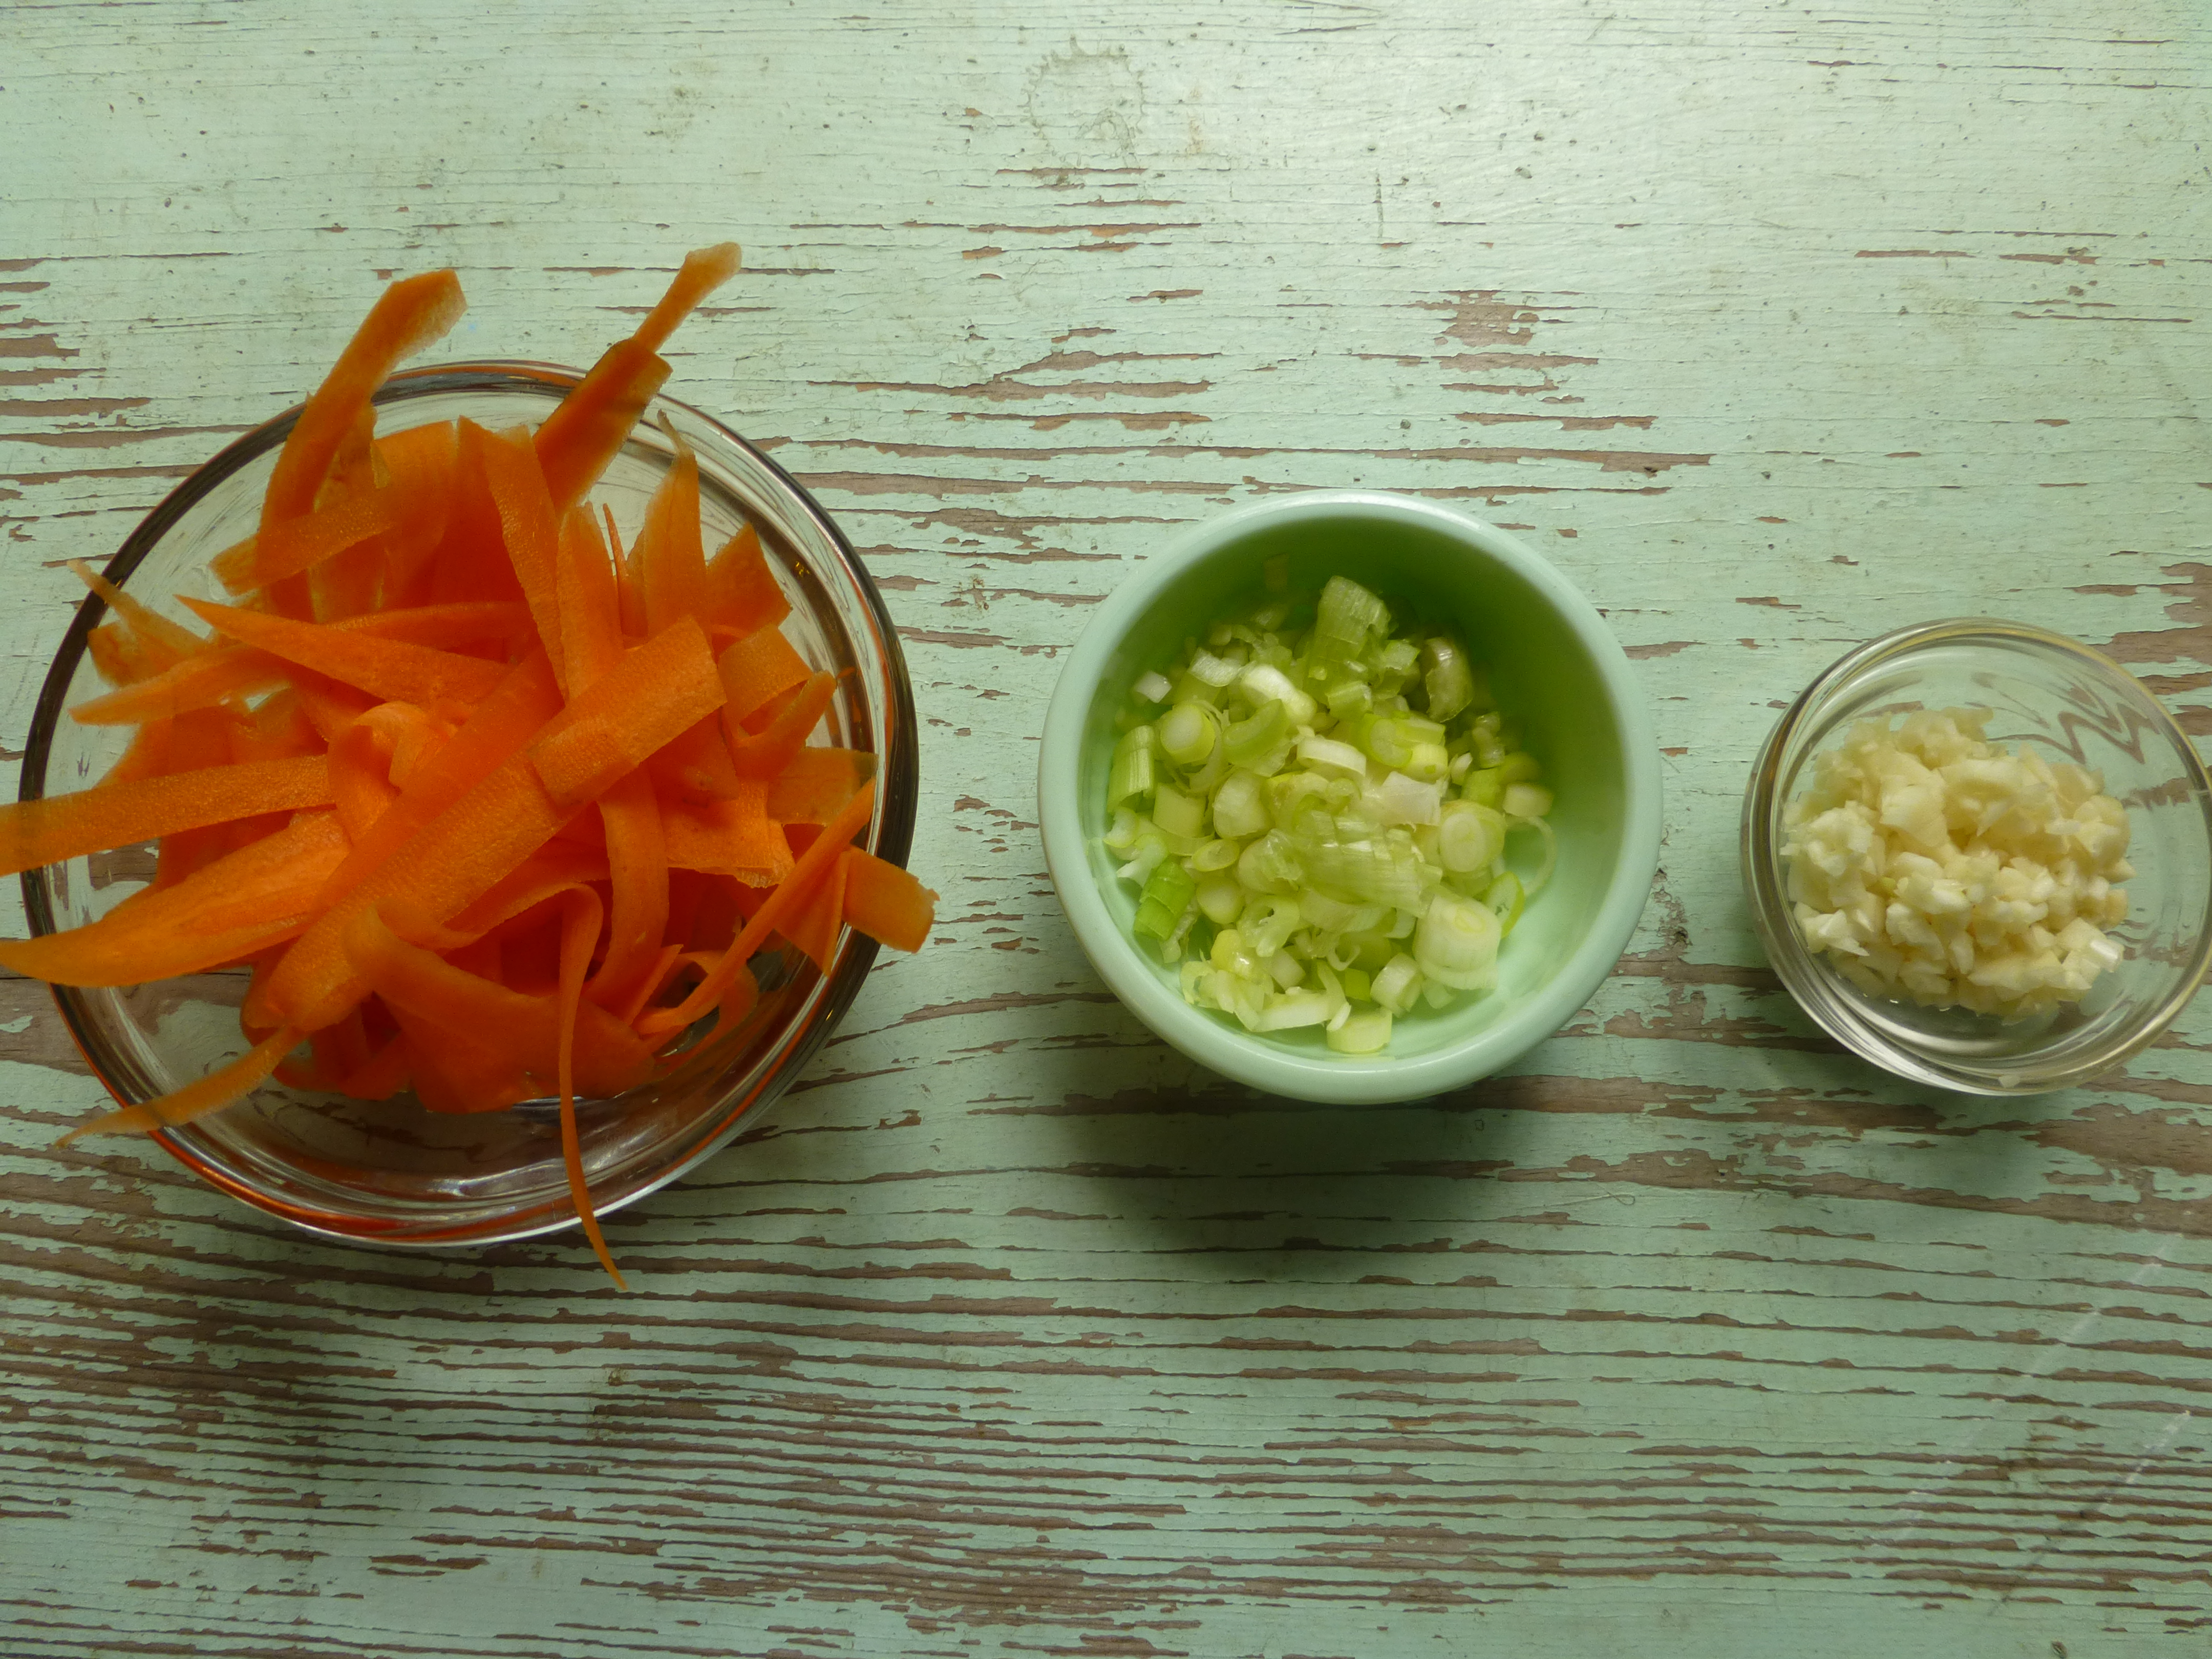
- 1/2 C. shredded carrot (I peel the outer layer of a large carrot and discard the dirty peel, then keep shaving the carrot into ribbons until I have 1/2 C. Then cut the ribbons in half to make them more bite-size.)
- 3 T. chopped green onion
- 3 well-beaten eggs
Directions
- Break up the rice clumps into individual grains for easy stir-frying.
- Heat a wok or large, deep skillet over medium-high heat. Add the oils and swirl to coat the pan. Add the garlic and green onions and cook, stirring often, for 15 seconds. Do not let the garlic burn. If you feel (see or smell it burning) turn the heat down!
- Add the eggs and then tilt the pan to spread them out. Stir the eggs and aromatics together and scramble the eggs into soft lumps.
- When the eggs have barely scrambled, add the rice all at once and toss.
- Cook the rice, tossing often, 2 to 3 minutes.
- Add the soy sauce and stir.
- Add the carrot ribbons and toss another 30 seconds until rice is hot and tender.
The key to a stir-fry is to have all your ingredients chopped up, measured, and ready to go.
The French term is mise en place.
Consider fried rice as your emergency back-up plan when you haven’t planned dinner or had time to shop. The most time-consuming part of it is the chopping, and if you take a tip from my (much more well-organized) sister, you will OF COURSE have little zip-lock baggies in your fridge with the dribs and drabs of chopped garlic, chopped onion or shallot, sliced cabbage, the 3 tablespoons of cooked corn too good to throw out, the one chicken breast your family didn’t eat at dinner 2 nights ago, etcetera.
Master the method and then go forth and experiment! Buy some crazy condiments at your Asian grocery store (which makes a fun field trip for children, by the way.)
Cheers!
Rebecca


