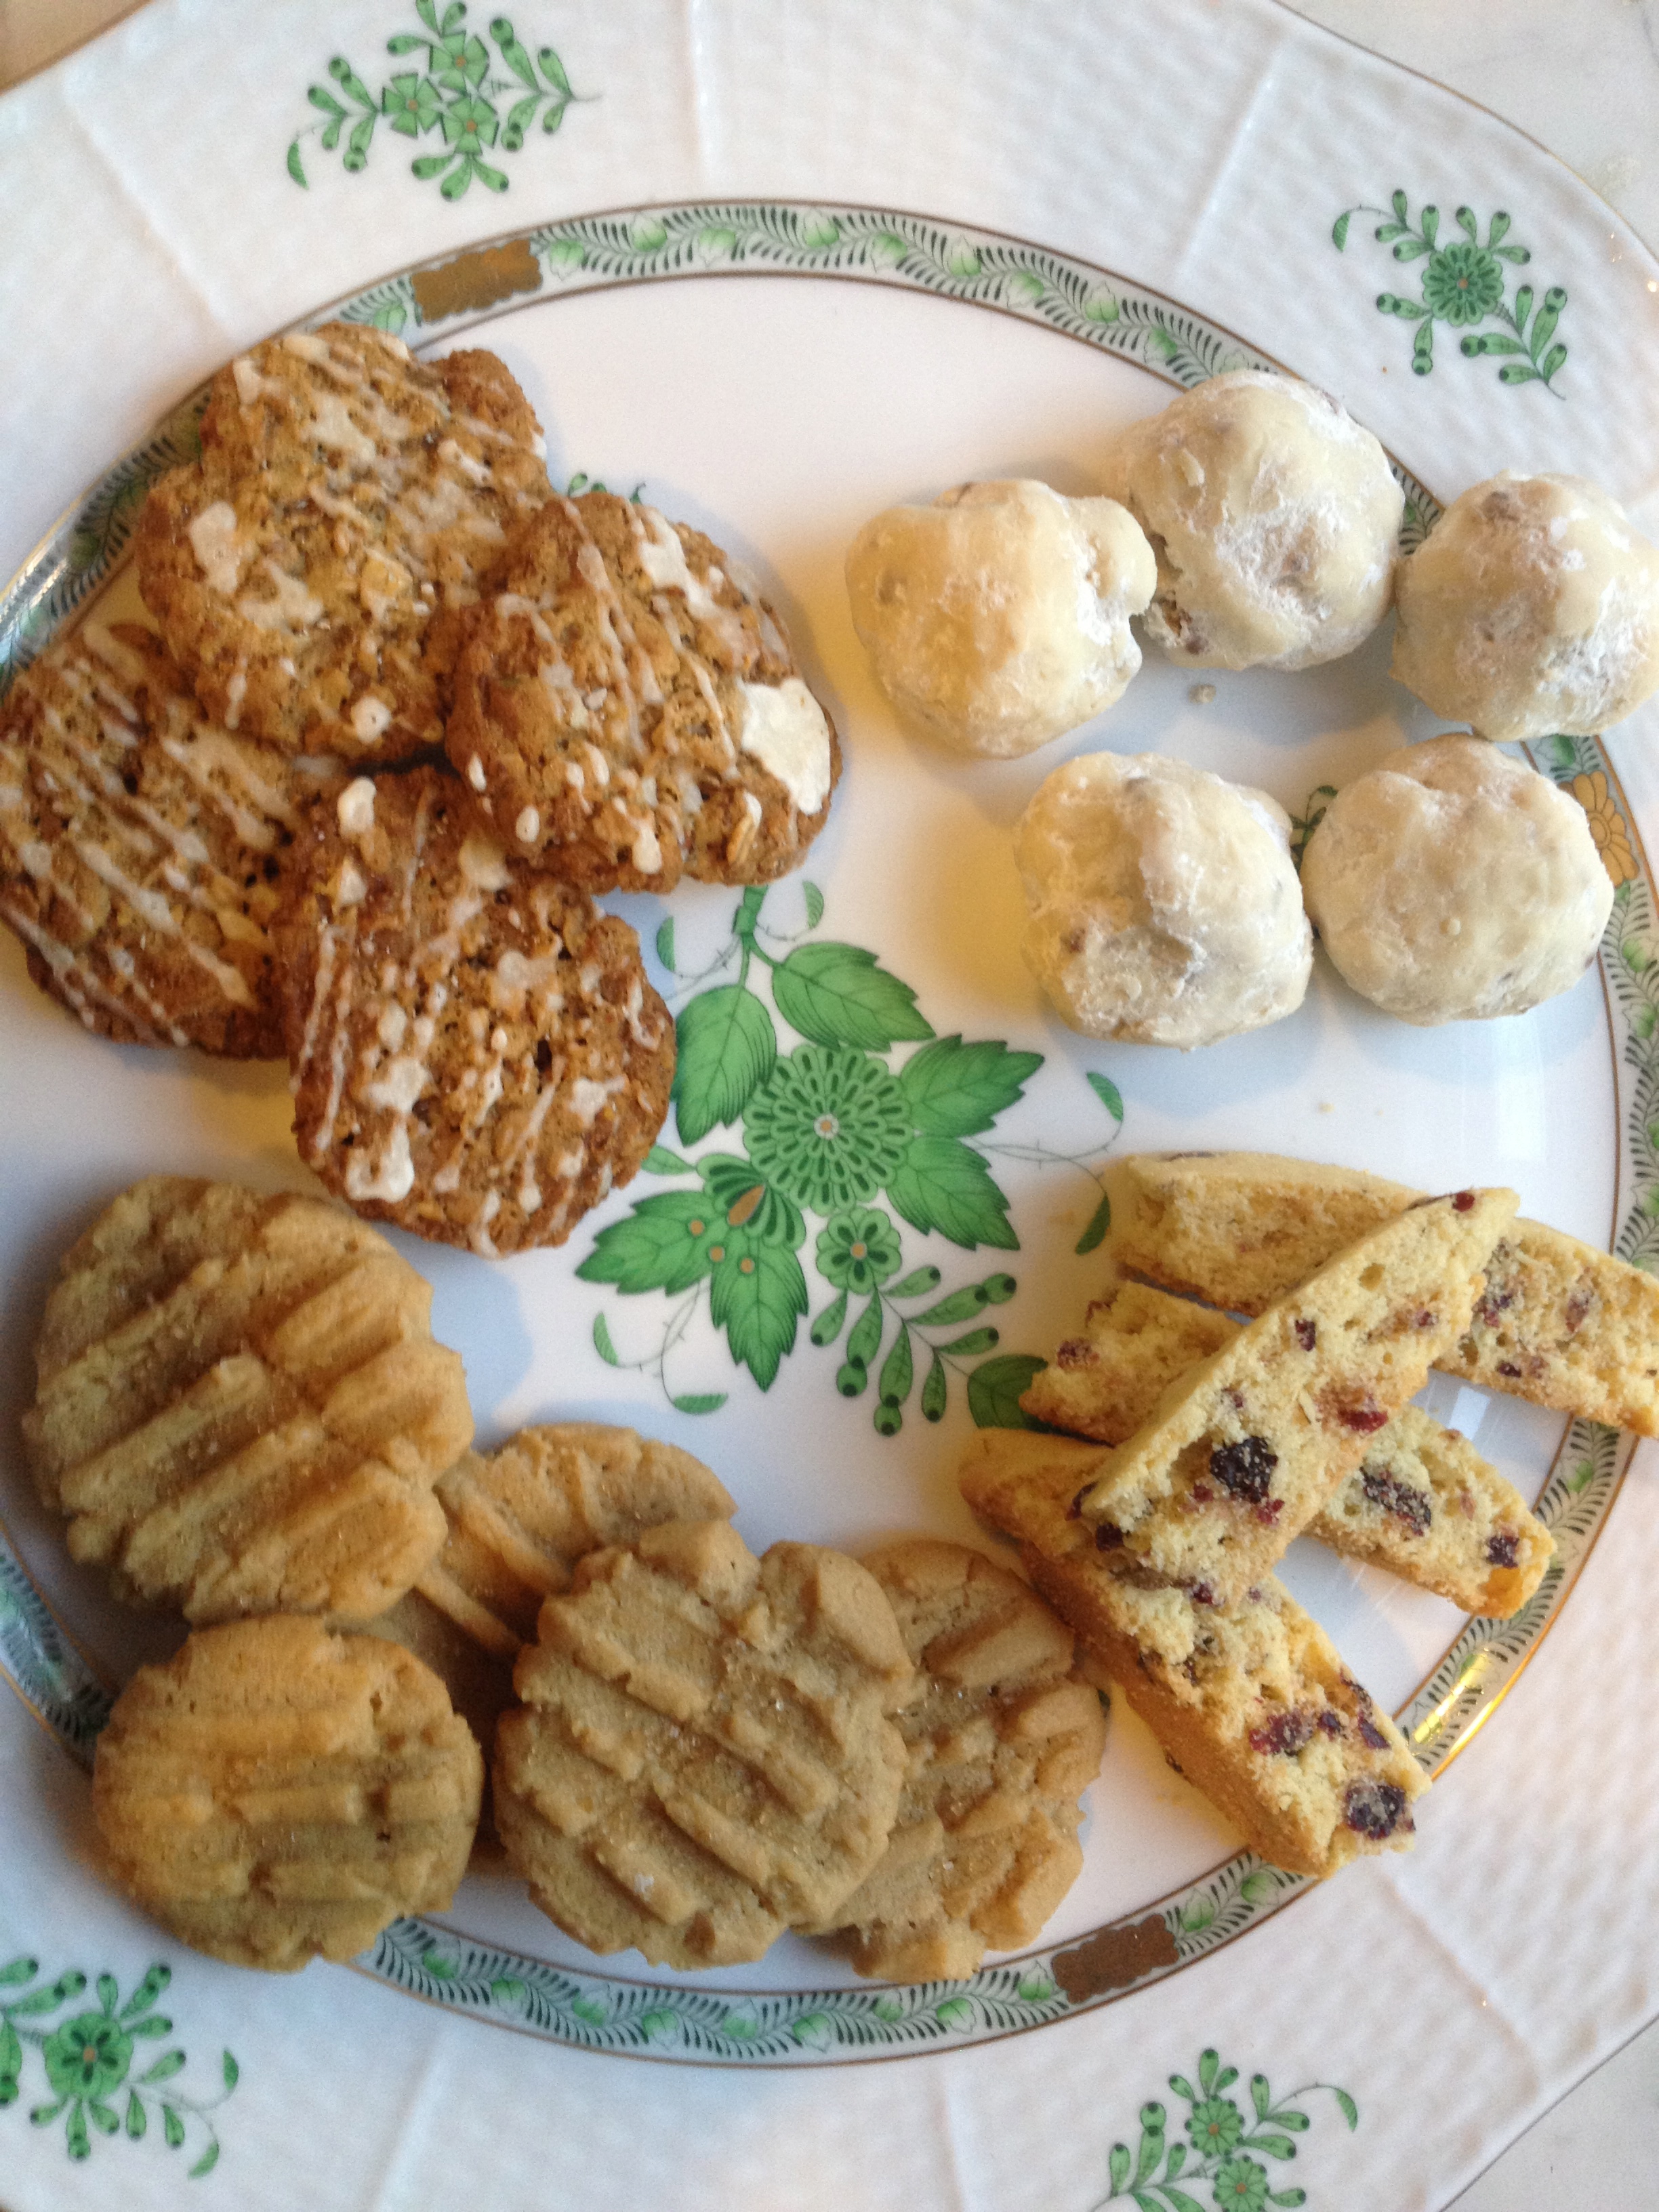
Lovely cookies on my favorite Herend platter. Fancy!
I was pleased to take part in the 3rd Annual Great Food Blogger Cookie Swap this year. This is like the old-fashioned cookie exchanges, except it’s all organized online (thank you Lindsay and Taylor of Love & Olive Oil and Julie from The Little Kitchen) and you are matched with bakers from all over the country who send you presents! What could be more wonderful than that!
More wonderful than that is that the Cookie Swap is also a fundraiser for Cookies for Kids’ Cancer and this year bloggers raised close to $15,000 just by baking and sharing cookies!
The way it works is you bake 3 dozen cookies (from a recipe in your repertoire that you haven’t published before) and mail a dozen each to your matches. Then 3 other blogger-bakers send you their cookies. It’s fun to wait for the mail and see what cookies you are going to get and where they are coming from. (NOTE: Each participating blogger contributes a small participation fee which goes to the nonprofit as a donation.)
My cookie matches were:
Laura Holko from A Healthy Jalapeno, hailing from Connecticut
Willow Arlen from Will Cook For Friends, hailing from Michigan
Donna Elick from The Slow Roasted Italian, hailing from Arizona.
I made my favorite peanut butter cookie for them which comes from The Best 150 American Recipes: Indispensable Dishes from Legendary Chefs and Undiscovered Cooks by Fran McCullough and Molly Stevens. (One of my favorite cookbooks; so oft-used its pages are splattered, smeared, sticking together, and falling out. That is serious love, my culinary friends.)
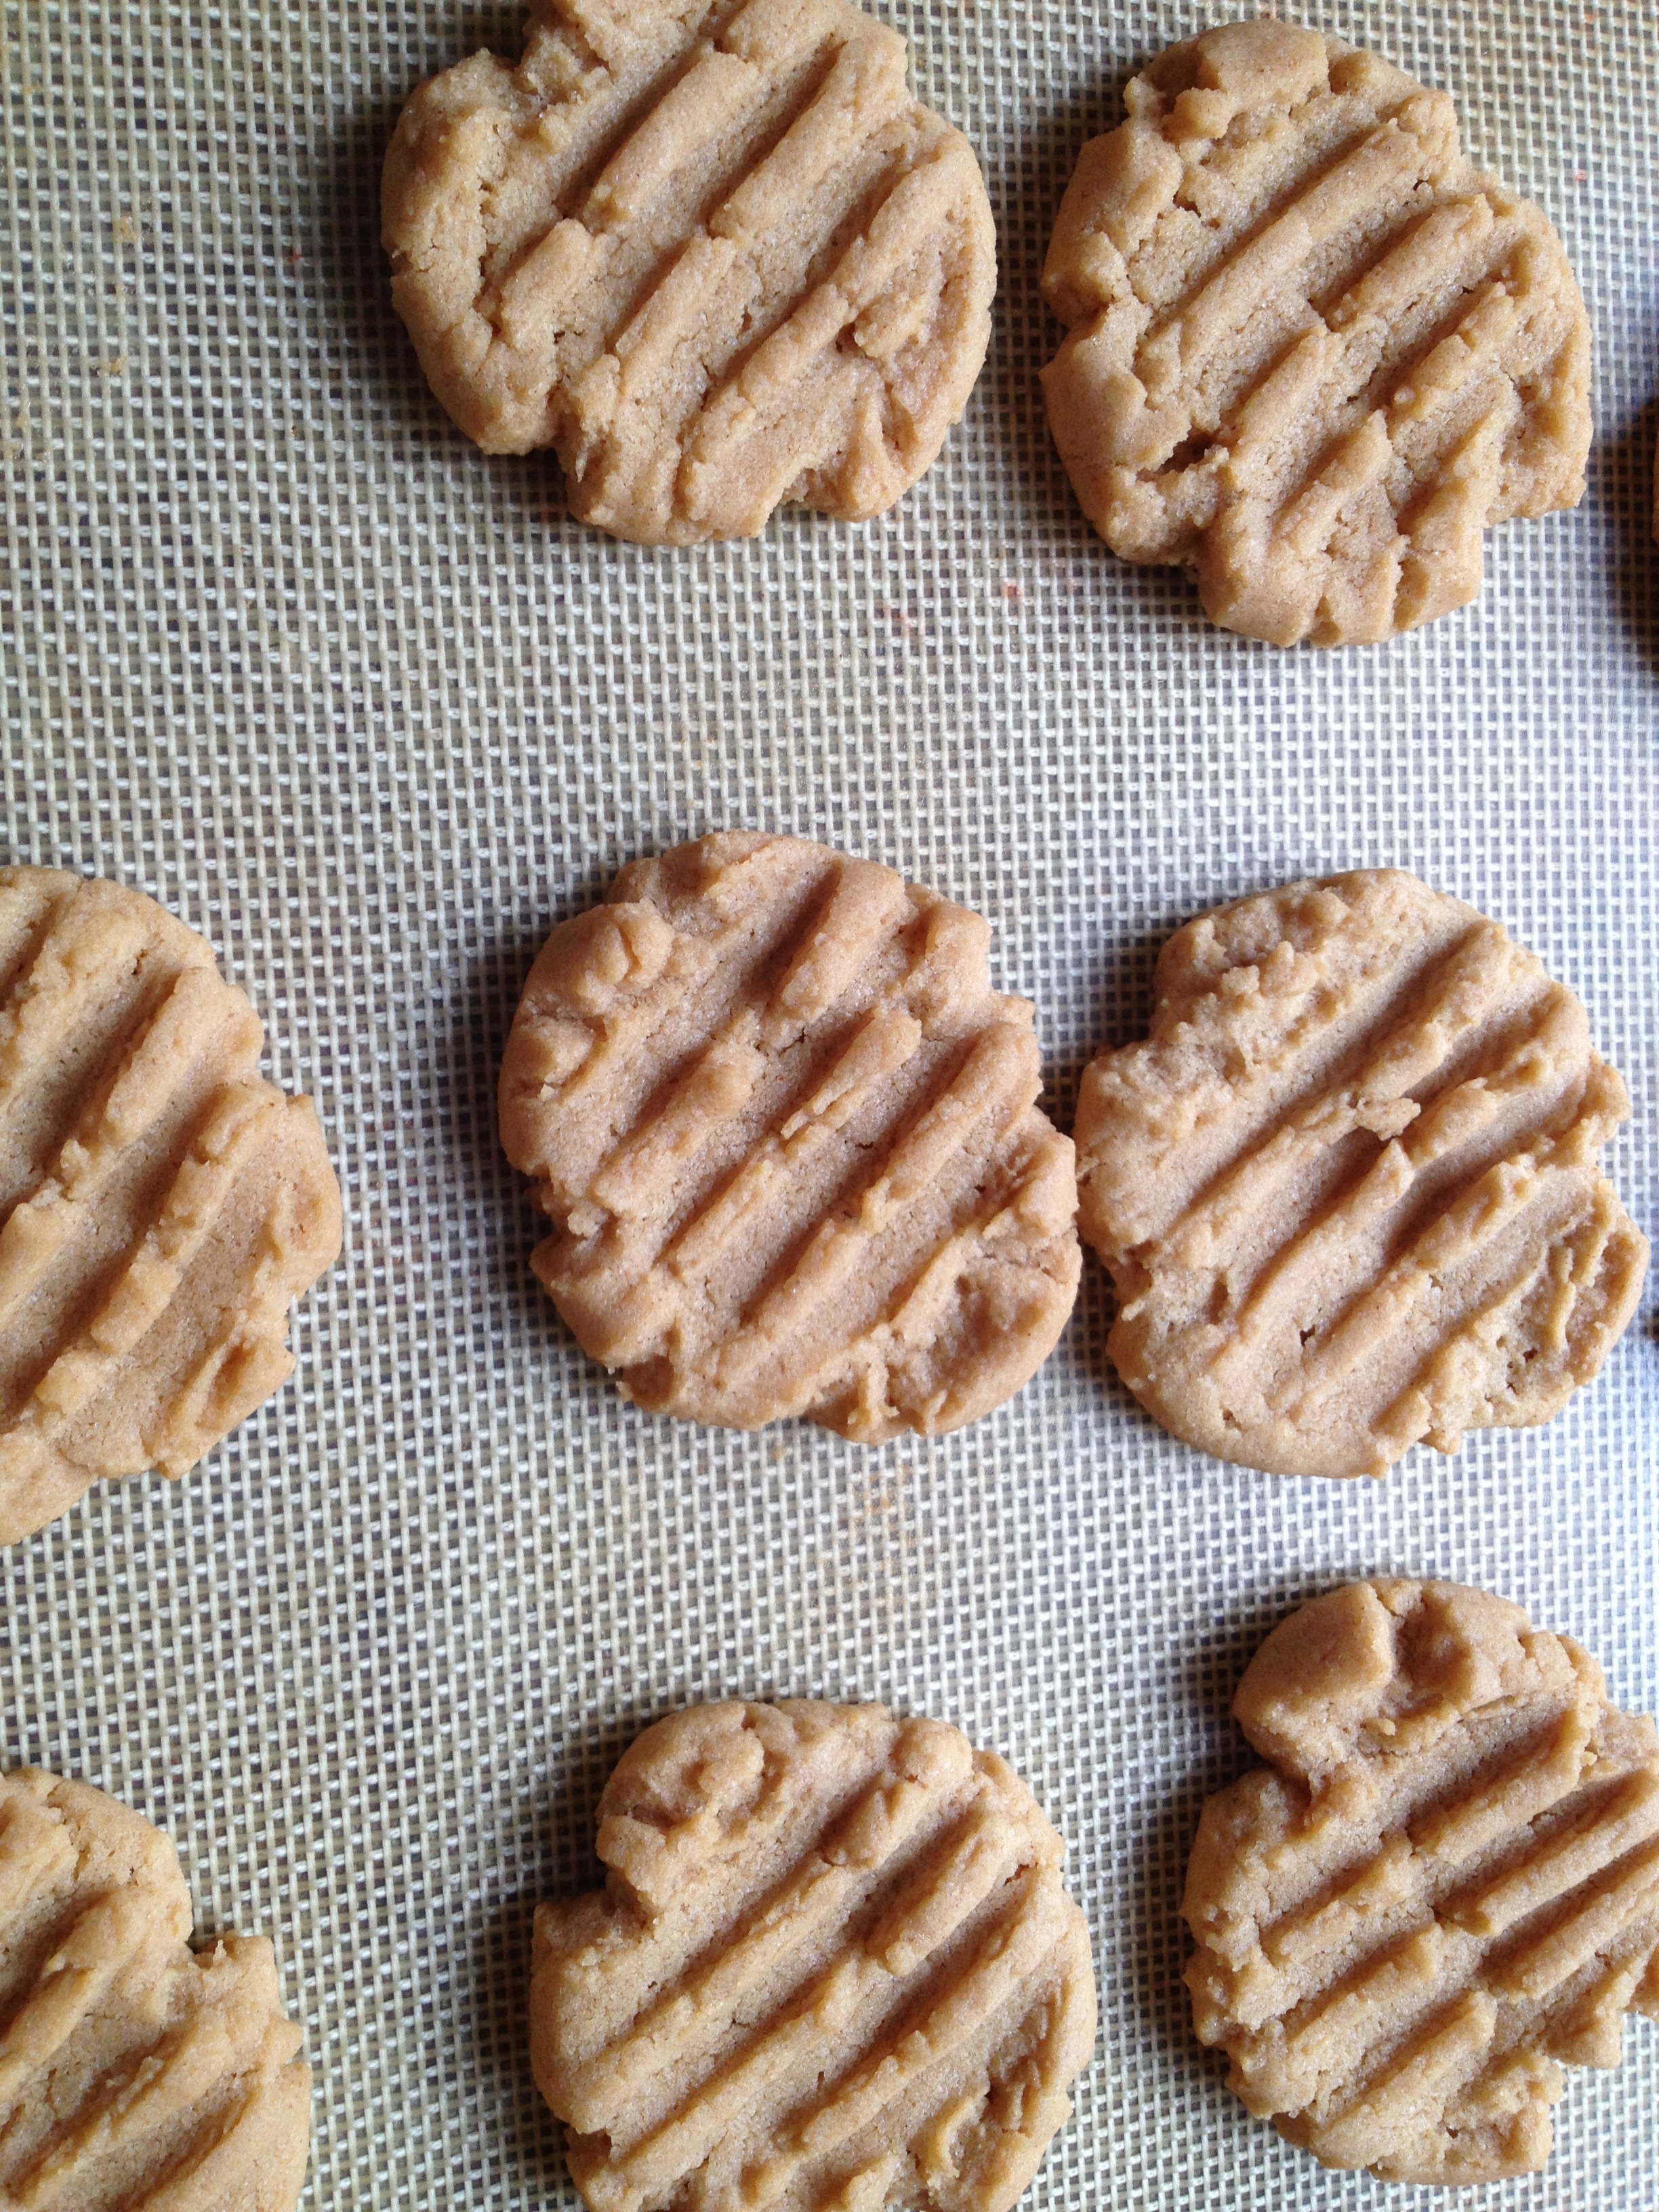
I love this cookie for its full-on, authentic peanut butter taste and the fact that it only uses 4 ingredients (!) and no flour. If you’ve got peanut butter, sugar, an egg, and some baking soda, you can make this cookie, even during one of the busiest holiday times of the year.
Peanut Butter Cookies
This cookie recipe is so simple, you only need 4 ingredients. It’s a go-to in our house, especially during the holidays when I am crazy busy, want to bake for the kids, but don’t want to think too hard about it! Rolling the cookies into balls before your smash them with the tines of a fork is a perfect task for little hands who want to help.
From The 150 Best American Recipes, Indispensable Dishes from Legendary Chefs and Undiscovered Cooks, Fran McCollough & Molly Stevens, Houghton Mifflin, New York, 2006.
Source: Gourmet
Cook: Mom-Mom Fitch
Ingredients
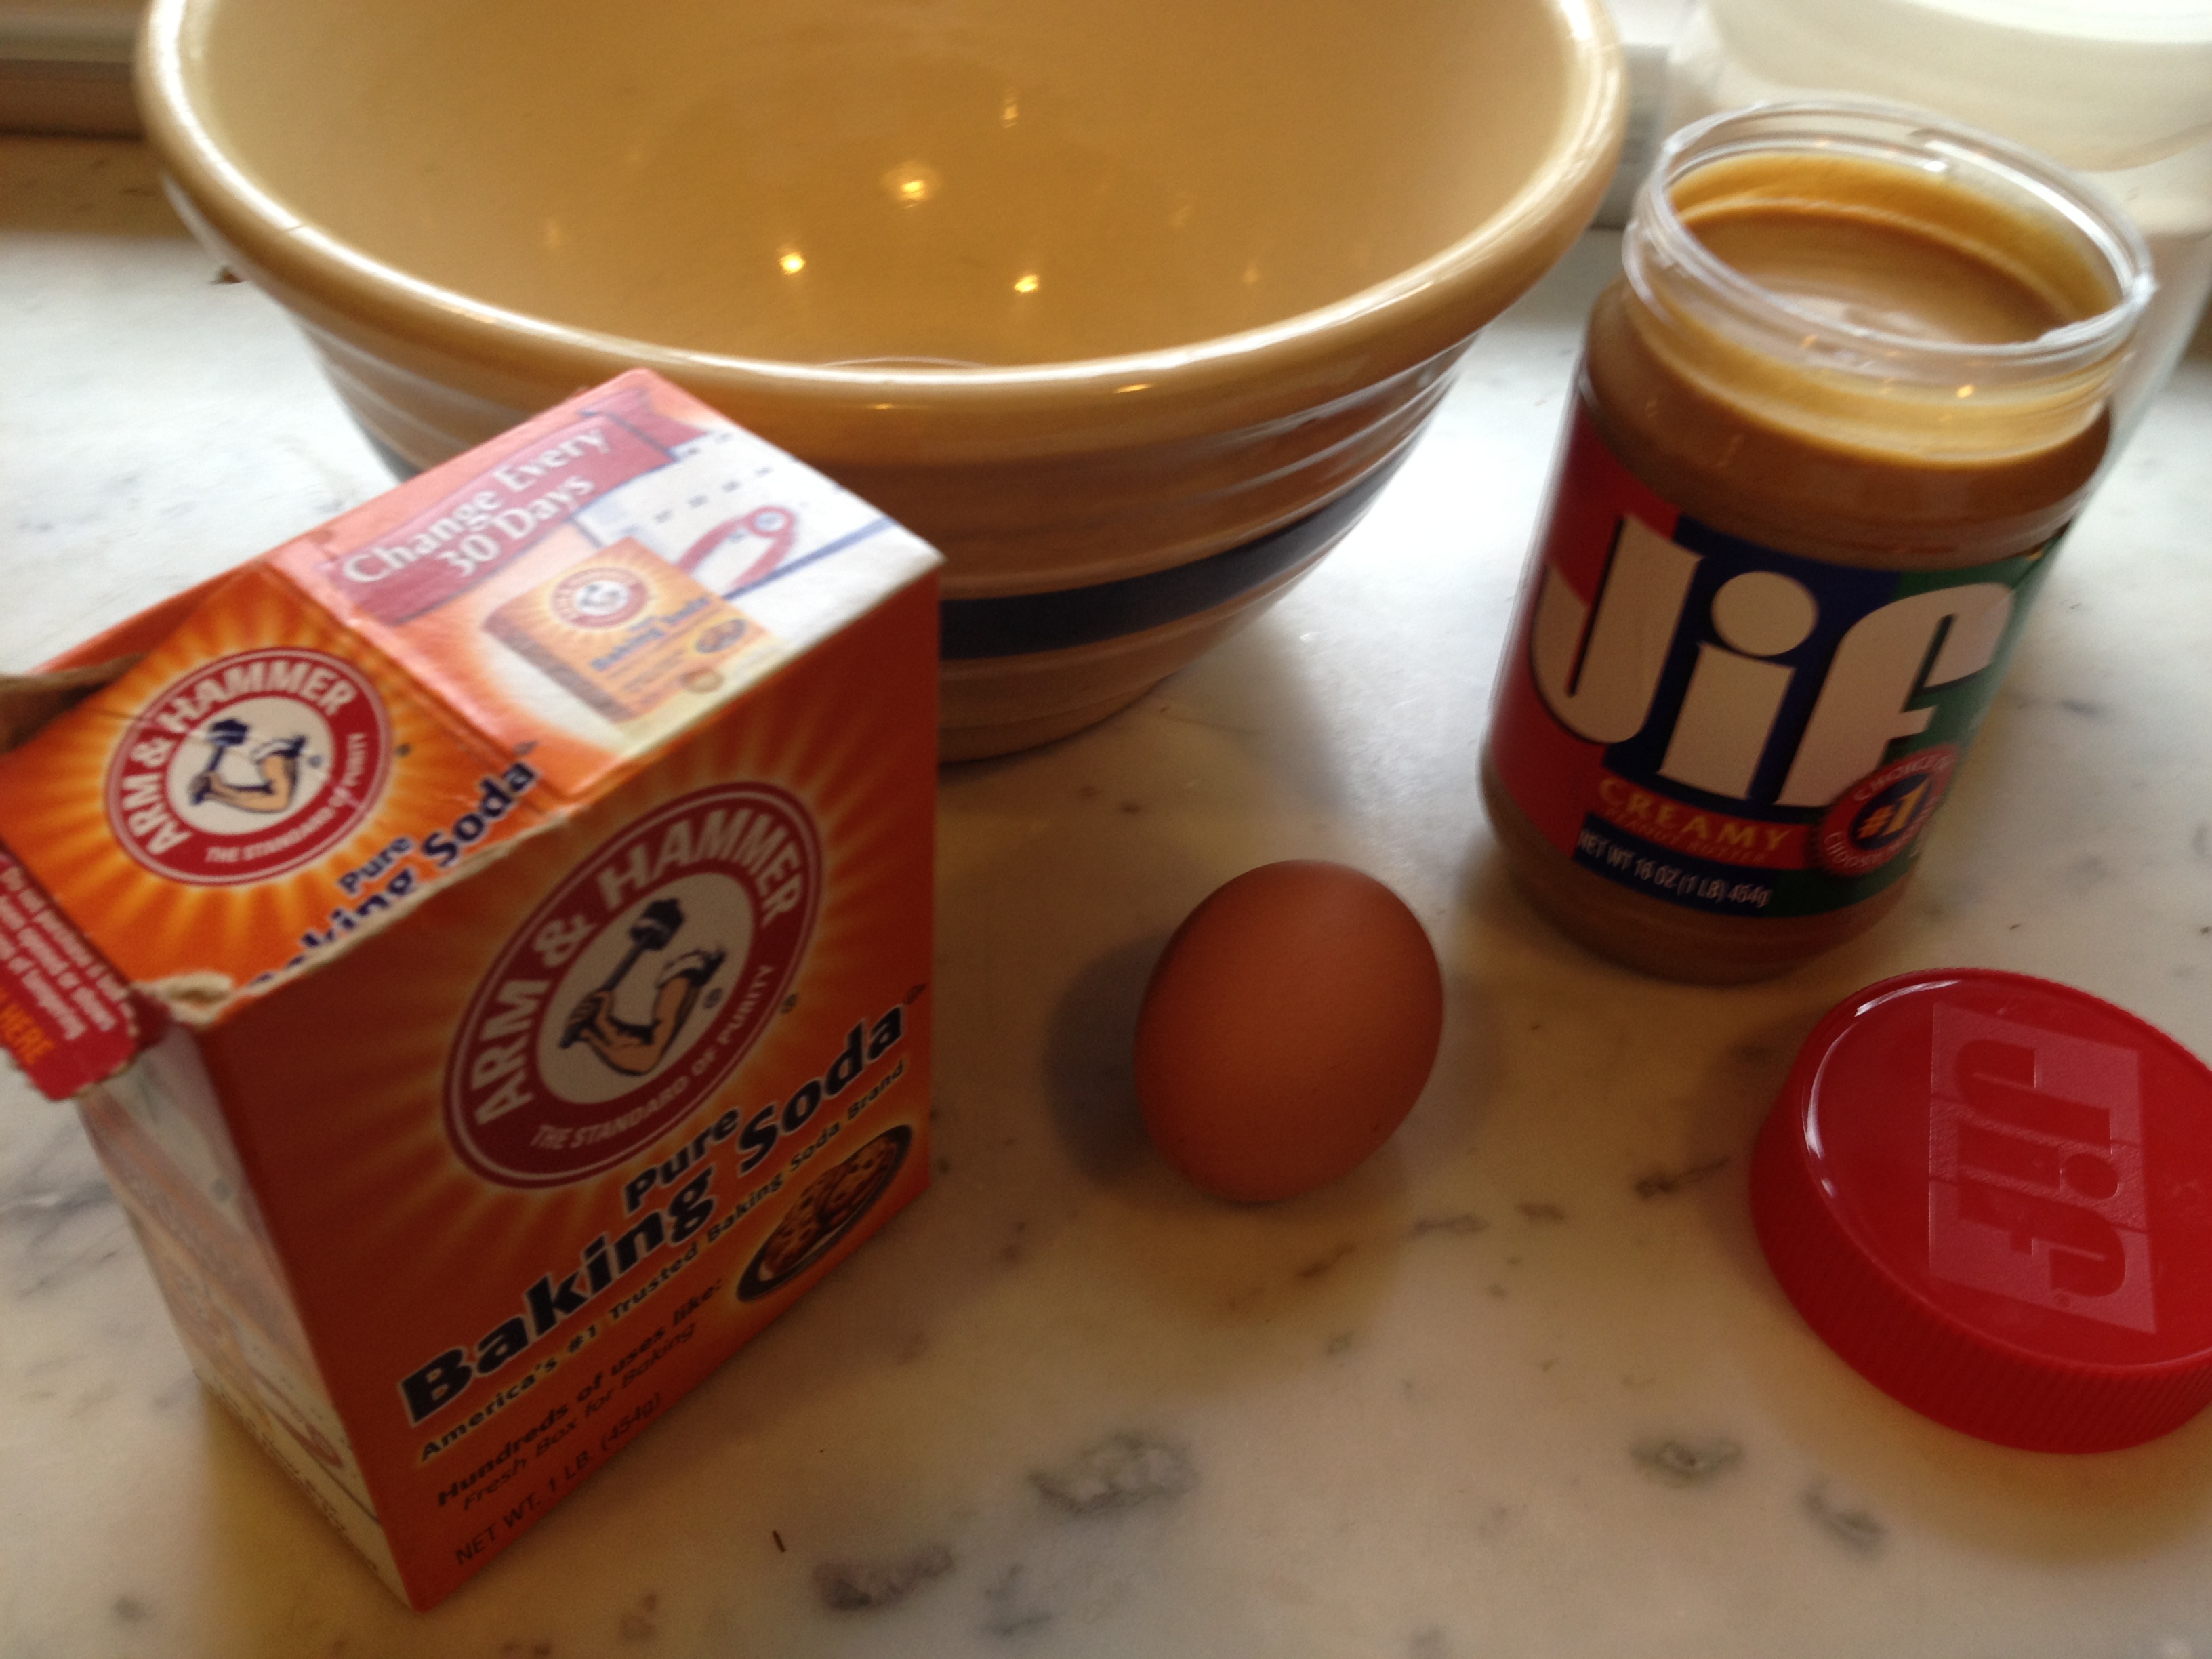
1 cup creamy peanut butter (I use Jif or Skippy)
1 cup sugar
1 large egg
1 teaspoon baking soda
makes about 4 dozen cookies
Directions
Preheat the oven to 350 degrees and set a rack in the middle level. Grease two baking sheets or line them with parchment paper. (NOTE: I love my Silpat baking mats.)
In a large bowl, with an electric mixer, beat the peanut butter and sugar until well combined. In a small bowl, lightly beat the egg, then beat it into the peanut butter mixture along with the baking soda until well combined.
Roll teaspoons of dough into walnut-size balls and arrange them about 1 inch apart on the baking sheets. With the tines of a fork, flatten the balls to about 1 1/2 inches in diameter, making a crosshatch pattern. Bake the cookies in batches until puffed and pale golden, about 9 minutes. (They might look underdone but they are not. Any longer in the oven and they will dry out.)
Let cool on the baking sheets for 2 minutes, then transfer with a metal spatula to wire racks to cool completely. Store in an airtight container for up to 5 days.
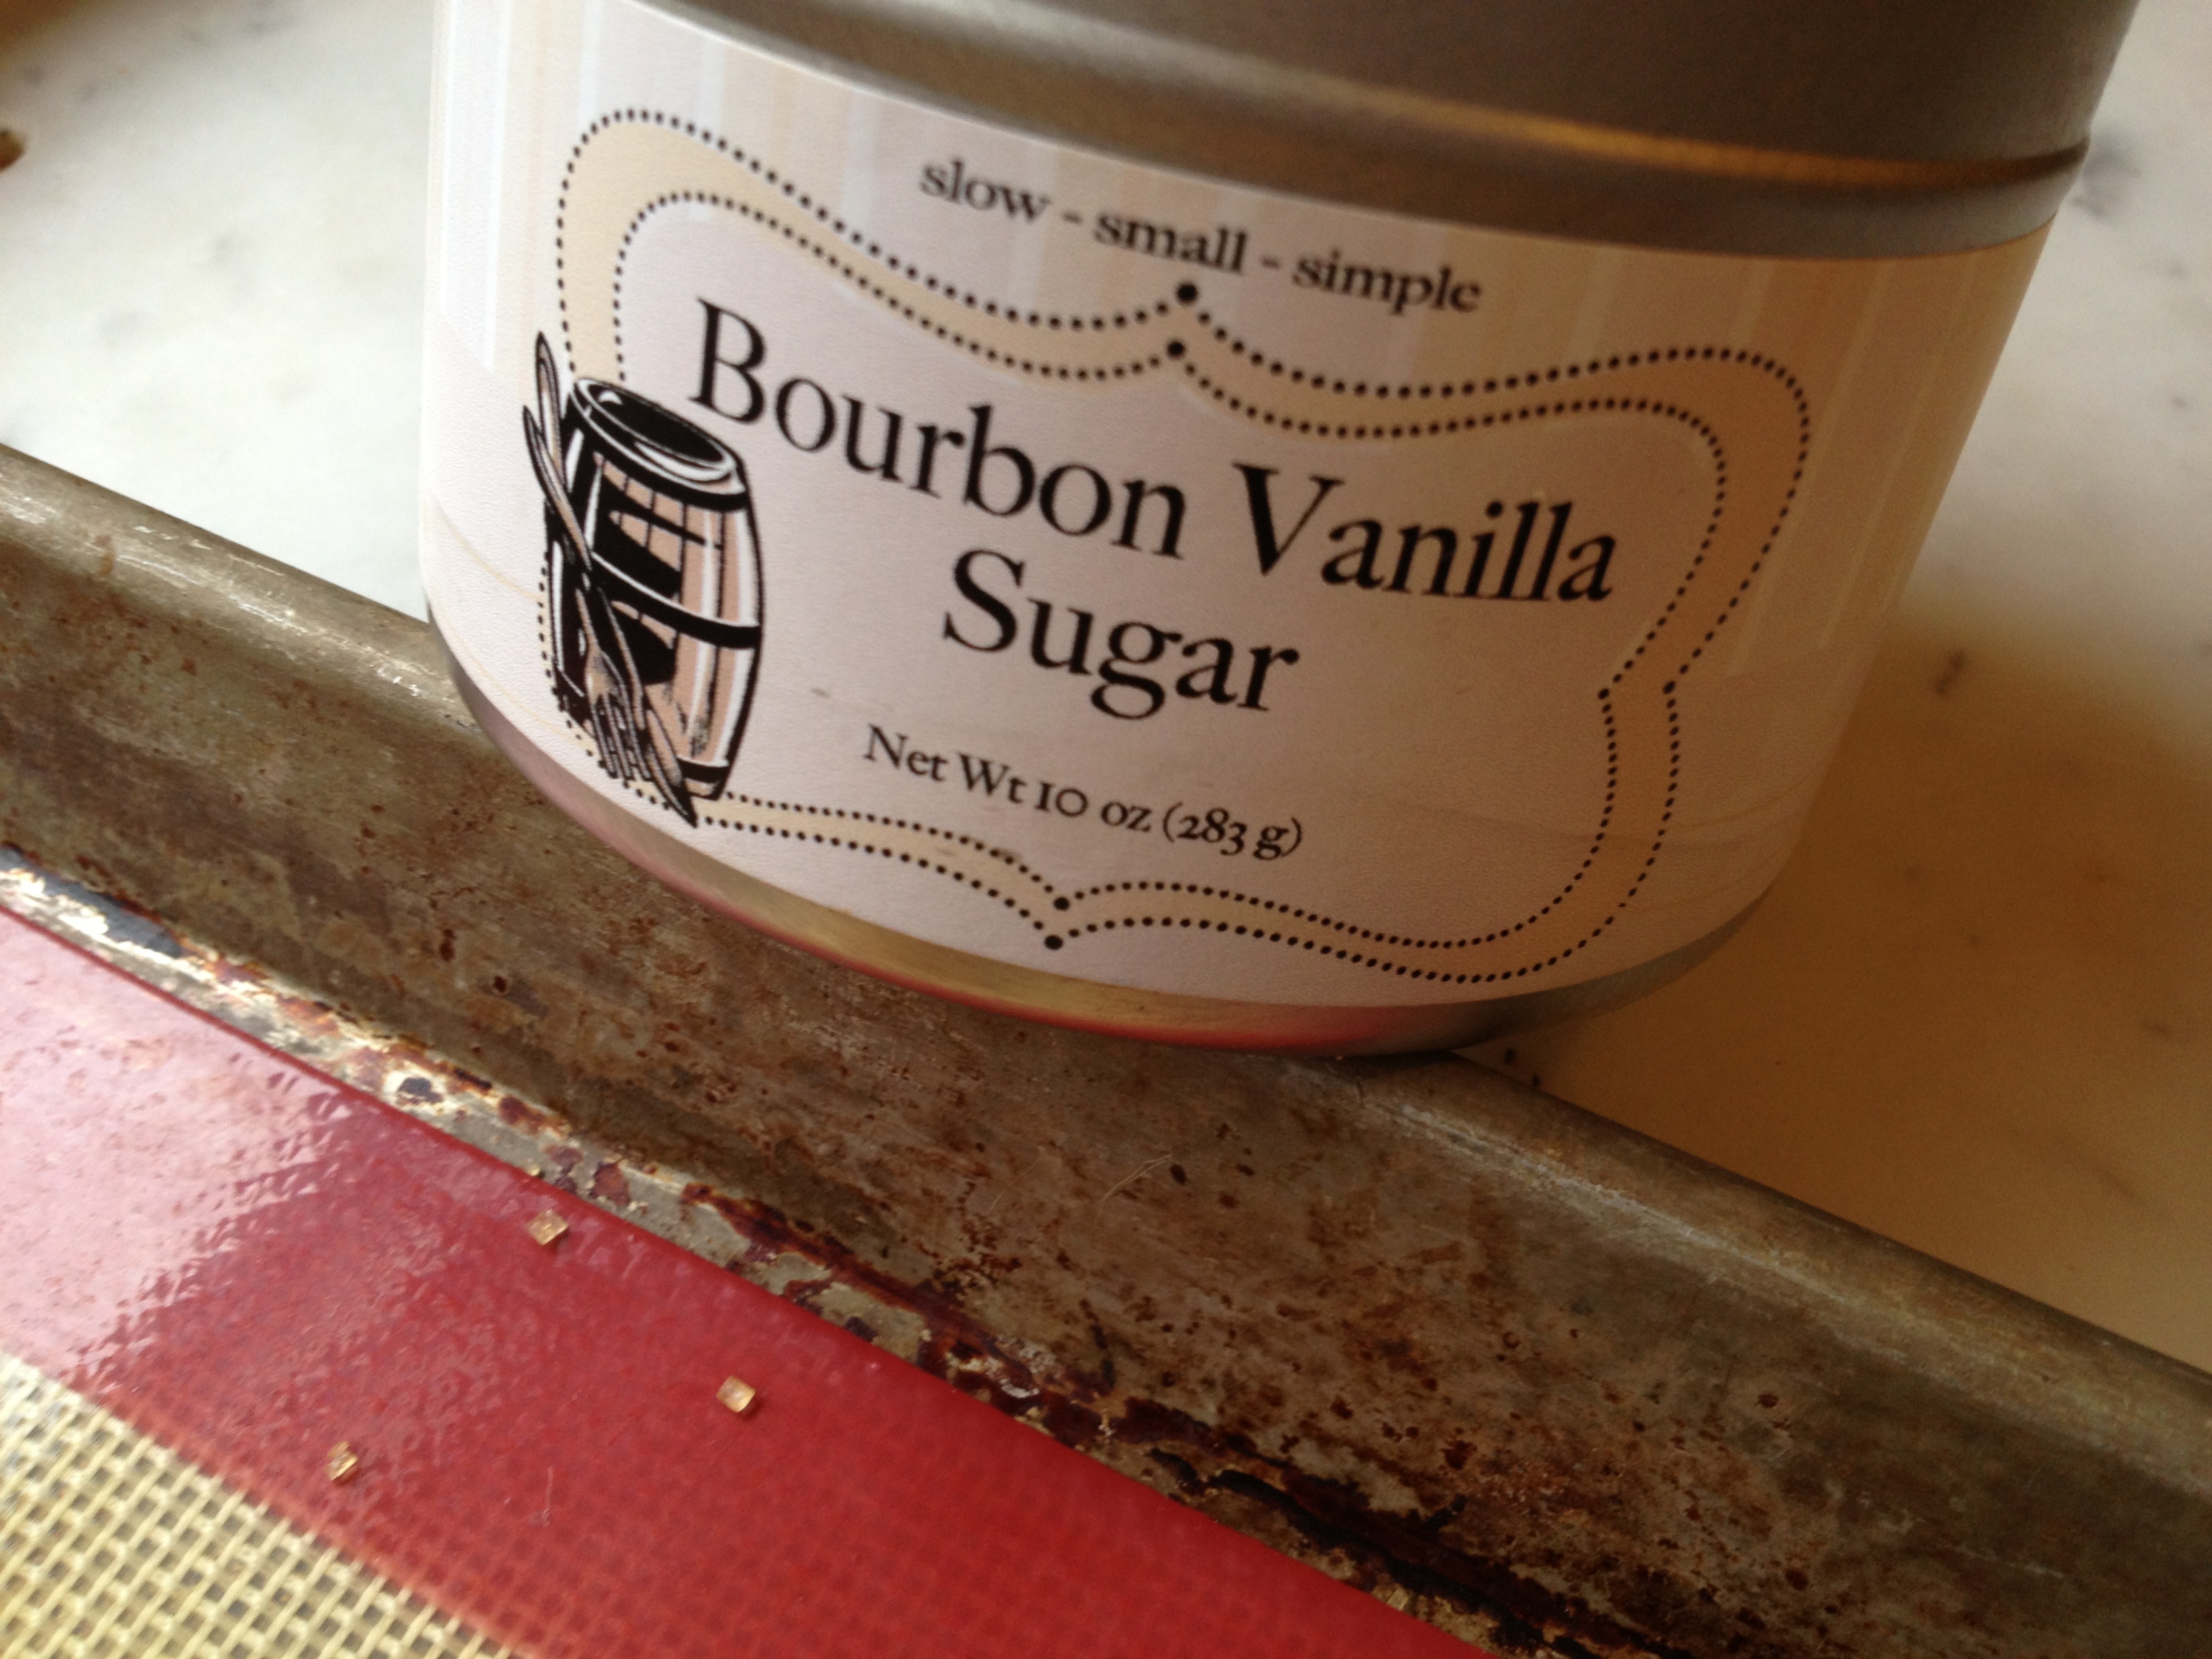
I sprinkle mine with a little turbinado sugar or bourbon vanilla sugar when they are warm.
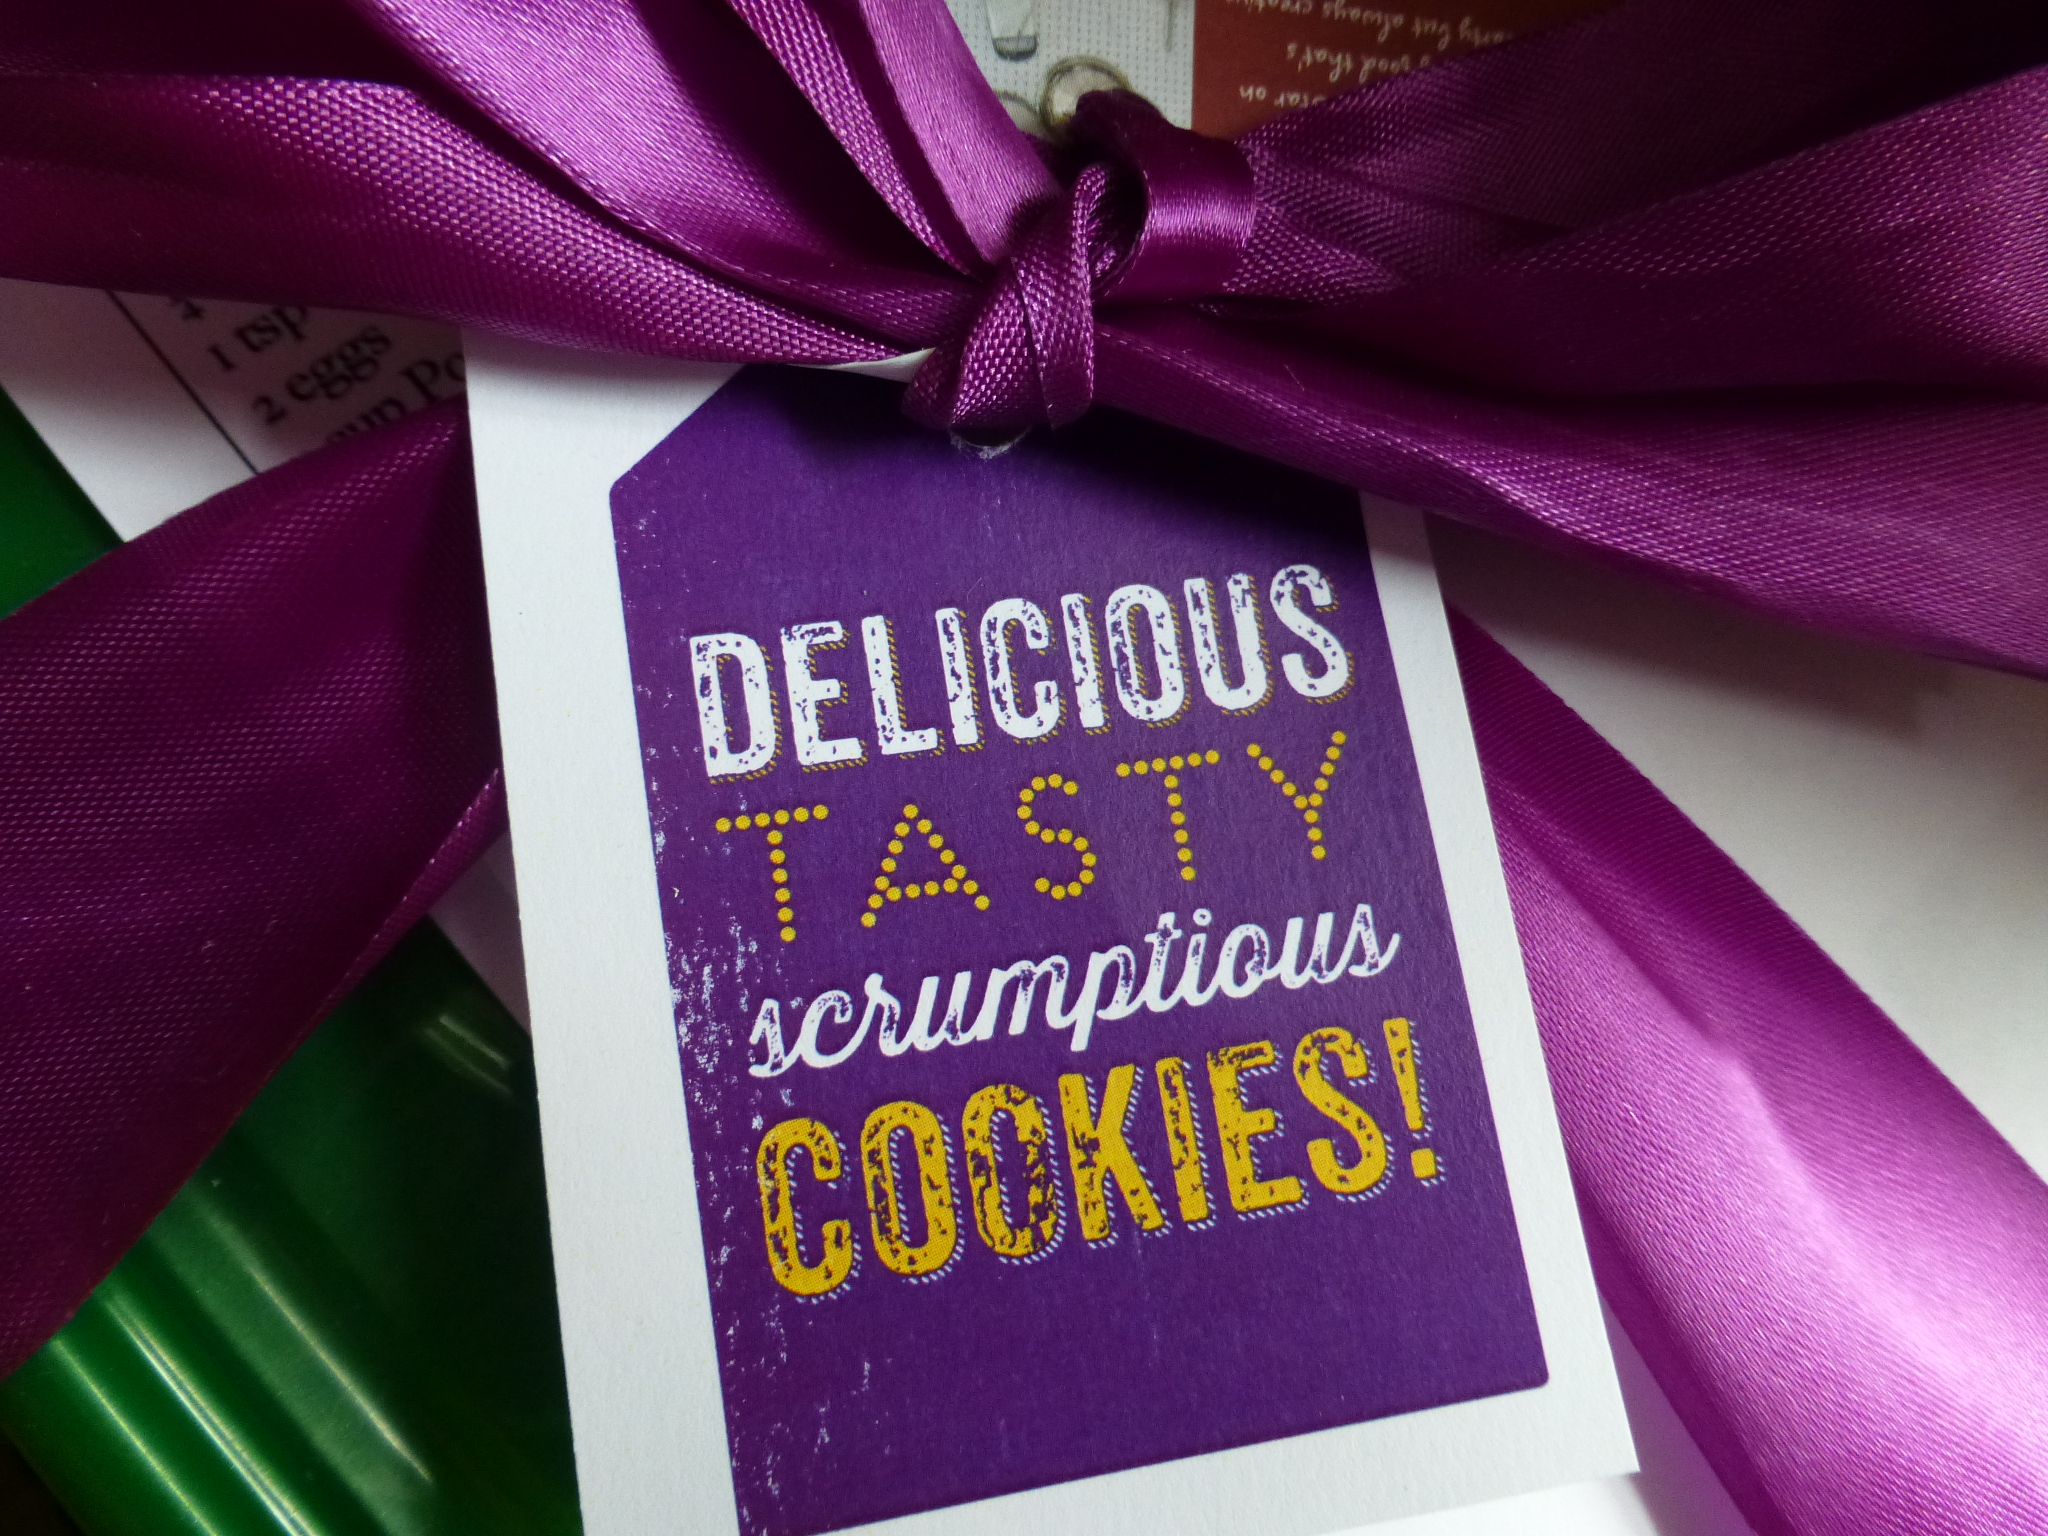
I packaged those babies up and mailed them off.

Here’s my favorite trick for packing material. Shred those interior design magazines (the colorful pages) you were going to recycle. Be sure not to use your husband’s shredded credit card offers or he will have a fit. Ha.
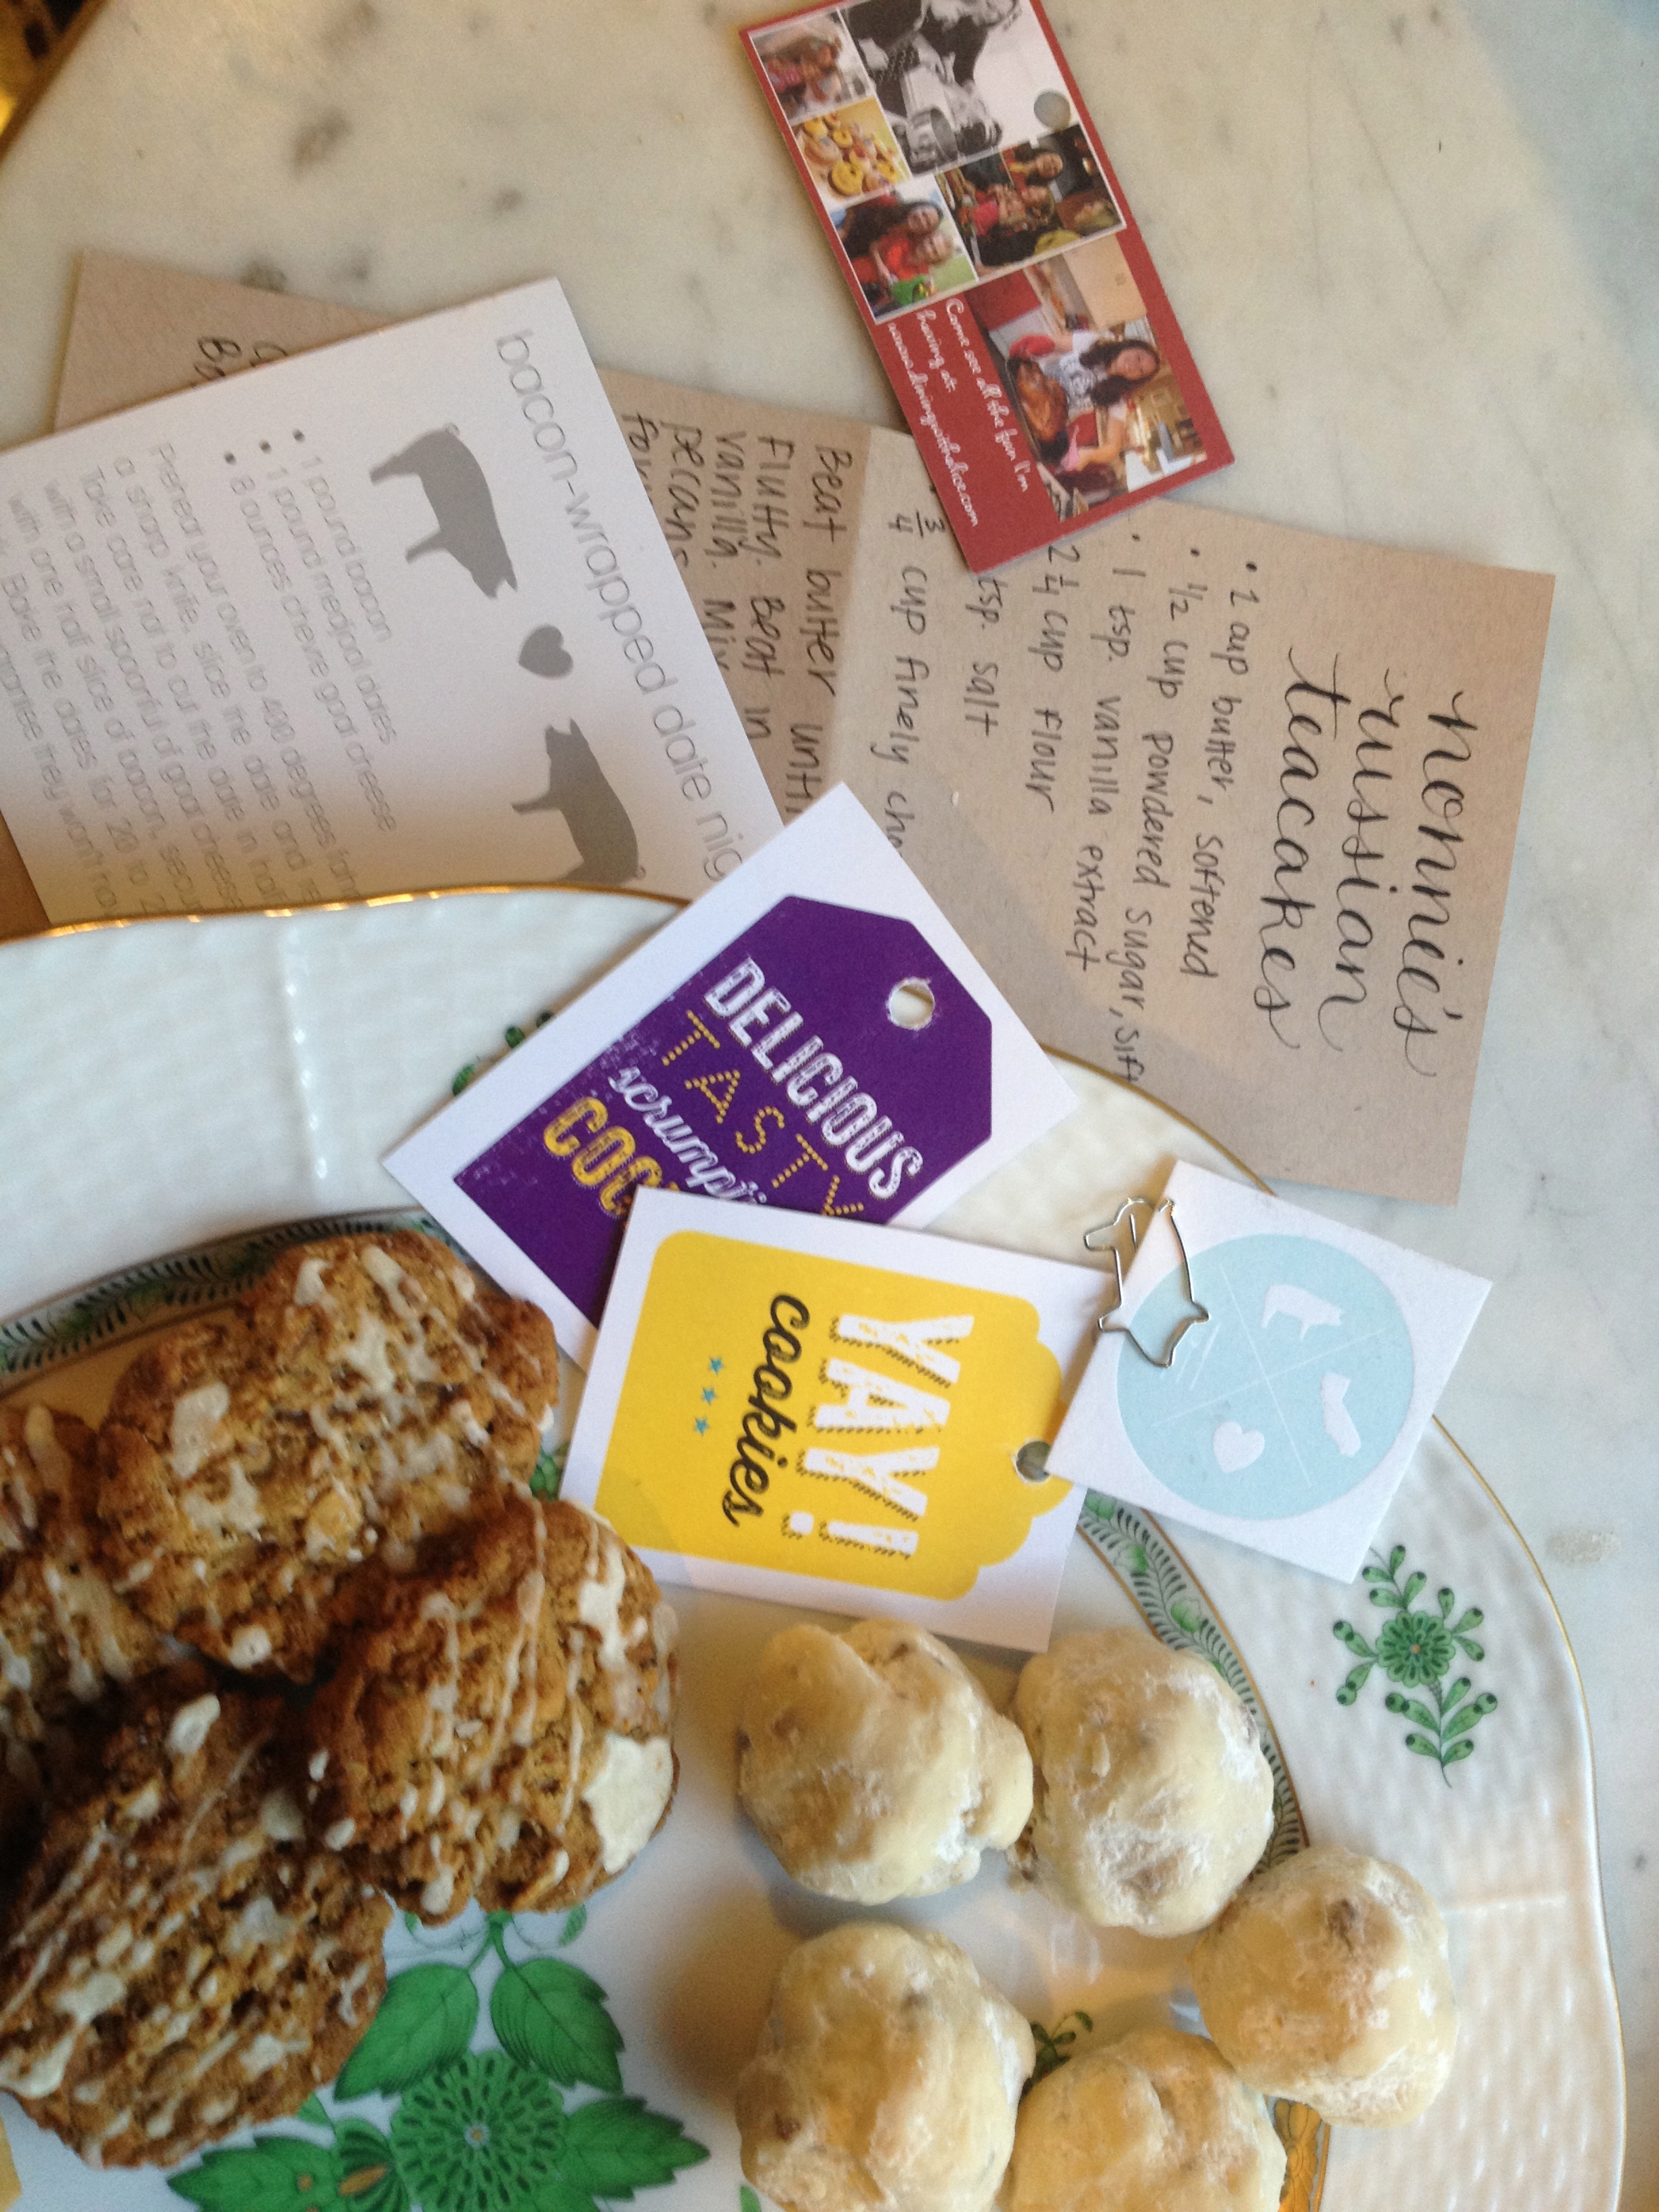
In return for my participation, I received some wonderful cookies and recipes:
Fruitcake Cookies, Alice Seuffret from Dining with Alice, hailing from Minnesota
Cranberry-Almond Biscotti, Becky from Rose & Henry, hailing from Iowa
Nonna’s Russian Tea Cakes, Emily Voigtlander from The Answer is Always Pork, hailing from California
This project was great fun and reminded me almost daily of my dearly departed Mom, who used to bake prodigiously at Christmas and always had a plate or tin of homemade delicious cookies at the ready for guests, friends, visitors, children, and really anyone who gave her a hand and who she thought deserved a cookie.
Thank you the organizers and brand partners of the Great Food Blogger Cookie Swap 2013 for such a wonderful experience and opportunity.
Shout outs to: OXO, Dixie Crystals Sugar, Gold Medal Flour, and Grandma’s Molasses.
And one last note. In the midst of all this baking and receiving, we had our first snow in the mid-Atlantic (which is normally very mild.) A look out of our second-story guest bedroom window before I went down to get to the nitty-gritty of baking cookies:

Happy Holidays!